Prep Perfection: Paint Prep Station – The Ultimate Guide to Flawless Finishes
Achieving a flawless paint finish requires meticulous preparation. A dedicated paint prep station is an essential tool for any professional painter or DIY enthusiast, providing a convenient and efficient workspace for all the necessary tasks. This comprehensive guide will delve into the essential elements of a paint prep station, empowering you to create a dedicated area for optimal paint preparation.
Essential Components of a Paint Prep Station
1. Work Surface:
- Choose a sturdy and spacious work surface that can accommodate all your materials and equipment.
- Consider a workbench with adjustable height for ergonomic comfort.
- Ensure the surface is level and free from any imperfections that could affect paint application.
2. Lighting:
- Adequate lighting is crucial for precision work.
- Install natural light sources or invest in artificial lighting with adjustable brightness and color temperature.
- Good lighting allows you to accurately assess paint color and detect any surface imperfections.
3. Ventilation:
- Paint fumes can be hazardous, so proper ventilation is essential.
- Install an exhaust fan or open windows to ensure adequate airflow.
- Consider using a respirator for additional protection.
4. Storage:
- Organize your materials and equipment with ample storage solutions.
- Utilize shelves, drawers, and cabinets to keep everything within easy reach.
- Label storage containers for quick and easy identification.
5. Tools and Equipment:
- Gather all necessary tools and equipment for paint preparation, including:
- Sandpaper (various grits)
- Scrapers
- Brushes
- Rollers
- Putty knives
- Caulk gun
- Safety glasses
- Gloves
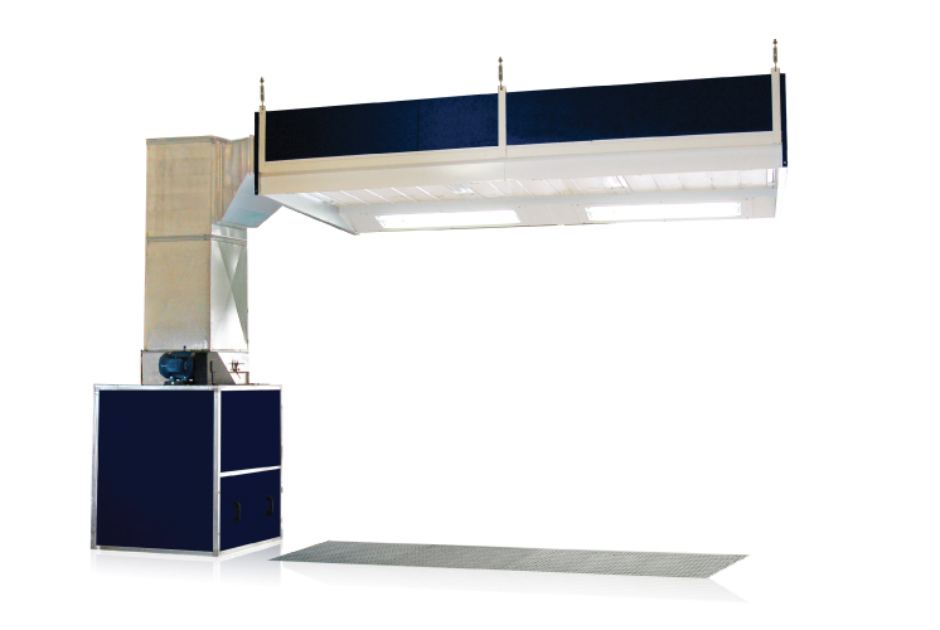
Paint Prep Station Diagram
| Feature | Description |
|---|---|
| Work Surface | Sturdy and spacious, adjustable height for ergonomics |
| Lighting | Natural or artificial, adjustable brightness and color temperature |
| Ventilation | Exhaust fan or open windows, respirator for protection |
| Storage | Shelves, drawers, cabinets, labeled containers for easy identification |
| Tools and Equipment | Sandpaper, scrapers, brushes, rollers, putty knives, caulk gun, safety glasses, gloves |
Step-by-Step Paint Preparation Process
1. Surface Preparation:
- Clean the surface thoroughly with a degreaser or TSP solution.
- Sand the surface to remove any imperfections or rough spots.
- Fill any holes or cracks with spackling paste or caulk.
2. Priming:
- Apply a primer to the surface to create a smooth and uniform base for paint.
- Choose a primer that is compatible with the paint you will be using.
3. Masking:
- Protect areas that should not be painted with masking tape or plastic sheeting.
- Cover windows, trim, and any other surfaces that need protection.
4. Painting:
- Apply the paint in even, thin coats.
- Use a brush or roller appropriate for the type of paint and surface.
- Allow each coat to dry completely before applying the next.
5. Finishing:
- Remove masking tape or plastic sheeting once the paint is dry.
- Touch up any imperfections with a small brush or roller.
- Apply a clear coat or sealant for added protection and durability.
Conclusion
A well-equipped paint prep station is an invaluable asset for achieving professional-quality paint finishes. By following the steps outlined in this guide, you can create a dedicated workspace that optimizes your paint preparation process. Remember, meticulous preparation is the key to a flawless and long-lasting paint job.
Post a Comment for "Prep Perfection: Paint Prep Station"