WS400 Paint Gun: A Comprehensive User’s Guide
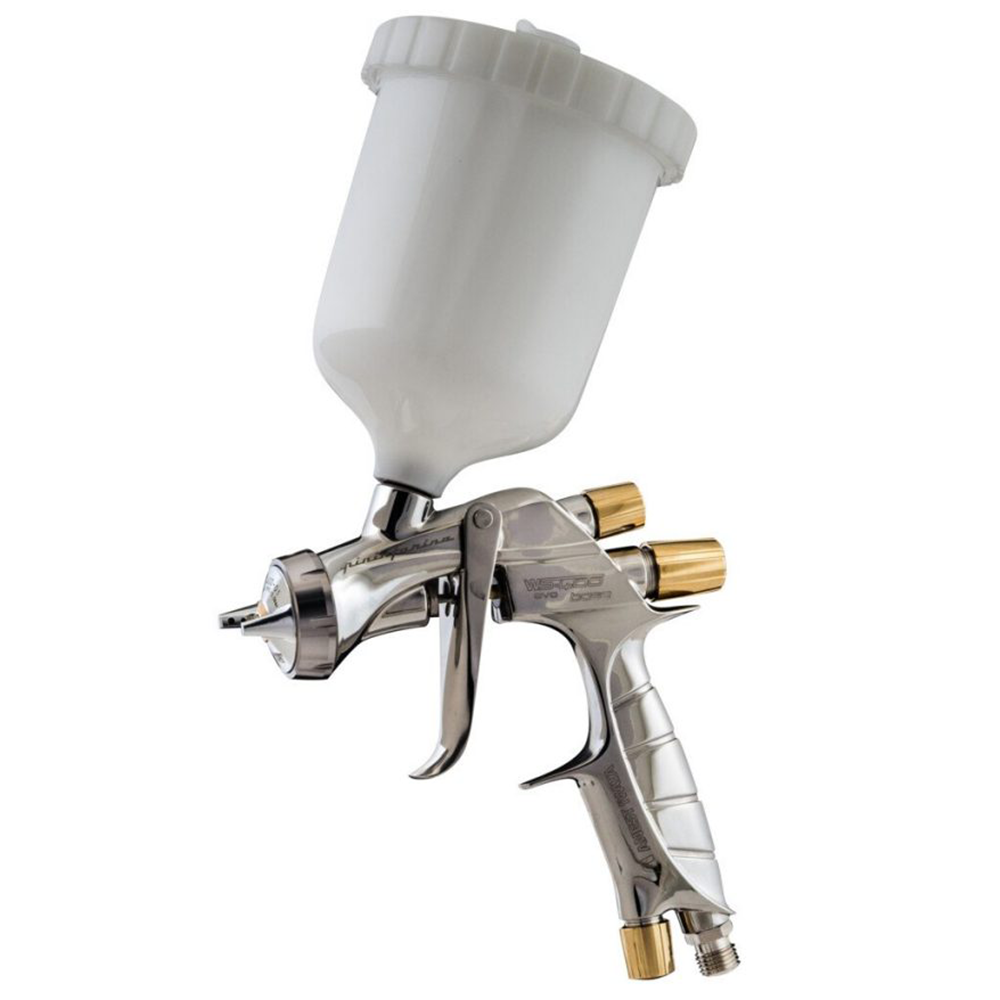
Table of Content
- 1 WS400 Paint Gun: A Comprehensive User’s Guide
- 1.1 Understanding the WS400 Paint Gun
- 1.1.1 Key Features of the WS400:
- 1.2 Setting Up Your WS400 Paint Gun
- 1.2.2 1. Assembling the Paint Gun
- 1.2.3 2. Preparing the Paint
- 1.2.4 3. Setting the Air Pressure
- 1.3 Operating the WS400 Paint Gun
- 1.3.5 1. Holding the Paint Gun
- 1.3.6 2. Applying Paint
- 1.3.7 3. Adjusting the Spray Pattern
- 1.4 Maintenance and Cleaning
- 1.4.8 1. Cleaning the Paint Gun
- 1.4.9 2. Lubricating the Gun
- 1.4.10 3. Storing the Gun
- 1.5 Troubleshooting Common Problems
- 1.6 Tips for Achieving Professional Results
- 1.7 Conclusion
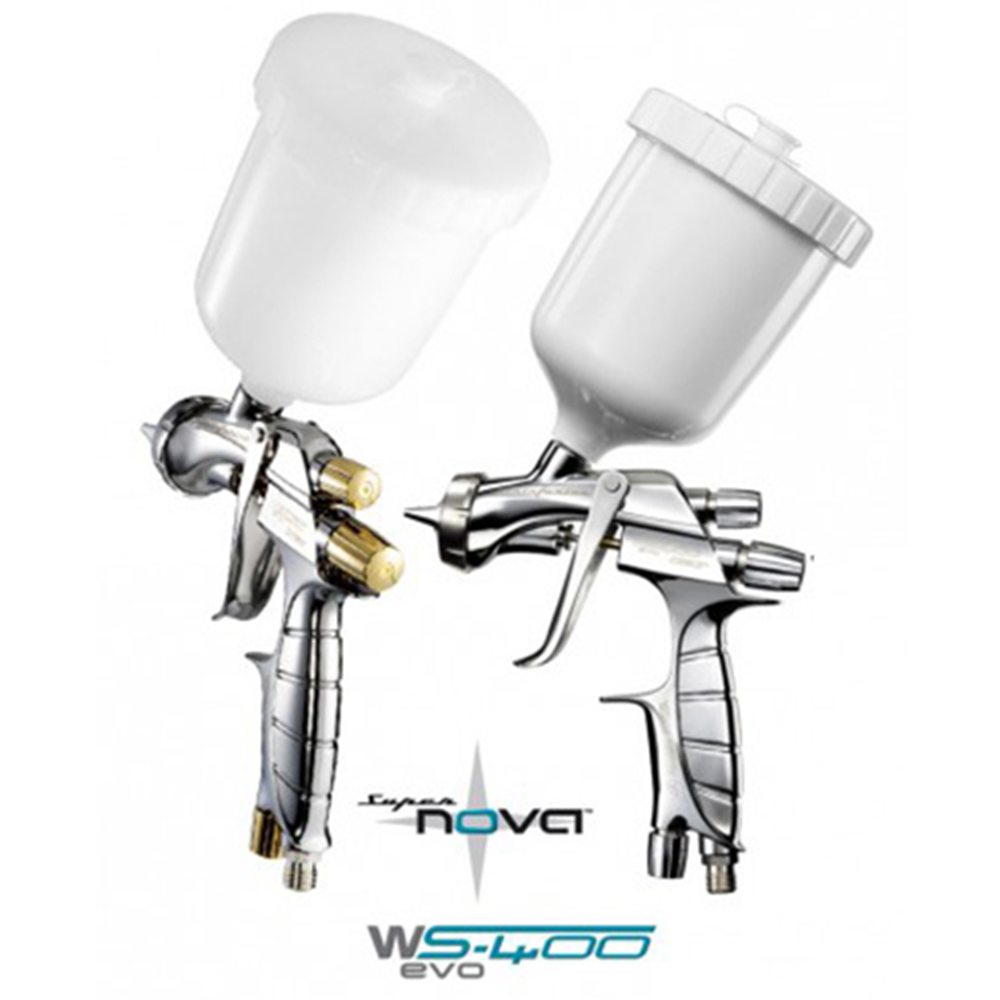
The WS400 paint gun is a popular choice for both professionals and DIY enthusiasts. Its versatility, ease of use, and high performance make it a reliable tool for a wide range of painting projects. This comprehensive guide will walk you through everything you need to know about the WS400, from its features and specifications to its operation and maintenance.
Understanding the WS400 Paint Gun
The WS400 is a high-quality, gravity-fed paint gun designed for various applications, including:
- Automotive Painting: Its precise control and fine atomization make it ideal for achieving professional-grade finishes on cars, motorcycles, and other vehicles.
- Furniture Refinishing: The WS400 is perfect for achieving smooth, even coats on furniture, cabinets, and other woodworking projects.
- General Painting: Its versatility allows it to handle a wide range of paints, including latex, acrylic, and oil-based paints, making it suitable for both interior and exterior projects.
Key Features of the WS400:
- Gravity Feed System: This design allows for consistent paint flow and reduces the risk of clogging.
- Adjustable Fluid and Air Control: Precise control over both fluid and air flow allows for fine-tuning the spray pattern and paint application.
- Durable Construction: The WS400 is built with high-quality materials, ensuring long-lasting performance and durability.
- Easy Assembly and Maintenance: The gun is easy to assemble and disassemble, making cleaning and maintenance straightforward.
- Lightweight Design: The WS400 is comfortable to hold and use for extended periods, reducing fatigue.

Setting Up Your WS400 Paint Gun
Before you start painting, it’s crucial to set up your WS400 properly. This ensures optimal performance and reduces the risk of problems during operation.
1. Assembling the Paint Gun
- Attach the Air Hose: Connect the air hose to the air inlet on the paint gun. Ensure a secure connection to prevent leaks.
- Install the Fluid Tip: Select the appropriate fluid tip for your project. The tip size determines the paint flow rate and spray pattern.
- Attach the Paint Cup: Securely attach the paint cup to the gun. Ensure the lid is tightly closed to prevent spills.
- Connect the Air Regulator: Connect the air regulator to the air hose. The regulator controls the air pressure delivered to the gun.

2. Preparing the Paint
- Thinning the Paint: Depending on the type of paint and desired finish, you may need to thin the paint before applying it. Follow the manufacturer’s instructions for proper thinning ratios.
- Filtering the Paint: Use a paint strainer to remove any debris or impurities from the paint before pouring it into the cup. This prevents clogging the gun and ensures a smooth finish.
3. Setting the Air Pressure
- Adjusting the Air Pressure: Set the air pressure using the air regulator. The optimal pressure will vary depending on the paint type, viscosity, and desired spray pattern.
- Testing the Pressure: Test the air pressure by spraying a small amount of paint onto a scrap piece of material. Adjust the pressure as needed to achieve the desired spray pattern and paint flow.
Operating the WS400 Paint Gun
Now that your WS400 is set up and ready, it’s time to learn how to operate it effectively.
1. Holding the Paint Gun
- Grip: Hold the paint gun firmly with your dominant hand, using a comfortable grip.
- Trigger Control: Practice controlling the trigger with your index finger. A smooth, steady trigger pull will ensure a consistent spray pattern.
2. Applying Paint
- Starting the Spray: Begin spraying a short distance from the surface, gradually moving the gun closer as you gain confidence.
- Overlapping Passes: Overlapping each pass by approximately 50% ensures a smooth, even coat.
- Maintaining a Consistent Distance: Keep a consistent distance between the gun and the surface throughout the spraying process.
- Avoiding Excessive Pressure: Avoid pressing too hard on the trigger, as this can cause the paint to run or drip.
3. Adjusting the Spray Pattern
- Fluid Control: The fluid control knob adjusts the amount of paint flowing through the gun.
- Air Control: The air control knob adjusts the air pressure, which affects the spray pattern.
- Fan Adjustment: Some WS400 models have a fan adjustment knob, which allows you to customize the width of the spray pattern.
Maintenance and Cleaning
Regular maintenance and cleaning are essential for keeping your WS400 paint gun in top condition and extending its lifespan.
1. Cleaning the Paint Gun
- Disassemble the Gun: Carefully disassemble the gun, following the manufacturer’s instructions.
- Clean with Solvent: Use a suitable solvent to clean all parts of the gun, including the fluid tip, nozzle, and paint cup.
- Rinse with Water: Rinse all parts thoroughly with water to remove any remaining solvent.
- Dry Thoroughly: Dry all parts completely before reassembling the gun.
2. Lubricating the Gun
- Lubricate Moving Parts: Apply a small amount of lubricant to the moving parts, such as the trigger mechanism and air valve.
- Avoid Over-Lubrication: Excessive lubrication can attract dust and debris, which can clog the gun.
3. Storing the Gun
- Clean and Dry: Always store the gun clean and dry.
- Protect from Dust: Store the gun in a dust-free environment to prevent contamination.
Troubleshooting Common Problems
Despite its reliability, the WS400 paint gun can sometimes encounter problems. Here are some common issues and their solutions:
- Clogging: If the gun clogs, disassemble it and clean it thoroughly with a suitable solvent.
- Inconsistent Spray Pattern: Check the fluid tip and nozzle for any obstructions or damage. Adjust the air pressure and fluid control settings as needed.
- Leaking: Check for loose connections or damaged seals. Tighten any loose connections or replace damaged seals.
- Uneven Paint Application: Ensure a consistent distance between the gun and the surface. Adjust the spray pattern and fluid control settings as needed.
Tips for Achieving Professional Results
- Practice: Practice using the WS400 on scrap material before applying paint to your project. This will help you get comfortable with the gun and achieve consistent results.
- Lighting: Use good lighting to ensure that you can see the surface clearly and identify any imperfections.
- Patience: Take your time and apply the paint in thin, even coats. Avoid rushing the process, as this can lead to problems.
- Cleanup: Clean up any spills or drips immediately to prevent damage to the surface.
Conclusion
The WS400 paint gun is a versatile and reliable tool that can help you achieve professional-grade finishes on a wide range of projects. By understanding its features, operation, and maintenance requirements, you can maximize its performance and ensure many years of trouble-free use.
Remember, practice makes perfect. With some patience and practice, you’ll be able to master the art of using the WS400 paint gun and achieve stunning results on your painting projects.
WS400 Paint Gun: A Comprehensive User’s Guide
Post a Comment for "WS400 Paint Gun: A Complete User's Guide"