Unleash Your Creativity: A Comprehensive Guide to Crafting Custom Painted Crankbaits
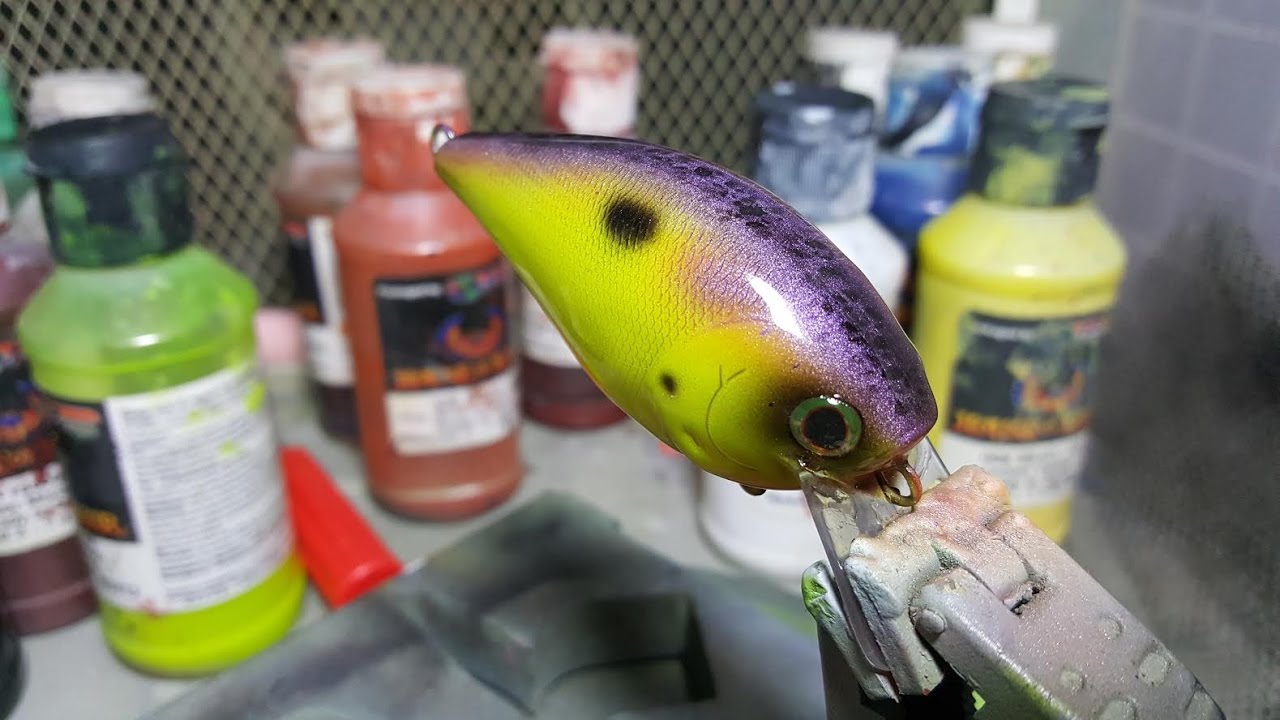
Table of Content
For avid anglers, the thrill of the catch is only heightened when you’ve personally crafted the lure that snagged it. Custom painted crankbaits offer a unique blend of artistic expression and fishing prowess, allowing you to tailor your lures to specific water conditions and target fish species. This comprehensive guide will equip you with the knowledge and techniques to transform your blank crankbaits into personalized fishing masterpieces.
Step 1: Selecting Your Canvas: The Crankbait
Choosing the right crankbait is the foundation of your custom creation. Consider the following factors:
- Target Species: Different fish species have varying preferences for lure size, shape, and action. Research the specific crankbait models that are known to be effective for your target fish.
- Water Conditions: The depth, clarity, and current of your fishing location will influence your crankbait choice. For deep water, choose a deeper-diving model. For murky waters, opt for a larger, louder crankbait with a strong vibration.
- Desired Action: Crankbaits can have a variety of actions, from tight wobbling to a wide, erratic dance. Choose an action that suits your fishing style and the behavior of your target fish.
Step 2: The Art of Preparation: Prepping the Crankbait
Before you start painting, it’s crucial to prepare your crankbait for a smooth and durable finish:

- Cleaning: Thoroughly clean the crankbait with soap and water to remove any dirt, grease, or residue.
- Sanding: Lightly sand the surface with fine-grit sandpaper (200-400 grit) to create a smooth, even surface for the paint to adhere to.
- Priming: Apply a primer specifically designed for plastics or wood, depending on the material of your crankbait. This will help the paint adhere better and create a more durable finish.

Step 3: Unleashing Your Creativity: Painting Techniques
Now comes the exciting part: bringing your vision to life with paint. Here are some popular techniques:
- Airbrushing: For intricate details, smooth gradients, and precise lines, airbrushing is the go-to method. You’ll need an airbrush kit, various paint colors, and a compressor.
- Brush Painting: For a more traditional approach, use brushes of varying sizes to apply paint. This technique allows for more control over the paint flow and texture.
- Sponging: Create a textured, mottled effect by dabbing paint onto the crankbait using a sponge. This technique is effective for simulating natural patterns like scales or wood grain.
- Tape Masking: Use masking tape to create clean lines and geometric patterns. This is especially useful for creating stripes, spots, or other defined shapes.

Step 4: Building Depth and Dimension: Adding Detail and Texture
Once your base paint layers are dry, you can add depth and realism to your crankbait:
- Eyes: Use a sharpie or specialized eye decals to add realistic eyes. Consider the size and placement of the eyes to match the size and species of your target fish.
- Scales: Create a scale effect using a small brush and a contrasting paint color. You can also use a sponge to create a more textured scale pattern.
- Gills: Using a fine-tipped brush, paint realistic gills to add a touch of realism.
- Fin Details: If your crankbait has fins, paint them with a contrasting color to highlight their shape and movement.
Step 5: Sealing the Deal: Protecting Your Masterpiece
To ensure your custom painted crankbait lasts for countless casts, sealing is essential:
- Clear Coat: Apply several thin coats of a high-quality clear coat designed for plastics or wood. This will protect the paint from scratches, UV damage, and water.
- UV Protection: Choose a clear coat that offers UV protection to prevent the paint from fading in sunlight.
Step 6: The Finishing Touches: Adding Personalization
To truly make your crankbait unique, consider these personalization options:
- Custom Names or Logos: Use a fine-tipped paint pen or a stencil to add your name, initials, or a logo to your creation.
- Glitter or Holographic Flakes: Add a touch of sparkle and flash by incorporating glitter or holographic flakes into your paint layers.
- Glow-in-the-Dark Paint: For night fishing, use glow-in-the-dark paint to create a lure that stands out in low light conditions.
Advanced Techniques for the Experienced Painter:
- Airbrushing Techniques: Explore advanced airbrushing techniques like dry brushing, masking, and layering to create complex and realistic patterns.
- Color Mixing and Blending: Experiment with mixing and blending colors to create custom shades and hues that mimic the colors of natural prey.
- 3D Effects: Create 3D effects using techniques like layering paint, adding texture, and using different finishes.
Examples of Custom Painted Crankbaits:
- Realistic Fish Patterns: Mimic the colors and patterns of natural prey, such as shad, minnows, or crawfish.
- Abstract Designs: Create unique and eye-catching abstract patterns using vibrant colors and bold lines.
- Camouflage Patterns: Design camouflage patterns that blend into the water or bottom, making your crankbait less visible to fish.
Tips for Success:
- Practice Makes Perfect: Start with simple designs and gradually work your way up to more complex patterns.
- Patience is Key: Allow each layer of paint to dry completely before applying the next.
- Experiment with Different Techniques: Don’t be afraid to try new things and experiment with different paint types, tools, and techniques.
- Document Your Creations: Take photos of your custom painted crankbaits to track your progress and share your creations with others.
Conclusion:
Custom painting crankbaits is a rewarding hobby that allows you to express your creativity while enhancing your fishing experience. By following these steps and experimenting with different techniques, you can create lures that are both visually appealing and highly effective. So, grab your paints, brushes, and crankbaits, and unleash your inner artist to craft personalized fishing masterpieces that will attract the biggest catches.

Unleash Your Creativity: A Comprehensive Guide to Crafting Custom Painted Crankbaits
Post a Comment for "How To Create Custom Painted Crankbaits For Fishing Enthusiasts"