Unleash Your Inner Artist: Creating a Unique Look with Blue Marble Paint
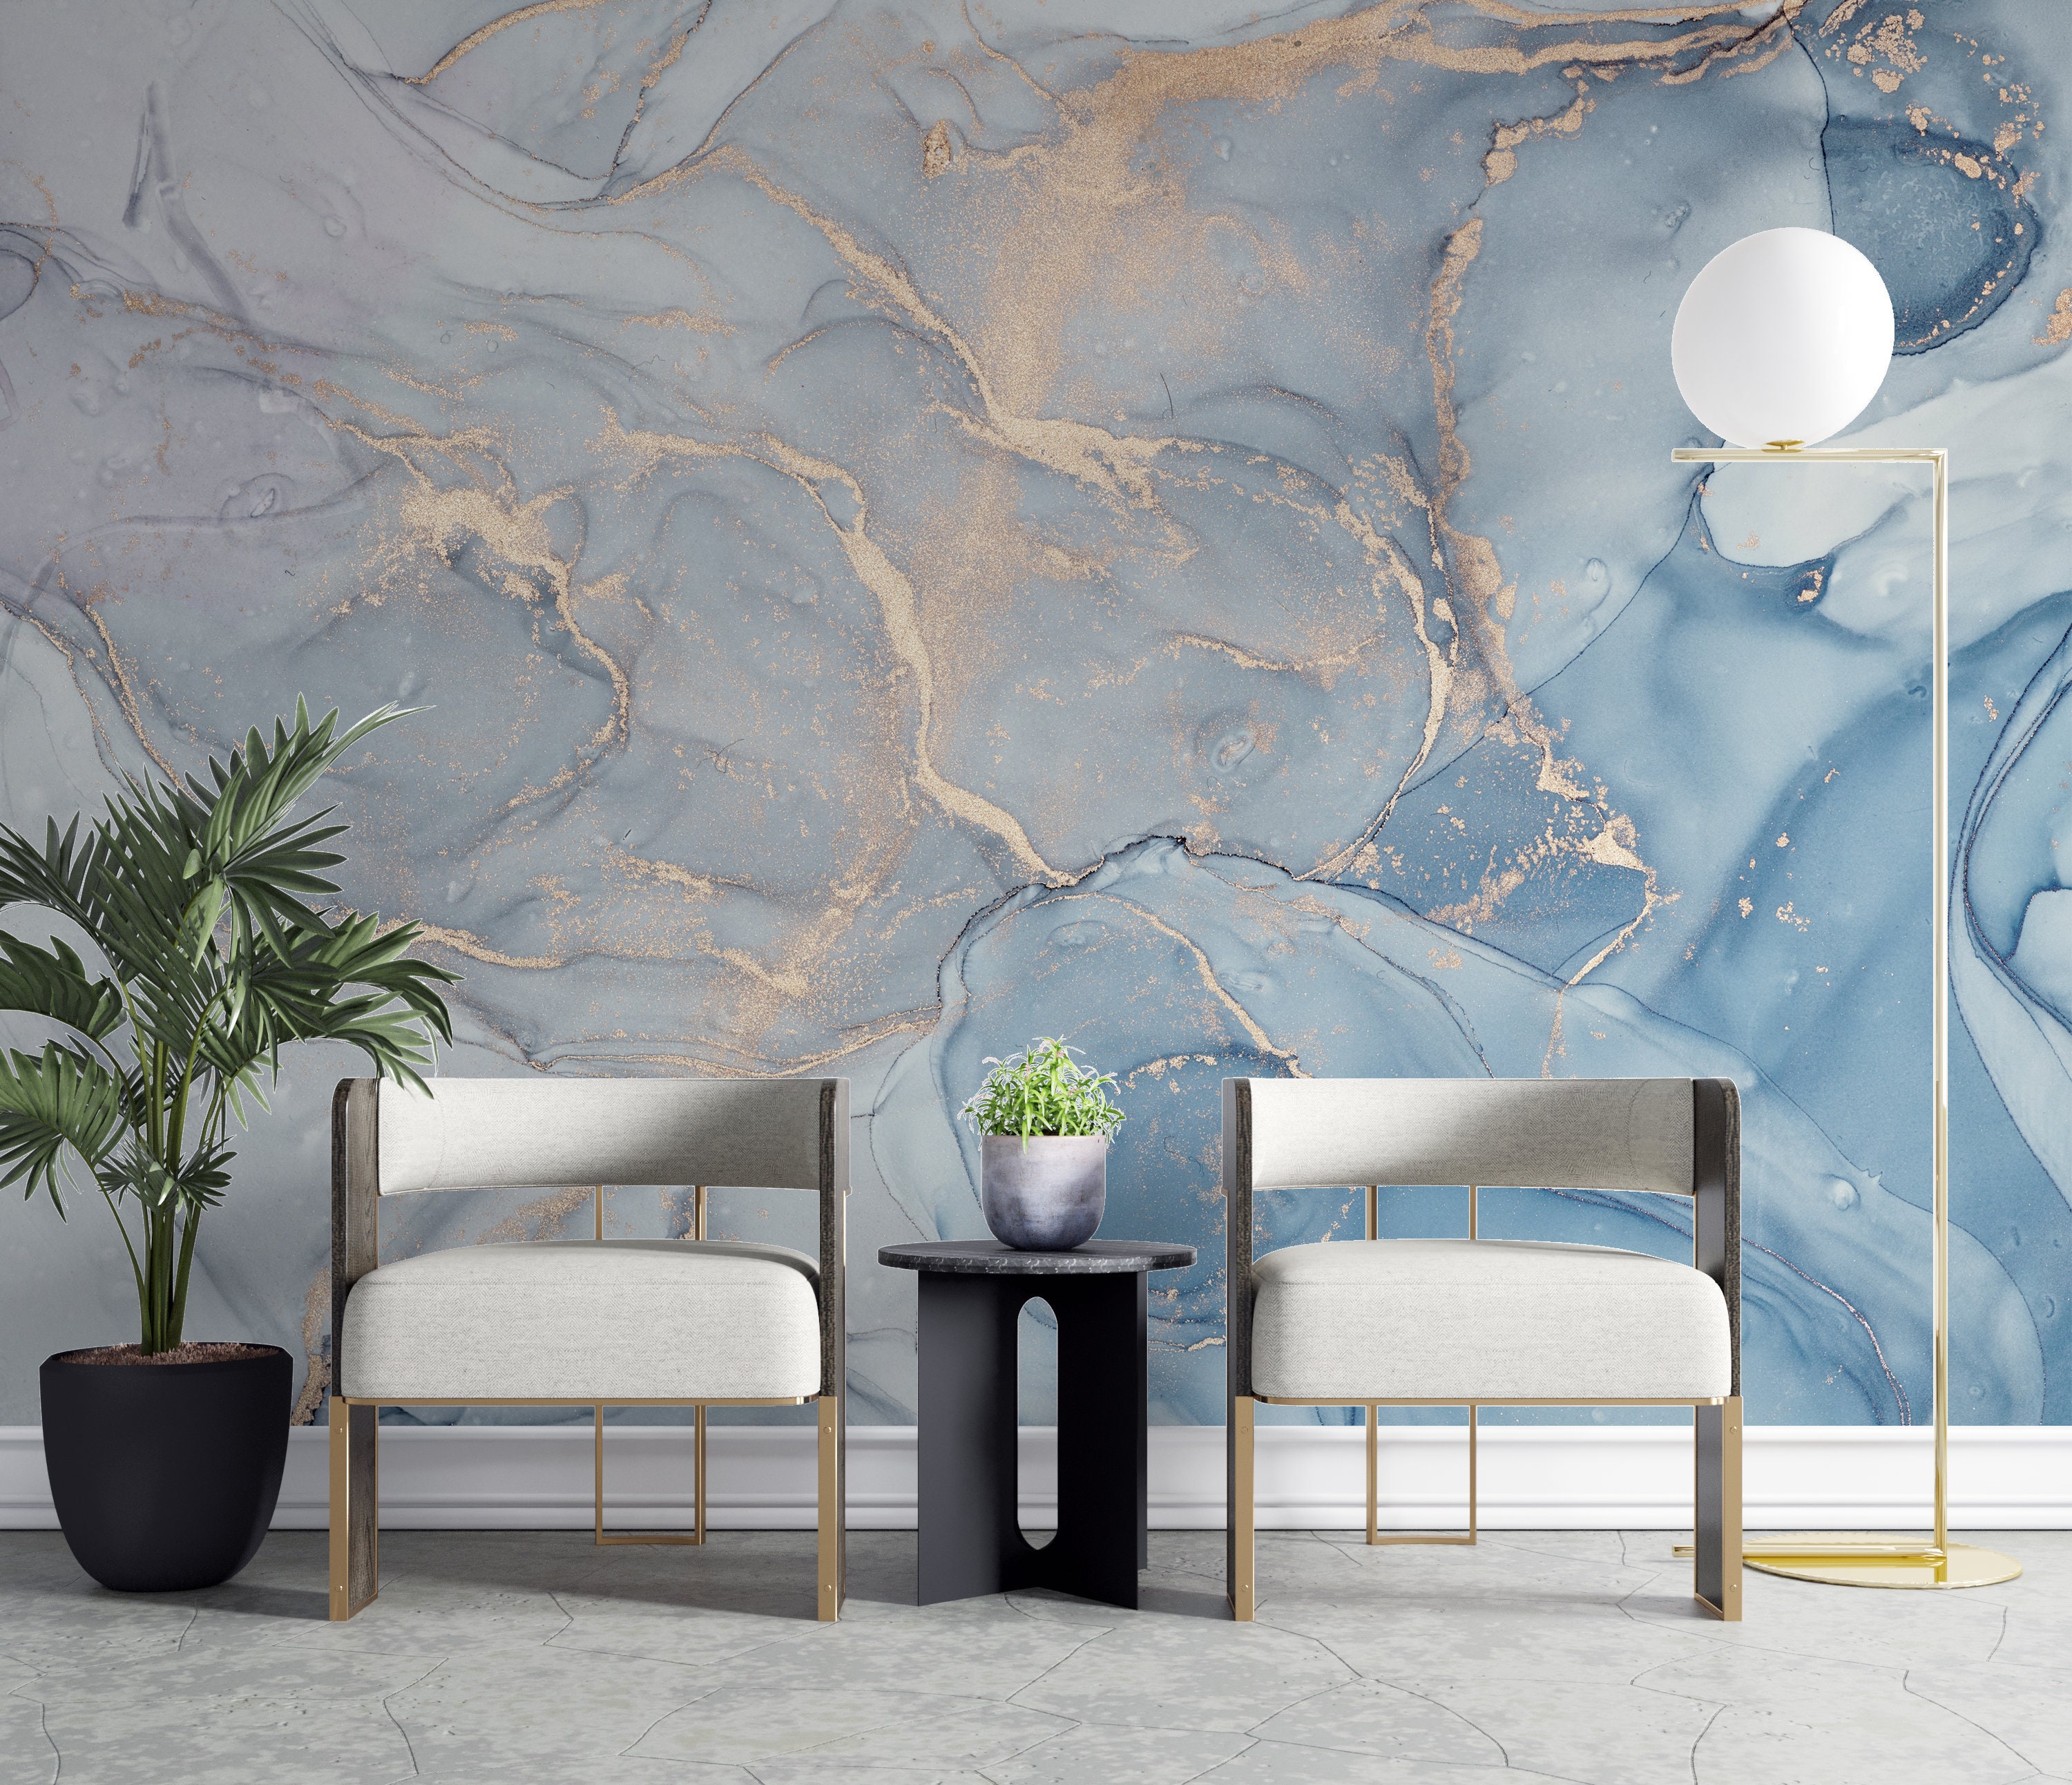
Table of Content
- 1 Unleash Your Inner Artist: Creating a Unique Look with Blue Marble Paint
- 1.1 Understanding the Essence of Blue Marble
- 1.2 Techniques for Achieving Stunning Blue Marble Effects
- 1.3 Choosing the Right Blue for Your Marble Effect
- 1.4 Enhancing Your Blue Marble Design with Color Combinations
- 1.5 Tips for Achieving a Professional Finish
- 1.6 Beyond the Walls: Expanding the Blue Marble Look
- 1.7 Conclusion: Embracing the Beauty of Blue Marble Paint
Blue marble paint isn’t just a trend; it’s a statement. It’s a way to inject a sense of depth, sophistication, and intrigue into any space. But mastering the art of blue marble paint requires more than just slapping on a coat of paint. This article delves into the intricacies of creating unique blue marble patterns, exploring techniques, tools, and color combinations that will transform your walls into stunning works of art.
Understanding the Essence of Blue Marble
Blue marble paint, at its core, is about mimicking the intricate veining and captivating color variations found in natural marble. The process involves layering different shades of blue paint to create a depth and dimension that evokes the natural beauty of this luxurious stone.
Key Elements of Blue Marble Paint:
- Color Palette: The most common blue marble paint schemes involve a base coat of a light blue, followed by layering darker blues, grays, and even touches of white to create the veining effect.
- Veining Techniques: The "veining" is the heart of the blue marble effect. It’s achieved through various techniques, from using a sponge to creating subtle swirls with a brush.
- Finishing Touches: Sealing the blue marble paint with a clear top coat enhances its durability and adds a glossy sheen, amplifying the depth and beauty of the finished design.
Techniques for Achieving Stunning Blue Marble Effects

1. The Sponge Technique:
This method is a beginner-friendly approach to creating a simple, yet elegant blue marble effect.
Steps:
- Prepare the Surface: Ensure your wall is clean, smooth, and properly primed.
- Base Coat: Apply a light blue base coat, allowing it to dry completely.
- Veining: Dip a natural sea sponge into a darker shade of blue paint, gently dabbing it onto the base coat to create irregular swirls and veining.
- Blending: Use a clean, dry sponge to blend the edges of the veining, creating a more seamless and natural look.
- Additional Colors: Experiment with adding subtle touches of white or gray paint to the sponge to create more nuanced veining.
- Finishing Touch: Apply a clear sealant to protect the paint and enhance its sheen.


2. The Brush Technique:
For more intricate and controlled veining, the brush technique offers greater precision.
Steps:
- Prepare the Surface: Prime the wall as before.
- Base Coat: Apply a light blue base coat.
- Veining: Dip a thin, angled brush into a darker shade of blue. Use short, sweeping strokes to create thin, fluid lines that resemble the veins of natural marble.
- Blending: Use a clean, dry brush to soften the edges of the veins, creating a more natural transition.
- Additional Colors: Introduce subtle touches of white or gray paint using a thin brush to add depth and dimension.
- Finishing Touch: Seal the paint with a clear top coat.
3. The Rag Technique:
The rag technique offers a more abstract and textured blue marble effect.
Steps:
- Prepare the Surface: Prime the wall as before.
- Base Coat: Apply a light blue base coat.
- Veining: Dip a crumpled piece of cloth into a darker shade of blue paint. Gently press and pull the cloth across the base coat, creating irregular patterns and textures.
- Blending: Use a clean, dry rag to soften the edges of the patterns and blend the colors.
- Additional Colors: Introduce additional colors by dipping the rag into different shades of blue, white, or gray.
- Finishing Touch: Seal the paint with a clear top coat.
4. The Marbling Kit Technique:
For those seeking a more precise and controlled approach, using a marbling kit can deliver impressive results.
Steps:
- Prepare the Surface: Prime the wall as before.
- Base Coat: Apply a light blue base coat.
- Marbling Kit: Follow the instructions provided with the marbling kit to create a marbled effect on the wall.
- Finishing Touch: Seal the paint with a clear top coat.
Choosing the Right Blue for Your Marble Effect
The choice of blue hues is crucial in creating a captivating blue marble paint effect. Here’s a guide to help you select the perfect shades for your project:
- Light Blue Base Coat: Consider soft, airy blues like sky blue, baby blue, or powder blue as your base coat. These shades provide a light and airy backdrop for the darker veining.
- Darker Blue Veining: For a classic blue marble effect, opt for shades of navy blue, sapphire blue, or cobalt blue. These darker hues create a striking contrast against the lighter base coat.
- Subtle Veining: For a more subtle effect, consider using shades of teal, aqua, or turquoise for the veining. These colors offer a softer contrast, creating a more delicate and refined look.
Enhancing Your Blue Marble Design with Color Combinations
To add depth and sophistication to your blue marble paint, experiment with color combinations that complement the blue palette:
- Gray: Adding shades of gray to the veining creates a more natural and realistic marble effect. Use light grays for a subtle touch or darker grays for a more dramatic look.
- White: White paint can be used to create highlights and accents, adding a touch of brightness and dimension to the blue marble design.
- Gold: For a luxurious and opulent touch, consider incorporating gold accents into the veining or adding a gold leaf finish to the finished design.
Tips for Achieving a Professional Finish
- Practice Makes Perfect: Before tackling your wall, practice the chosen technique on a piece of scrap wood or cardboard. This allows you to get a feel for the paint consistency and the desired level of detail.
- Clean Tools: Keep your brushes, sponges, and rags clean to avoid smudging and creating unwanted streaks.
- Work in Sections: For large walls, work in manageable sections to ensure that the paint dries evenly and avoids streaks.
- Allow Drying Time: Allow each coat of paint to dry completely before applying the next. This prevents the layers from mixing and creating unwanted color changes.
- Protect Your Surfaces: Use painter’s tape to protect areas you don’t want to paint, such as moldings, windows, and doors.
Beyond the Walls: Expanding the Blue Marble Look
Blue marble paint isn’t limited to walls. Explore its versatility in other applications:
- Furniture: Transform old furniture pieces with a blue marble paint makeover.
- Accessories: Add a touch of elegance to your home decor with blue marble painted trays, vases, and picture frames.
- Art Projects: Use blue marble paint to create unique and eye-catching artwork.
Conclusion: Embracing the Beauty of Blue Marble Paint
Blue marble paint offers a transformative way to add character and sophistication to any space. By mastering the techniques, exploring color combinations, and embracing your creativity, you can create stunning blue marble designs that will leave a lasting impression. Remember, the beauty of this technique lies in its individuality. Embrace imperfections and allow your unique artistic vision to shine through.

Unleash Your Inner Artist: Creating a Unique Look with Blue Marble Paint
Post a Comment for "Creating A Unique Look With Blue Marble Paint"