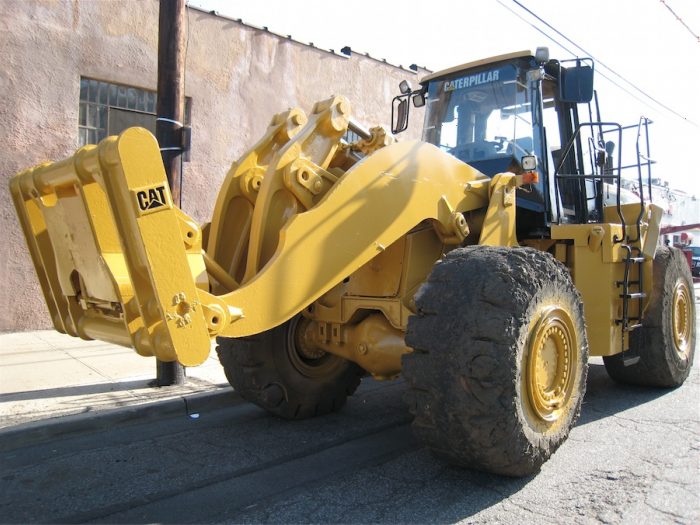
Mastering the Art of Heavy Equipment Painting: Techniques for a Professional Finish

Table of Content
Painting heavy equipment is more than just slapping on a coat of paint. It’s a meticulous process that requires specialized techniques and materials to achieve a durable, aesthetically pleasing, and protective finish. From preparation to application and finishing, every step plays a crucial role in ensuring a long-lasting and professional outcome.
1. Preparation: Laying the Foundation for a Perfect Finish
1.1. Surface Cleaning: The First Step to Success
The success of any paint job hinges on proper surface preparation. This begins with a thorough cleaning to remove dirt, grime, grease, rust, and old paint.
- Pressure Washing: This powerful technique effectively removes loose debris and contaminants. Use a high-pressure washer with a specialized nozzle for optimal cleaning.
- Chemical Cleaning: Employ degreasers, rust converters, and other specialized cleaners to remove stubborn residues. Ensure compatibility with the existing paint and choose cleaners that are safe for the equipment material.
- Sanding: For rough surfaces or areas with uneven paint, sanding helps create a smooth base for the new paint. Use progressively finer grit sandpaper to achieve the desired smoothness.
1.2. Masking and Protection: Safeguarding Unpainted Areas
To prevent unwanted paint from reaching areas that shouldn’t be painted, masking and protection are essential.
- Masking Tape: Use high-quality masking tape to define precise edges and protect delicate components. Choose tape that adheres well to the surface but removes cleanly without leaving residue.
- Drop Cloths and Plastic Sheeting: Protect surrounding areas from paint overspray using heavy-duty drop cloths or plastic sheeting.
- Protective Covers: Cover sensitive components like lights, gauges, and hydraulic lines with plastic covers to prevent paint contamination.

1.3. Surface Repair: Addressing Imperfections
Before painting, address any surface imperfections like dents, scratches, or rust.
- Body Filler: Fill minor dents and scratches with body filler. Apply the filler according to manufacturer instructions, ensuring it’s smooth and even.
- Rust Removal: Treat rust with a rust converter or wire brush. Apply a primer specifically designed for rusted surfaces before applying the final paint.
2. Priming: The Foundation for a Long-Lasting Finish
Priming serves as a crucial link between the substrate and the topcoat. It enhances adhesion, promotes corrosion resistance, and provides a smooth base for the final paint.
- Choosing the Right Primer: Select a primer compatible with the equipment material and the topcoat. Consider primers specifically designed for metal, plastic, or composite materials.
- Application Techniques: Apply the primer evenly using a brush, roller, or spray gun. Ensure complete coverage and allow ample drying time before proceeding to the next step.
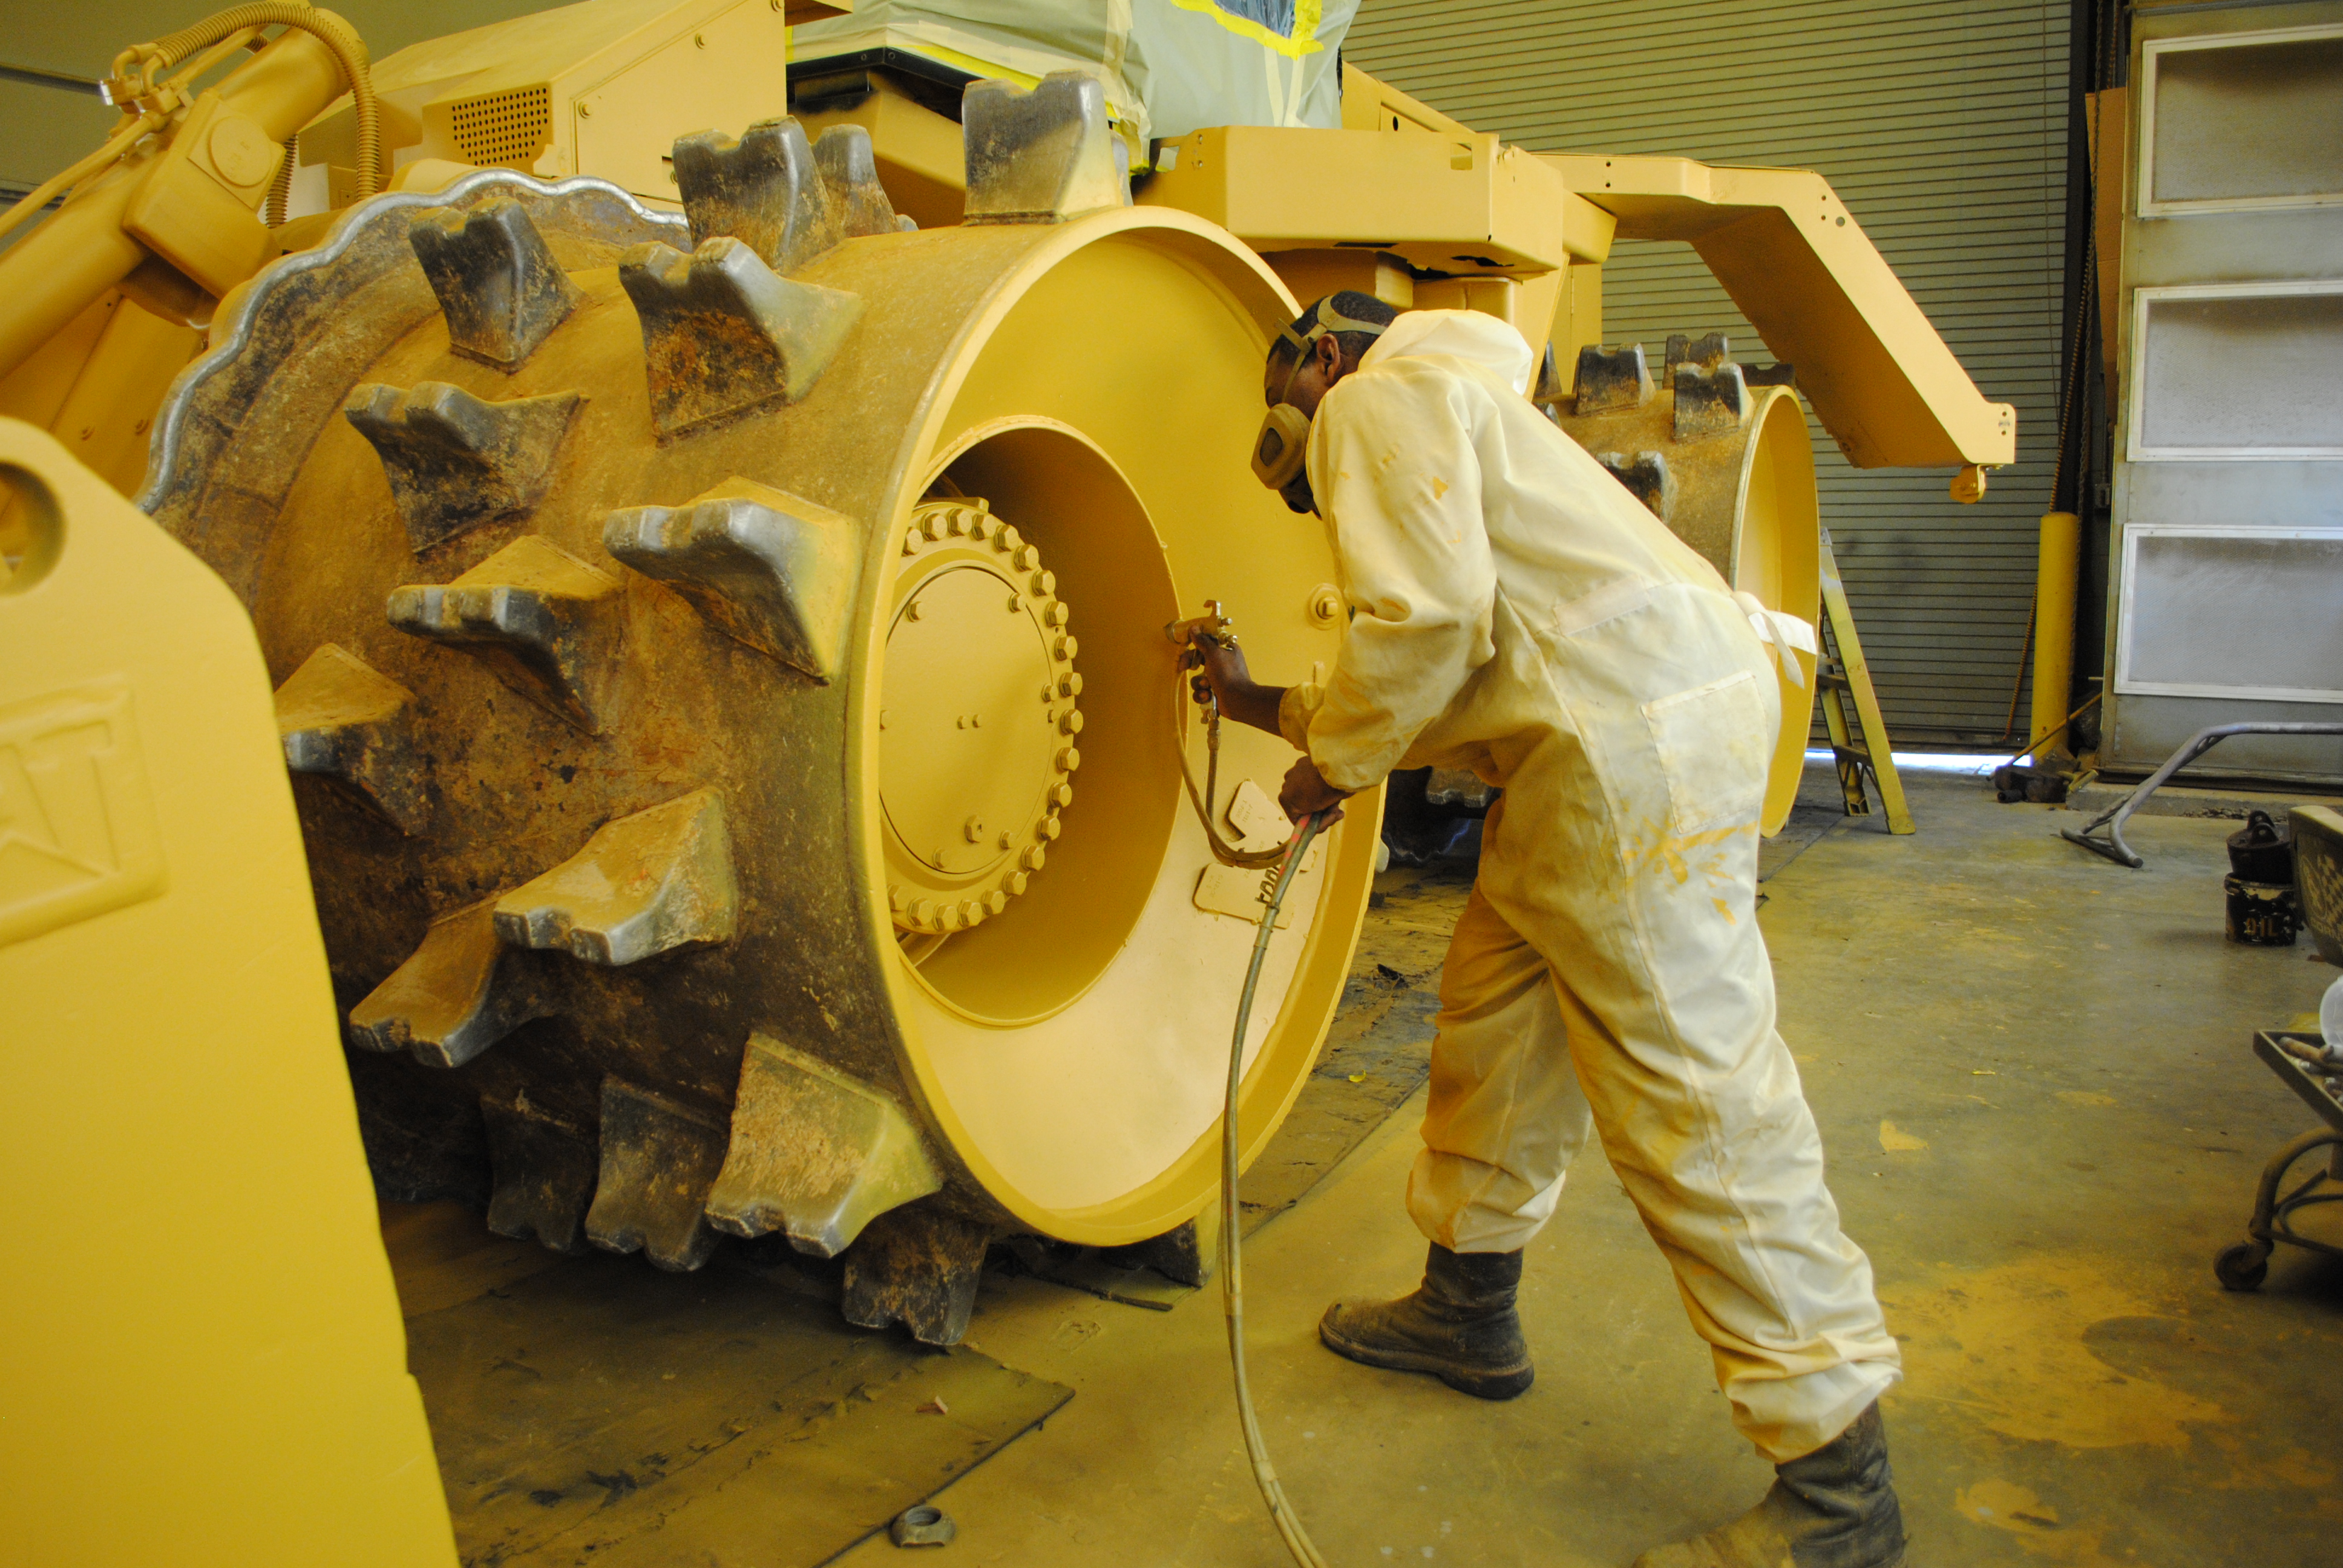
3. Painting: Achieving a Professional Finish
Painting is the heart of the process, demanding precision and technique for a flawless result.
3.1. Choosing the Right Paint:
- Type: Select a paint suitable for the equipment’s intended use and environment. Consider factors like durability, resistance to chemicals, and weather conditions. Common options include acrylic enamel, epoxy, and polyurethane paints.
- Color: Choose a color that aligns with the company’s branding or specific requirements. Consider using a color chart or consult with a paint supplier for assistance.
3.2. Application Techniques:
- Spray Gun: Offers superior coverage and a smooth finish, especially for large areas. Requires proper air pressure and technique for consistent application.
- Brush: Suitable for smaller areas or tight corners. Choose a brush with appropriate bristles for the paint type and surface texture.
- Roller: Effective for large flat surfaces. Use a roller with a nap length suitable for the surface texture and paint thickness.
3.3. Achieving a Consistent Finish:
- Thinning: Thin the paint according to manufacturer instructions to achieve the desired viscosity for optimal application.
- Overlapping: Overlap each paint stroke by 50% to ensure complete coverage and prevent streaks.
- Even Coats: Apply multiple thin coats rather than one thick coat. Allow each coat to dry thoroughly before applying the next.
4. Finishing Touches: Enhancing Durability and Aesthetics
4.1. Clear Coating:
- Protection: Apply a clear coat to protect the paint from UV rays, scratches, and other environmental damage.
- Gloss Level: Choose a clear coat with the desired gloss level, ranging from matte to high gloss.
4.2. Decals and Graphics:
- Branding: Apply company logos, contact information, or other graphics to enhance brand recognition and professionalism.
- Placement: Carefully plan the placement of decals and graphics for optimal visibility and aesthetics.
5. Best Practices for Painting Heavy Equipment
- Safety First: Wear appropriate safety gear, including a respirator, gloves, and eye protection.
- Ventilation: Ensure adequate ventilation to prevent paint fumes from accumulating.
- Cleanliness: Maintain a clean work environment to prevent dust and contaminants from affecting the paint finish.
- Temperature and Humidity: Paint at ideal temperatures and humidity levels to ensure proper drying and adhesion.
- Drying Time: Allow adequate drying time between coats. Refer to the manufacturer’s instructions for specific drying times.
6. Equipment and Tools for Painting Heavy Equipment
- Pressure Washer: For thorough cleaning and surface preparation.
- Sanding Equipment: Sandpaper, sanding blocks, and orbital sanders for smoothing surfaces.
- Masking Tape: For defining precise edges and protecting unpainted areas.
- Drop Cloths and Plastic Sheeting: For protecting surrounding areas from overspray.
- Spray Gun: For applying paint evenly and efficiently.
- Brushes and Rollers: For applying paint to smaller areas or specific surfaces.
- Paint Thinner: For adjusting paint viscosity for optimal application.
- Clear Coat: For enhancing durability and aesthetics.
- Decals and Graphics: For branding and customization.
7. Common Mistakes to Avoid
- Inadequate Surface Preparation: Insufficient cleaning or sanding can lead to poor adhesion and premature paint failure.
- Using Incorrect Paint: Choosing the wrong type of paint for the equipment or environment can result in a finish that doesn’t meet the desired performance standards.
- Applying Too Much Paint: Thick coats of paint can lead to runs and sags, compromising the finish.
- Not Allowing Adequate Drying Time: Rushing the drying process can result in paint defects and poor adhesion.
- Skipping the Clear Coat: Omitting a clear coat can leave the paint vulnerable to damage and fading.
8. Conclusion: Achieving a Professional Finish
Painting heavy equipment is a specialized skill that requires careful attention to detail and the use of appropriate techniques and materials. By following these guidelines, you can achieve a durable, aesthetically pleasing, and protective finish that enhances the equipment’s appearance and longevity.
9. FAQs
- What is the best type of paint for heavy equipment? The best type of paint depends on the equipment’s intended use and the environment it will operate in. Acrylic enamel, epoxy, and polyurethane paints are commonly used for heavy equipment, offering various levels of durability, chemical resistance, and weather resistance.
- How long does it take to paint heavy equipment? The time required for painting heavy equipment varies depending on the size and complexity of the equipment, the number of coats required, and the drying time for each coat.
- Can I paint heavy equipment myself? While it’s possible to paint heavy equipment yourself, it’s recommended to have experience and the necessary tools and equipment. Professional painters have the expertise and resources to achieve a high-quality finish.
- How do I choose the right color for my heavy equipment? Consider your company’s branding, the equipment’s intended use, and the environment it will operate in. Consult with a paint supplier or use a color chart for assistance.
- How often should I repaint my heavy equipment? The frequency of repainting depends on the equipment’s usage, the environment it operates in, and the type of paint used. Generally, repainting is recommended every 3-5 years to maintain the equipment’s appearance and protect it from damage.
10. Resources
- Paint Manufacturers: Consult with paint manufacturers for specific product recommendations and application instructions.
- Heavy Equipment Dealers: Many heavy equipment dealers offer painting services or can recommend reputable painters.
- Online Resources: Numerous websites and forums provide information and tips on painting heavy equipment.
11. Diagram of Heavy Equipment Painting Process
[Diagram of Heavy Equipment Painting Process]Note: Replace the above placeholder with a diagram illustrating the step-by-step process of heavy equipment painting. The diagram should include visuals for each stage, such as surface preparation, priming, painting, and finishing.

Mastering the Art of Heavy Equipment Painting: Techniques for a Professional Finish
Post a Comment for "Techniques For Painting Heavy Equipment"