Rev Up Your Creativity: A Comprehensive Guide to Painting Your Power Wheels Vehicle

Table of Content
- 1 Rev Up Your Creativity: A Comprehensive Guide to Painting Your Power Wheels Vehicle
- 1.1 1. Gather Your Supplies: The Foundation of a Successful Paint Job
- 1.2 2. Preparation is Key: Setting the Stage for a Perfect Paint Job
- 1.3 3. Priming: The Foundation for a Lasting Finish
- 1.4 4. Painting: Unleashing Your Creative Vision
- 1.5 5. Finishing Touches: Enhancing the Look and Durability
- 1.6 6. Maintaining Your Power Wheels Paint Job: Keeping it Looking Fresh
- 1.7 7. Safety Considerations: Protecting Yourself and Your Surroundings
- 1.8 8. Beyond the Basics: Exploring Advanced Techniques
- 1.9 9. Inspiration: Finding Ideas for Your Power Wheels Paint Job
- 1.10 Conclusion: Embark on Your Power Wheels Painting Adventure
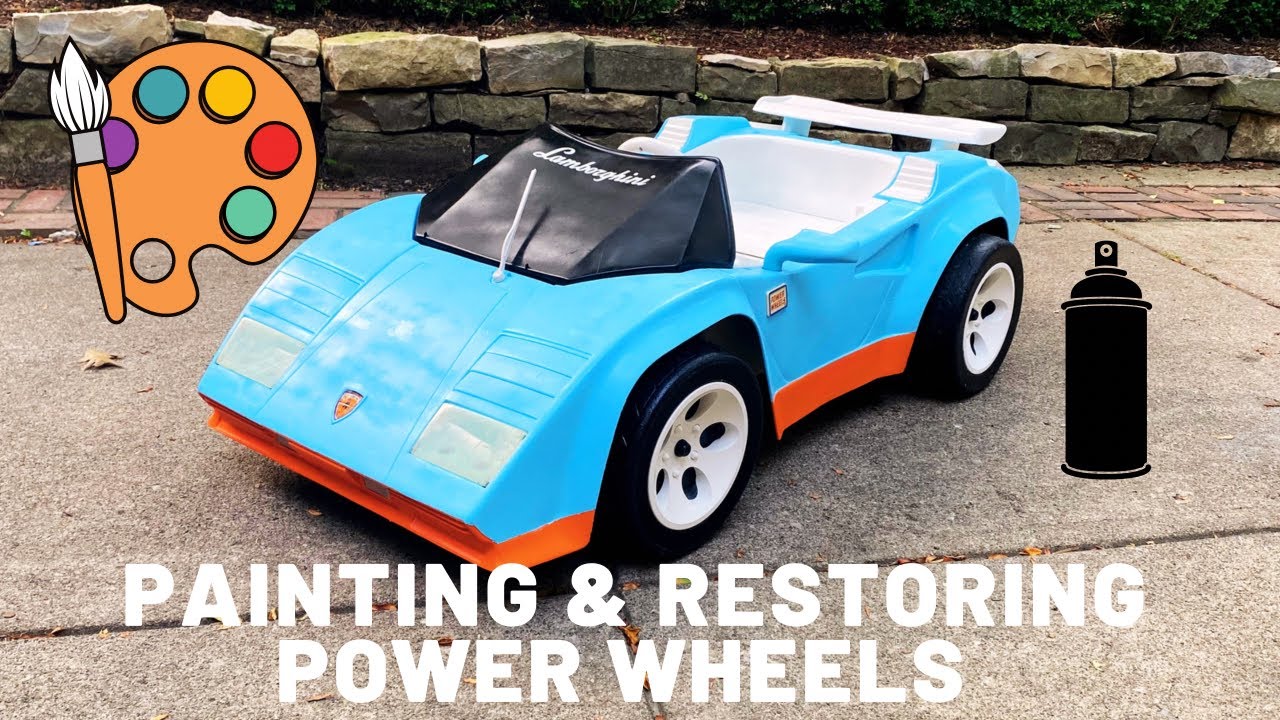
Tired of the same old Power Wheels colors? Want to unleash your inner artist and give your child’s ride a unique, personalized touch? This comprehensive guide will walk you through the process of painting your Power Wheels vehicle, from prep to finish, ensuring a professional-looking result that will turn heads.
1. Gather Your Supplies: The Foundation of a Successful Paint Job
Before you dive into the colorful world of Power Wheels painting, ensure you have all the necessary tools and materials. This will save you time and frustration down the line.
Essential Supplies:
- Power Wheels Vehicle: The star of the show, make sure it’s clean and ready for its makeover.
- Sandpaper: Assortment of grits, from coarse (80-120 grit) to fine (220-400 grit).
- Primer: A bonding primer specifically designed for plastics, available in spray or brush-on form.
- Paint: Choose acrylic or enamel paint, specifically formulated for plastics and outdoor use.
- Paint Thinner: For cleaning brushes and thinning paint if needed.
- Paintbrushes: Assortment of sizes, depending on the detail work you intend to do.
- Masking Tape: For precise lines and protecting areas you don’t want painted.
- Drop Cloths: Protect your work area from spills and drips.
- Gloves: Protect your hands from paint and solvents.
- Safety Glasses: Always wear safety glasses when working with paint and solvents.
- Paint Respirator: Protect yourself from paint fumes.
- Optional:
- Paint Sprayer: For a smooth, even finish.
- Clear Coat: Adds durability and protection to your paint job.
- Stencils: For adding designs and patterns.


2. Preparation is Key: Setting the Stage for a Perfect Paint Job
A successful paint job hinges on proper preparation. This step ensures a smooth, even surface that allows the paint to adhere properly.
Detailed Preparation Steps:
- Thorough Cleaning: Start by washing the Power Wheels vehicle with soap and water. Remove any dirt, grime, grease, or stickers. Allow it to dry completely.
- Disassembly (Optional): For a more professional finish, consider disassembling the Power Wheels vehicle as much as possible. This allows you to reach all areas and paint them evenly. Remove wheels, seats, and any other removable parts.
- Sanding: Use coarse sandpaper (80-120 grit) to roughen the plastic surface. This creates a tooth for the primer to adhere to. Sand in a circular motion, applying even pressure. Follow with finer grit sandpaper (220-400 grit) to smooth out any rough edges.
- Dust Removal: After sanding, wipe down the entire surface with a clean cloth to remove any dust or debris. This ensures a clean surface for priming.
3. Priming: The Foundation for a Lasting Finish
Priming is a crucial step that creates a barrier between the plastic surface and the paint. It promotes adhesion, prevents the paint from reacting with the plastic, and creates a smooth, even surface for the paint to adhere to.
Priming Techniques:
- Choosing the Right Primer: Select a primer specifically designed for plastics. This ensures optimal adhesion and prevents paint from peeling or chipping.
- Applying the Primer: Apply the primer in thin, even coats. Let each coat dry completely before applying the next. Follow the manufacturer’s drying time recommendations.
- Sanding (Optional): After the primer dries, you can lightly sand it with fine grit sandpaper (220-400 grit) to smooth out any imperfections. This is especially helpful if you are using a spray primer.
4. Painting: Unleashing Your Creative Vision
Now comes the fun part: painting your Power Wheels vehicle. With the proper preparation and priming, you can create a vibrant and eye-catching masterpiece.
Painting Techniques:
- Choosing the Right Paint: Choose acrylic or enamel paint specifically designed for plastics and outdoor use. These paints are durable and resistant to fading and chipping.
- Masking (Optional): If you’re creating a multi-color design, use masking tape to create clean lines between colors. Apply the tape carefully and press it firmly to prevent paint bleeding.
- Applying the Paint: Apply the paint in thin, even coats. Let each coat dry completely before applying the next. Follow the manufacturer’s drying time recommendations.
- Using a Paint Sprayer (Optional): A paint sprayer provides a smooth, even finish, especially for larger areas. Use a sprayer specifically designed for acrylic or enamel paint.
- Multiple Coats: Apply several thin coats of paint instead of one thick coat. This allows the paint to dry evenly and prevents runs or drips.
5. Finishing Touches: Enhancing the Look and Durability
Once the paint has dried, you can add finishing touches to enhance the look and durability of your Power Wheels paint job.
Finishing Techniques:
- Clear Coat (Optional): A clear coat adds a protective layer over the paint, enhancing its durability and shine. Choose a clear coat specifically designed for plastics. Apply it in thin, even coats, allowing each coat to dry completely before applying the next.
- Stencils (Optional): Add designs and patterns using stencils. Choose stencils that are durable and easy to clean. Secure the stencil to the surface with masking tape and apply paint over the stencil.
- Decals (Optional): Add decals to personalize your Power Wheels vehicle. Choose decals that are specifically designed for outdoor use. Apply them carefully, following the manufacturer’s instructions.
- Reassembly: Once the final coat of paint or clear coat has dried, carefully reassemble the Power Wheels vehicle.
6. Maintaining Your Power Wheels Paint Job: Keeping it Looking Fresh
To keep your Power Wheels paint job looking its best, follow these simple maintenance tips:
- Regular Cleaning: Wash the vehicle regularly with soap and water. Avoid harsh chemicals or abrasive cleaners that can damage the paint.
- Protection from the Elements: Store the Power Wheels vehicle indoors or cover it with a tarp when not in use. This protects the paint from sun damage, rain, and other elements.
- Touch-ups: If the paint chips or scratches, use a touch-up paint pen to repair the damage.
7. Safety Considerations: Protecting Yourself and Your Surroundings
Painting a Power Wheels vehicle involves working with paint and solvents, so it’s important to prioritize safety:
- Wear Safety Glasses: Always wear safety glasses when working with paint and solvents.
- Use a Paint Respirator: Protect yourself from paint fumes by wearing a paint respirator.
- Work in a Well-Ventilated Area: Paint in a well-ventilated area to allow fumes to dissipate.
- Keep Paint and Solvents Out of Reach of Children: Store paint and solvents in a safe place, out of reach of children and pets.
- Dispose of Paint and Solvents Properly: Dispose of paint and solvents according to local regulations.
8. Beyond the Basics: Exploring Advanced Techniques
For those seeking to take their Power Wheels paint job to the next level, consider exploring advanced techniques:
- Airbrushing: Airbrushing allows for precise control and intricate designs. It requires specialized equipment and practice.
- Pinstriping: Pinstriping adds a touch of elegance and detail. It requires a steady hand and specialized tools.
- Custom Graphics: Create custom graphics using a computer and a vinyl cutter. These graphics can be applied to the Power Wheels vehicle for a personalized touch.
9. Inspiration: Finding Ideas for Your Power Wheels Paint Job
Need inspiration for your Power Wheels paint job? Here are some ideas:
- Characters: Paint your Power Wheels vehicle as a favorite character from a movie, TV show, or book.
- Vehicles: Paint it like a race car, a monster truck, or a fire truck.
- Themes: Paint it with a sports team theme, a superhero theme, or a nature theme.
- Personalized Touches: Add your child’s name, initials, or a special message.
Conclusion: Embark on Your Power Wheels Painting Adventure
Painting your Power Wheels vehicle is a fun and rewarding project that allows you to unleash your creativity and give your child’s ride a unique, personalized touch. With the right supplies, preparation, and techniques, you can achieve a professional-looking result that will turn heads. Remember to prioritize safety and have fun with the process!
Rev Up Your Creativity: A Comprehensive Guide to Painting Your Power Wheels Vehicle
Post a Comment for "How To Paint A Power Wheels Vehicle: A Step-by-Step Guide"