Poppy Perfection: Acrylic Poppy Painting Techniques
Introduction
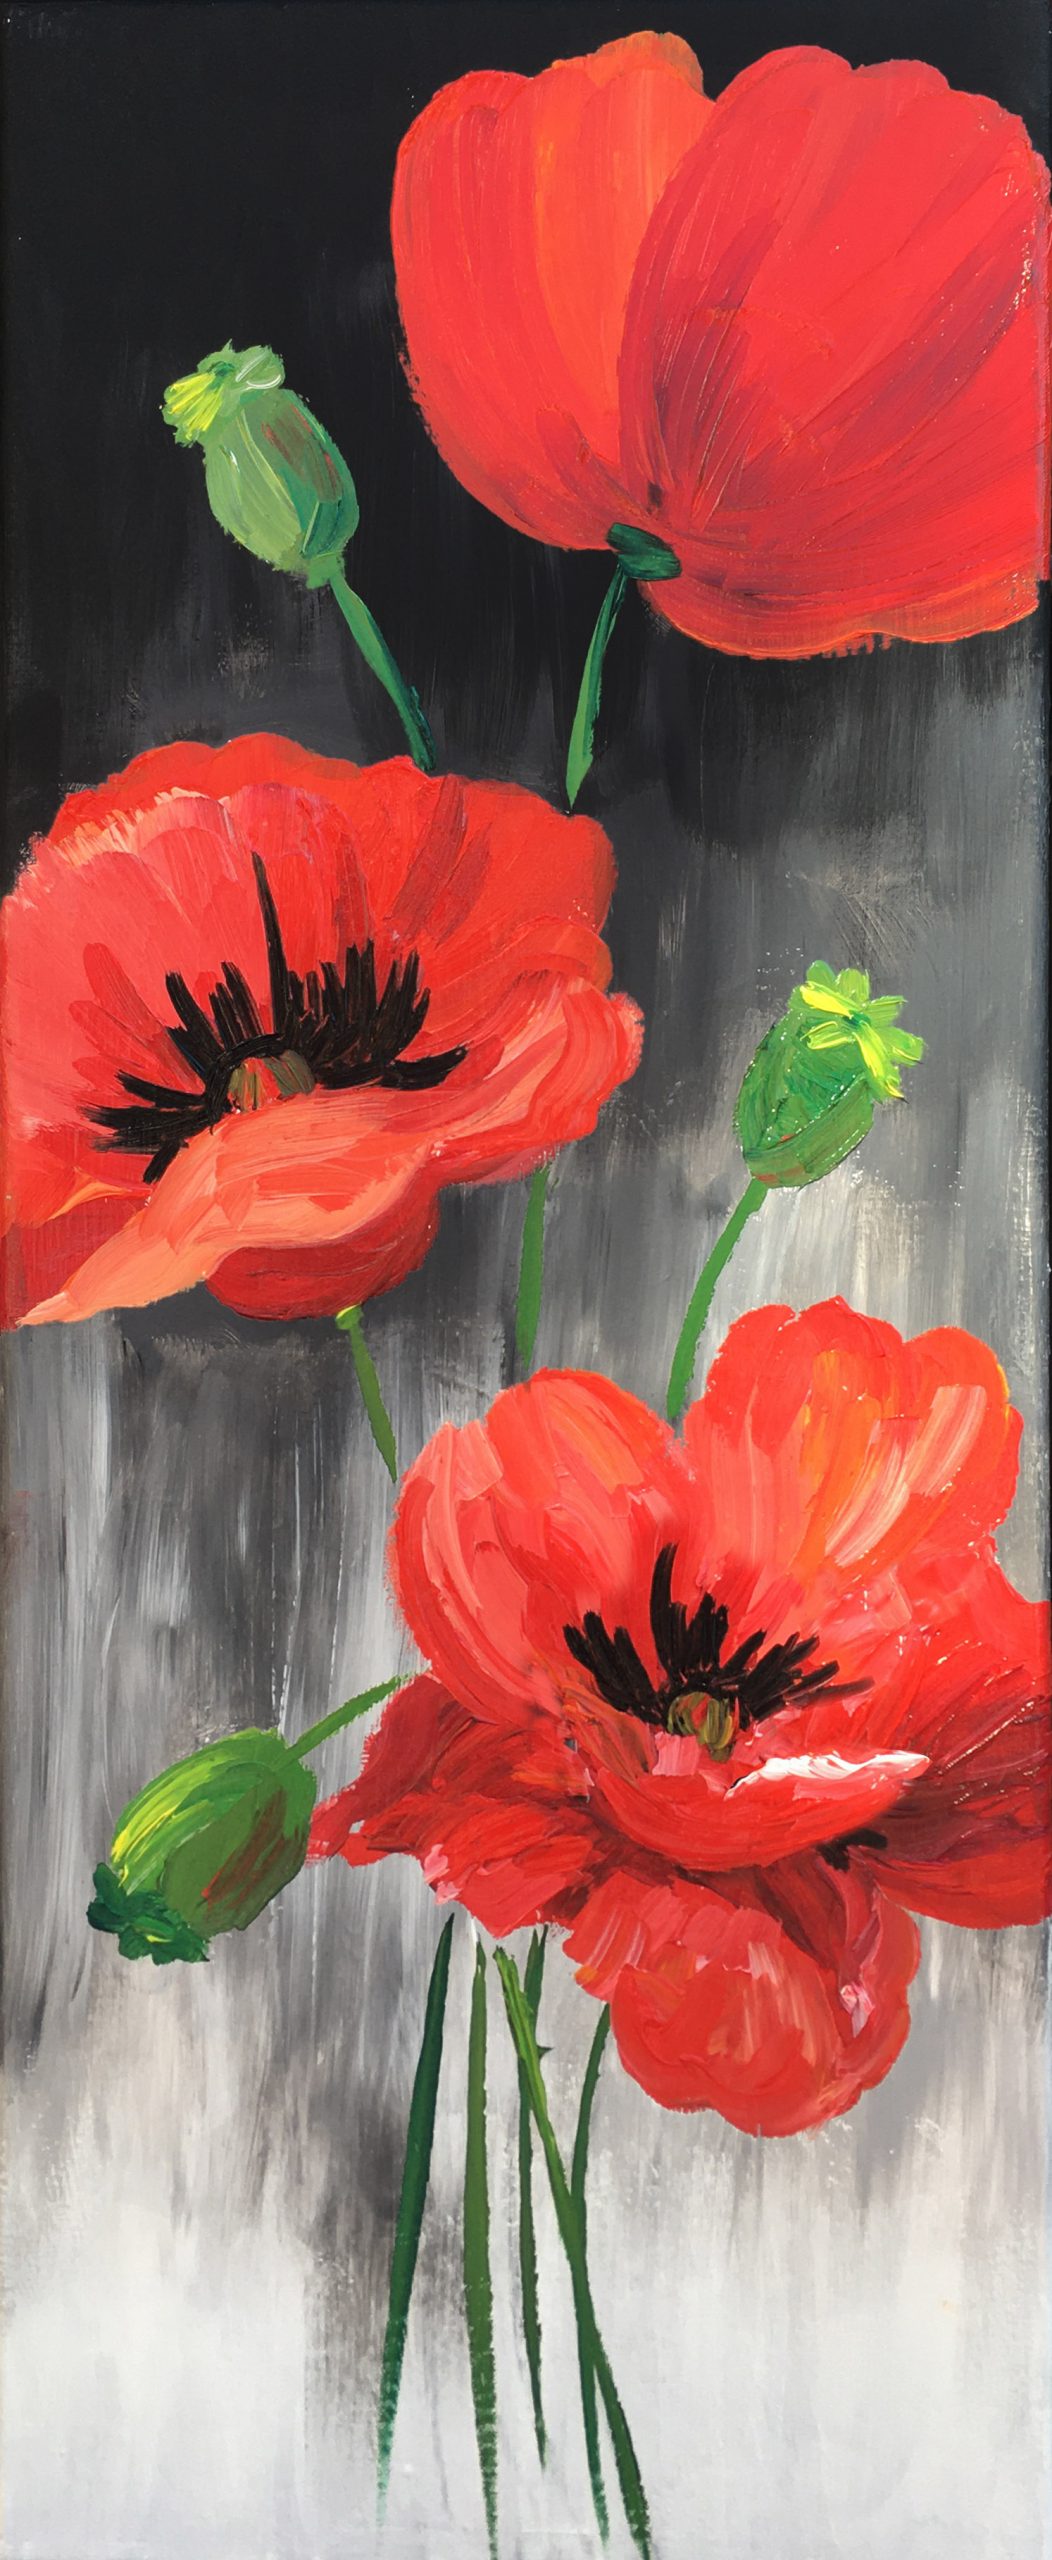
The vibrant and delicate poppy is a beloved subject for artists of all levels. Its distinctive petals, intricate details, and bold colors make it a captivating choice for acrylic painting. In this comprehensive guide, we will delve into the techniques and secrets of creating stunning acrylic poppy paintings.
Materials
- Acrylic paints in various shades of red, orange, yellow, green, and black
- Canvas or painting surface
- Brushes of various sizes and shapes (round, flat, filbert)
- Palette
- Palette knife
- Water container
- Rags
Step-by-Step Instructions
1. Sketching the Outline
Begin by lightly sketching the outline of your poppy on the canvas. Use a pencil or charcoal to create a loose and fluid sketch. Focus on capturing the overall shape and movement of the flower.
2. Base Layer
Apply a thin layer of acrylic paint in a light shade of red to the entire canvas. This will serve as the base layer and provide a foundation for the subsequent layers.
3. Defining the Petals
Using a round brush, apply a darker shade of red to the base of the petals. Gradually blend the color towards the edges, creating a gradient effect. Use a filbert brush to shape and define the individual petals.
4. Adding Depth and Texture
Mix a small amount of black paint with the red to create a darker shade. Use this mixture to paint the shadows and crevices within the petals. Use a palette knife to create texture by dragging the paint across the surface.
5. Highlights and Veins
To add highlights, mix a small amount of white paint with the base red. Use a fine brush to apply delicate brushstrokes along the edges of the petals. For the veins, use a thin brush and a dark green or black paint to create subtle lines radiating from the center of the flower.
6. Stem and Leaves
Paint the stem and leaves using a combination of green and yellow acrylics. Use a round brush to create a cylindrical shape for the stem and a filbert brush to create the leaves. Add veins and texture to the leaves using a darker shade of green.
7. Finishing Touches
Once the main elements are complete, add finishing touches to enhance the realism and depth of the painting. Use a small brush to paint tiny black dots or speckles on the petals to simulate pollen. You can also add a touch of white to the center of the flower to create a subtle glow.
Tips for Success
- Use a variety of brush sizes and shapes to create different effects.
- Experiment with blending and layering techniques to achieve depth and realism.
- Pay attention to the direction of the brushstrokes to mimic the natural flow of the petals.
- Allow each layer to dry completely before applying the next to avoid muddiness.
- Don’t be afraid to make mistakes; acrylics are easily correctable.
Conclusion
With patience, practice, and the techniques outlined in this guide, you can create stunning acrylic poppy paintings that capture the beauty and fragility of these beloved flowers. Remember to experiment with different colors, textures, and brushstrokes to find your own unique style.
Post a Comment for "Poppy Perfection: Acrylic Poppy Painting Techniques"