Honda Rim Touch Up Paint: A Complete Application Guide
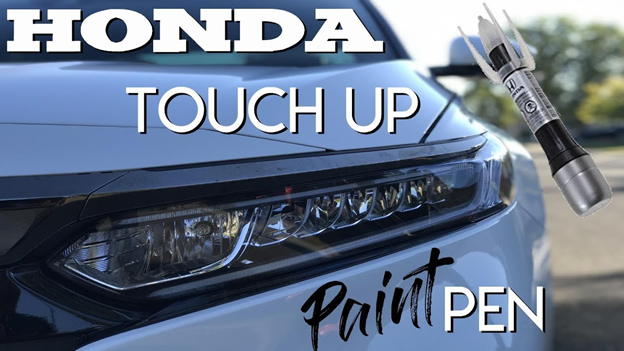
Table of Content
- 1 Honda Rim Touch Up Paint: A Complete Application Guide
- 1.1 1. Choosing the Right Honda Rim Touch Up Paint
- 1.2 2. Preparing the Rims for Touch-Up
- 1.3 3. Applying the Honda Rim Touch Up Paint
- 1.4 4. Finishing Touches for a Professional Look
- 1.5 5. Additional Tips for Successful Rim Touch-Up
- 1.6 Conclusion:
Maintaining the pristine look of your Honda’s wheels is crucial for preserving its overall aesthetic appeal and value. Unfortunately, minor scratches, chips, and abrasions are inevitable, especially during everyday driving. While a full repaint might seem like the only solution, a simple touch-up with the right paint can effectively restore your rims to their former glory.
This comprehensive guide will equip you with the necessary knowledge and techniques to achieve professional-looking results when applying Honda rim touch-up paint. We’ll cover everything from selecting the right paint to the proper application techniques, ensuring a smooth, durable, and seamless finish.
1. Choosing the Right Honda Rim Touch Up Paint
The first step is selecting the correct paint for your Honda’s rims. This involves identifying the specific paint code and obtaining the matching touch-up paint.
a) Identifying the Paint Code:
- Locate the Paint Code: The paint code is usually found on a sticker located on the driver’s side doorjamb, under the hood, or in the spare tire well. It may be labeled as "Paint Code," "Color Code," or "Body Color."
- Record the Code: Carefully note down the paint code, ensuring accuracy.
- Cross-Reference with Honda’s Paint Chart: Use the paint code to find the corresponding color name and description on Honda’s official paint chart. This can be accessed online or through your local Honda dealership.
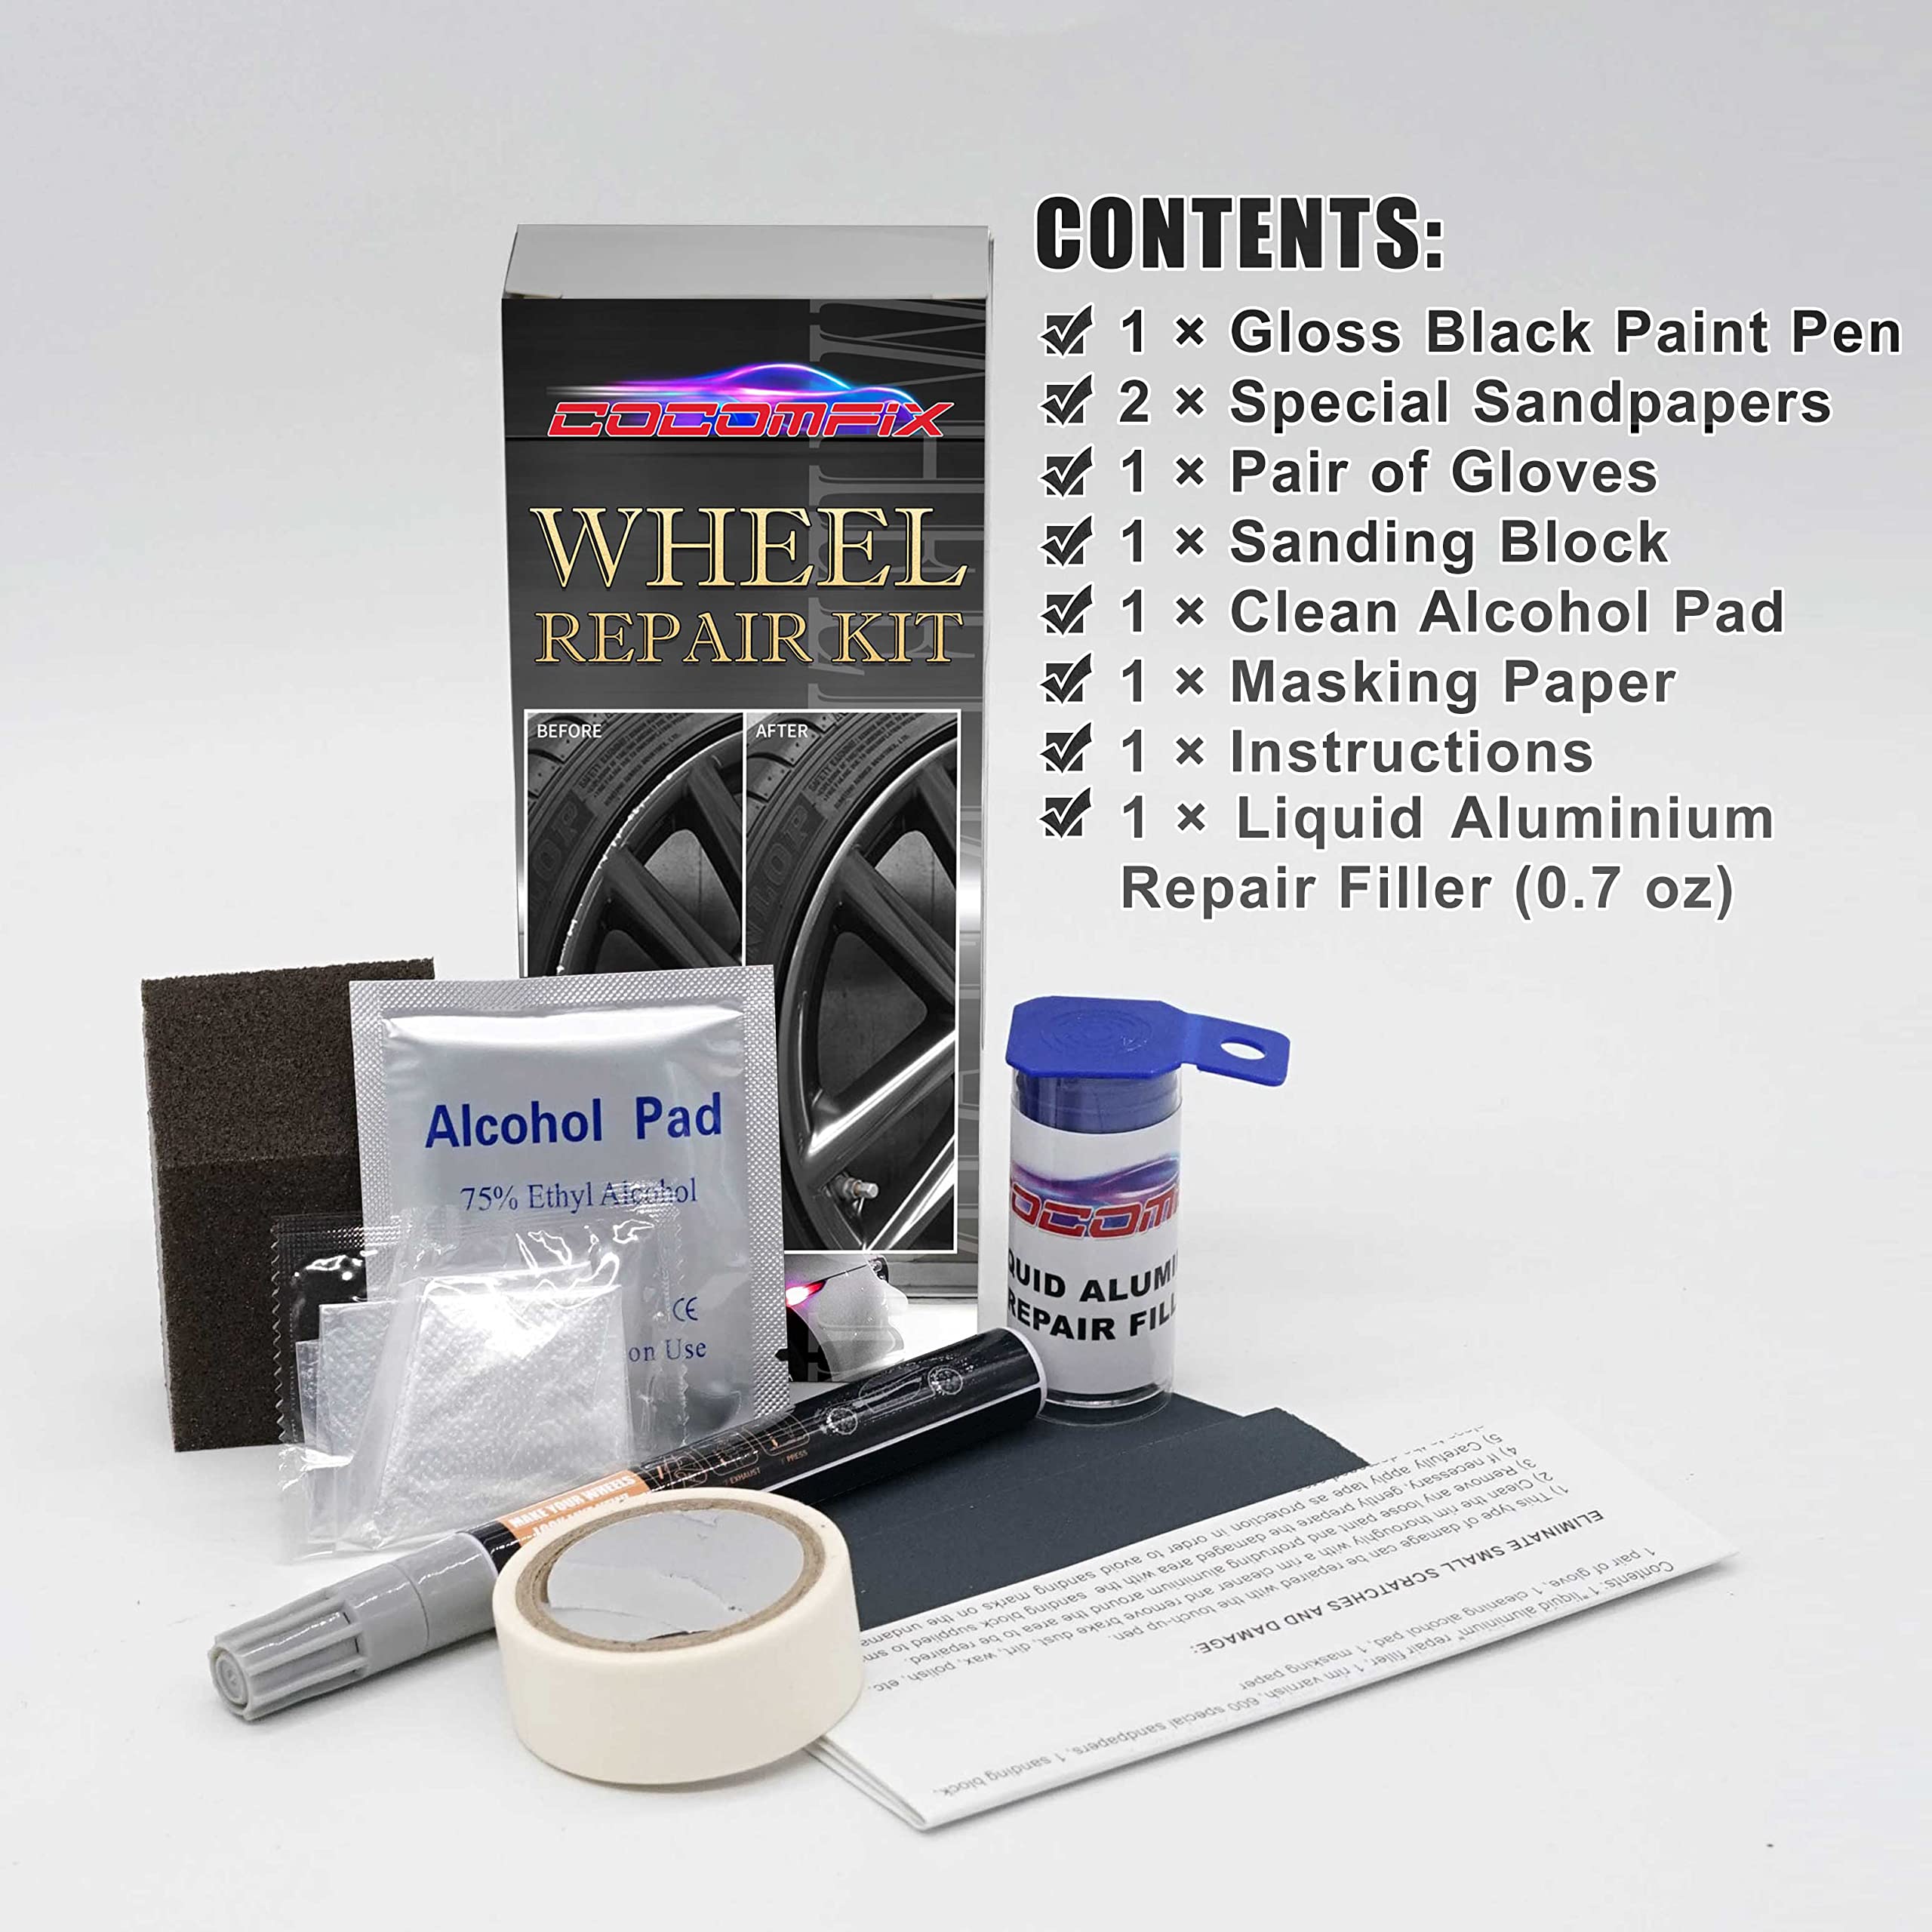
b) Obtaining the Touch-Up Paint:
- Honda Dealership: The most reliable source for genuine Honda touch-up paint is your local dealership. They can provide you with the correct color and formulation, ensuring a perfect match.
- Online Retailers: Reputable online retailers specializing in automotive paint also offer touch-up paint options for Honda vehicles. Ensure they provide accurate paint codes and compatibility information.
- Automotive Supply Stores: Local automotive supply stores may carry touch-up paint for popular Honda models. However, confirm the paint code and compatibility before purchasing.

2. Preparing the Rims for Touch-Up
Proper preparation is essential for achieving a flawless touch-up finish. This involves cleaning, sanding, and masking the affected areas.
a) Cleaning the Rims:
- Wash Thoroughly: Begin by washing your rims with a mild car wash soap and water. Ensure you remove any dirt, grime, or debris that may interfere with the paint adhesion.
- Degrease the Surface: Use a dedicated automotive degreaser or rubbing alcohol to remove any remaining grease, oil, or wax residue.
- Dry Thoroughly: Allow the rims to dry completely before proceeding to the next step.
b) Sanding the Affected Area:
- Use Fine-Grit Sandpaper: Choose fine-grit sandpaper (400-600 grit) for sanding the damaged area. This will smooth out the surface and create a better bonding surface for the touch-up paint.
- Sand Lightly: Sand the affected area gently in a circular motion, avoiding excessive pressure. The goal is to create a smooth, even surface, not to remove significant amounts of material.
- Remove Sanding Dust: After sanding, use a clean cloth or compressed air to remove all sanding dust from the rim.
c) Masking the Surrounding Area:
- Use Masking Tape: Apply masking tape around the damaged area, ensuring it is securely adhered to the rim. This will protect the surrounding paint from accidental overspray.
- Overlap Tape for Added Protection: Overlap the masking tape slightly for extra protection and prevent paint from seeping underneath.
- Use Masking Paper for Larger Areas: If the damaged area is extensive, use masking paper to cover the entire rim and provide a clean, protected surface.
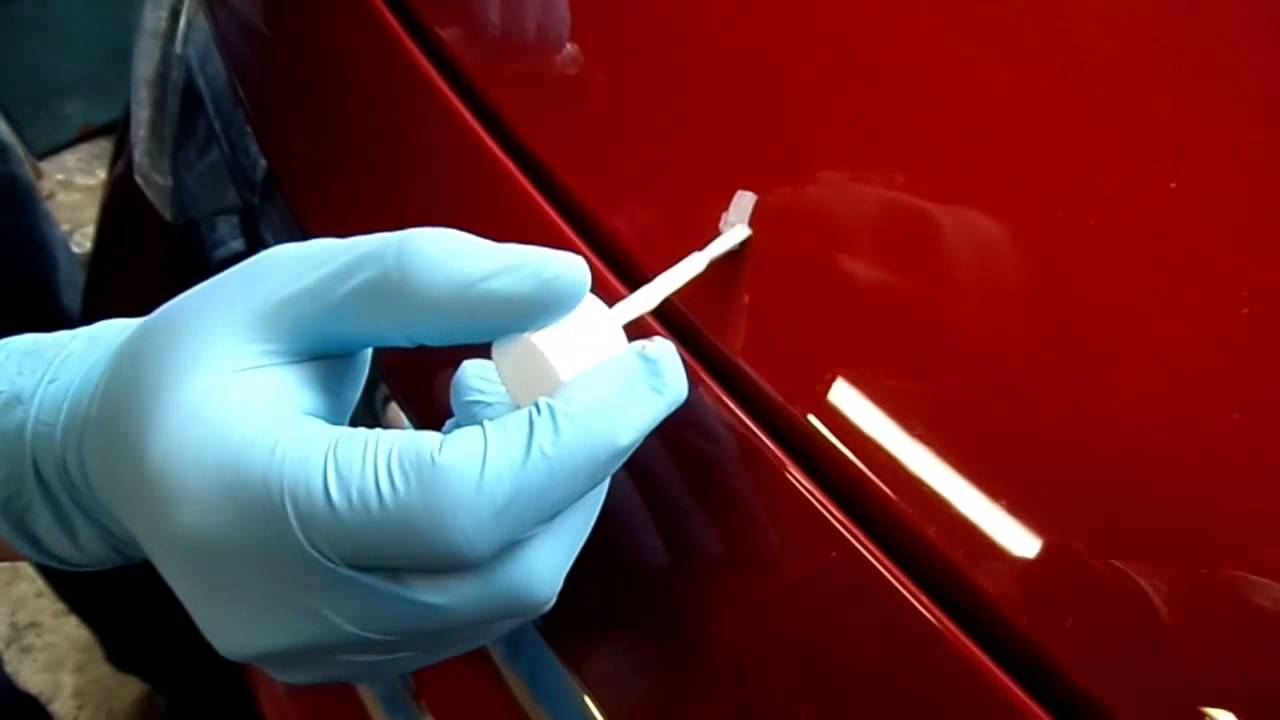
3. Applying the Honda Rim Touch Up Paint
Once the preparation is complete, it’s time to apply the touch-up paint. Follow these steps for optimal results:
a) Shake the Paint Thoroughly:
- Shake Vigorously: Before applying the paint, shake the bottle vigorously for at least one minute to ensure the pigments are evenly dispersed.
- Shake Periodically: Continue shaking the bottle periodically during application to maintain the paint’s consistency.
b) Apply Thin Coats:
- Use a Small Brush: Apply the touch-up paint using a small, high-quality paintbrush designed for automotive applications.
- Apply Thin Coats: Apply thin, even coats of paint, allowing each coat to dry completely before applying the next. This prevents paint buildup and ensures a smooth finish.
- Feather the Edges: As you reach the edges of the damaged area, feather the paint gently to create a seamless transition with the surrounding paint.
c) Allow the Paint to Dry:
- Drying Time: Allow the touch-up paint to dry completely according to the manufacturer’s instructions. This typically takes several hours.
- Avoid Touching: Avoid touching the paint during the drying process to prevent smudging or damaging the finish.
4. Finishing Touches for a Professional Look
After the touch-up paint has dried, you can enhance the finish and ensure a long-lasting result.
a) Sanding and Polishing:
- Sand with Fine-Grit Sandpaper: Once the paint is completely dry, use fine-grit sandpaper (1000-1500 grit) to smooth out any imperfections or brushstrokes.
- Polish the Surface: After sanding, use a polishing compound designed for automotive paint to restore the shine and gloss to the touch-up area.
b) Applying a Clear Coat:
- Optional Clear Coat: For added protection and durability, consider applying a clear coat over the touch-up paint.
- Use Automotive Clear Coat: Choose a high-quality automotive clear coat specifically designed for rims.
- Apply Thin Coats: Apply thin, even coats of clear coat, allowing each coat to dry completely before applying the next.
c) Cleaning and Inspection:
- Clean the Rims: After applying the clear coat (if used), thoroughly clean the rims to remove any dust or debris.
- Inspect the Finish: Carefully inspect the touch-up area to ensure a seamless and professional-looking finish.
5. Additional Tips for Successful Rim Touch-Up
- Work in a Well-Ventilated Area: When applying touch-up paint, ensure you are working in a well-ventilated area to avoid inhaling harmful fumes.
- Use Protective Gear: Wear gloves, a respirator mask, and eye protection to safeguard yourself from paint fumes and potential skin irritation.
- Practice on a Scrap Surface: Before applying the touch-up paint to your rims, practice on a scrap piece of metal or plastic to get a feel for the paint’s consistency and application technique.
- Avoid Excessive Heat or Cold: Avoid applying touch-up paint in extreme heat or cold temperatures, as this can affect the paint’s drying time and adhesion.
- Consult a Professional for Extensive Damage: If the damage to your rims is extensive or you are unsure about the touch-up process, consult a professional auto body shop for assistance.
Conclusion:
Applying Honda rim touch-up paint effectively can restore your rims to their original condition and enhance your vehicle’s overall appearance. By following this comprehensive guide, you can achieve professional-looking results and enjoy the satisfaction of a DIY repair. Remember, proper preparation, careful application, and attention to detail are key to achieving a flawless finish.

Honda Rim Touch Up Paint: A Complete Application Guide
Post a Comment for "Honda Rim Touch Up Paint: A Complete Application Guide"