Painting Your Toenails: A Guide for Every Body Type

Table of Content
Achieving a flawless pedicure can be a fun and rewarding experience, regardless of your body type. This comprehensive guide will provide you with expert tips and techniques specifically tailored to make painting your toenails a breeze, even if you’re overweight.
Understanding the Challenges
While painting your toenails may seem simple, certain factors can make it more challenging for individuals who are overweight. These include:
- Limited Reach: Reaching your toes comfortably can be a struggle, especially if you have a larger stomach or thighs.
- Skin Folds: Skin folds around the toes can trap polish, leading to smudging and uneven application.
- Limited Visibility: It can be difficult to see your toes clearly, making precise painting more challenging.
Mastering the Techniques
Don’t let these challenges deter you! By following these proven techniques, you can conquer any obstacle and achieve a salon-worthy pedicure:

1. Preparation is Key:
- Invest in a good footstool: This will elevate your feet and make reaching your toes easier. Look for a stool with adjustable height and a sturdy base.
- Use a mirror: A handheld mirror will allow you to see your toes from different angles, ensuring precise application.
- Choose the right polish: Opt for quick-drying formulas that minimize smudging.
- Gather your tools: Ensure you have all the necessary tools readily available, including nail clippers, a cuticle pusher, cotton balls, nail polish remover, and a base coat.
2. Nail Care:
- Soak your feet: A warm foot soak softens the skin and cuticles, making nail trimming and shaping easier.
- Trim and file your nails: Cut your nails straight across to prevent ingrown toenails. File them into your desired shape, paying attention to evenness.
- Push back your cuticles: Use a cuticle pusher to gently push back your cuticles, ensuring a clean canvas for polish application.
- Exfoliate your feet: Use a foot scrub to remove dead skin cells, leaving your feet smooth and polished.
3. Nail Painting Strategies:
- Start with a base coat: This protects your nails from staining and helps the polish last longer.
- Use a thin coat: Apply thin coats of polish to prevent smudging and ensure even coverage.
- Let each coat dry completely: Patience is key! Allow each coat to dry thoroughly before applying the next.
- Use a nail art brush for precision: For intricate designs or detailed work, use a fine nail art brush to achieve a polished look.
- Clean up any mistakes: Use a cotton swab dipped in nail polish remover to clean up any smudges or spills.
4. Addressing Specific Challenges:
- Limited Reach:
- Utilize a long-handled nail polish brush: This allows you to reach your toes without straining.
- Ask for help: Don’t be afraid to ask a friend or family member to assist you with reaching your toes.
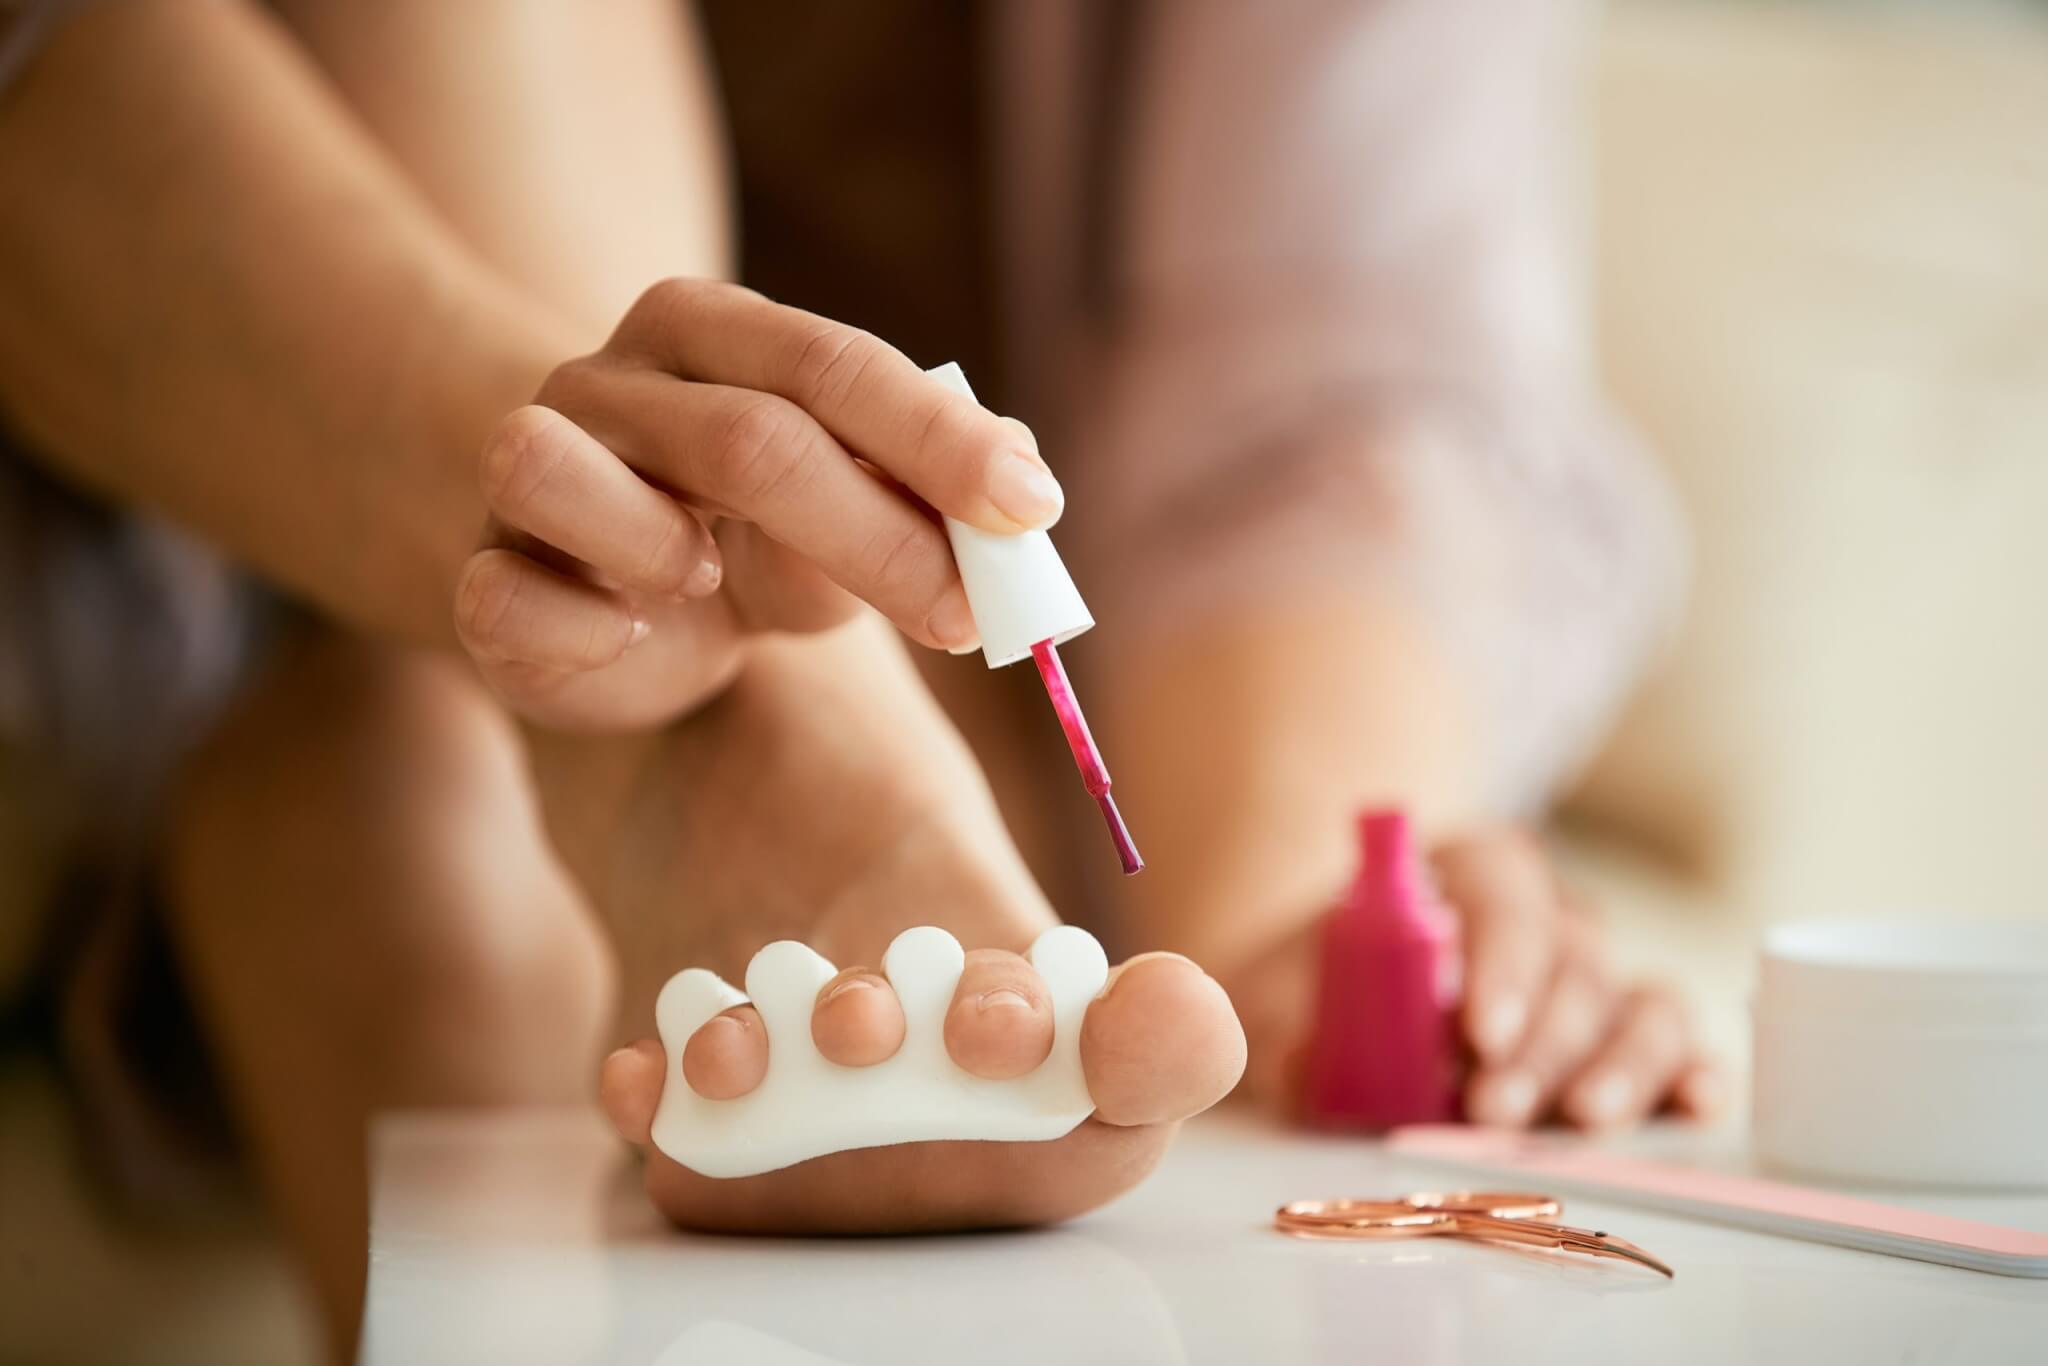
- Skin Folds:
- Use a thin layer of petroleum jelly: Apply a thin layer of petroleum jelly around your toes to prevent polish from getting trapped in skin folds.
- Apply a "barrier" layer: Use a thin layer of clear nail polish around the edges of your nails to create a barrier that prevents smudging.
- Limited Visibility:
- Use a magnifying mirror: This will help you see your toes more clearly, especially for intricate designs.
- Paint in stages: Focus on one toe at a time, allowing each toe to dry completely before moving on to the next.
5. Finishing Touches:
- Apply a top coat: This seals in the color and adds a glossy finish.
- Use a quick-drying spray: This speeds up the drying process, allowing you to enjoy your new pedicure sooner.
6. Maintaining Your Pedicure:
- Avoid wearing tight shoes: Tight shoes can smudge your polish and make it chip faster.
- Use a top coat regularly: Reapply a top coat every few days to keep your polish looking fresh.
- Soak your feet regularly: Regular foot soaks help to keep your feet soft and hydrated, preventing dry, cracked skin.
7. Additional Tips:
- Use a polish remover specifically for glitter polish: Glitter polish can be difficult to remove, so use a remover specifically designed for this type of polish.
- Consider using a nail polish dryer: These devices use UV light to dry your polish quickly, saving you time and preventing smudging.
- Experiment with different colors and designs: Don’t be afraid to try different colors and designs to find what you love.
Conclusion:
Painting your toenails can be an enjoyable and empowering experience, regardless of your body type. With the right techniques and a little patience, you can achieve a flawless pedicure that you’ll love. Remember to prioritize your comfort and safety, and don’t hesitate to ask for help if needed. Embrace your individuality and enjoy the process of pampering yourself!
Diagram: Tools for a Perfect Pedicure
| Tool | Description |
|---|---|
| Footstool | Adjustable height, sturdy base |
| Handheld Mirror | For clear visibility of your toes |
| Nail Clippers | For trimming nails straight across |
| Nail File | For shaping nails into your desired shape |
| Cuticle Pusher | For gently pushing back cuticles |
| Cotton Balls | For cleaning up polish spills and mistakes |
| Nail Polish Remover | For removing polish and cleaning up mistakes |
| Base Coat | Protects nails from staining and helps polish last longer |
| Nail Polish | In your desired color and finish |
| Top Coat | Seals in color and adds a glossy finish |
| Quick-Drying Spray | Speeds up drying time |
| Nail Art Brush | For intricate designs and detailed work |
| Petroleum Jelly | Prevents polish from getting trapped in skin folds |
| Foot Scrub | Removes dead skin cells and leaves feet smooth |
**Keyword-Rich
Painting Your Toenails: A Guide for Every Body Type
Post a Comment for "How To Paint Your Toenails When You're Overweight: Helpful Tips"