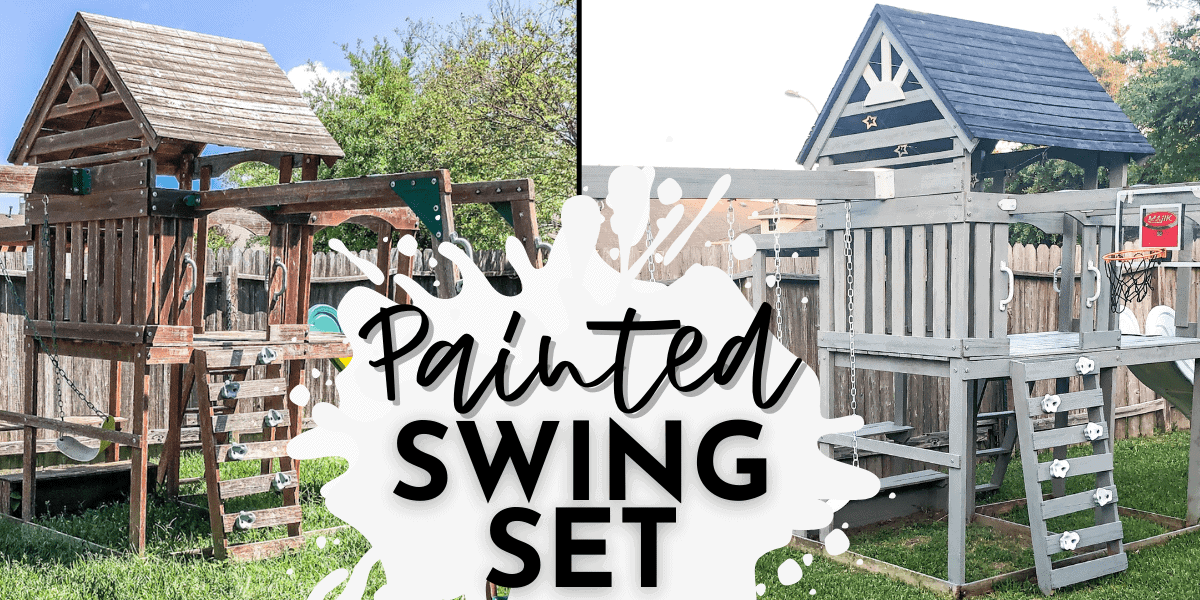
Transform Your Backyard into a Vibrant Playground: Building a Colorful Painted Swing Set
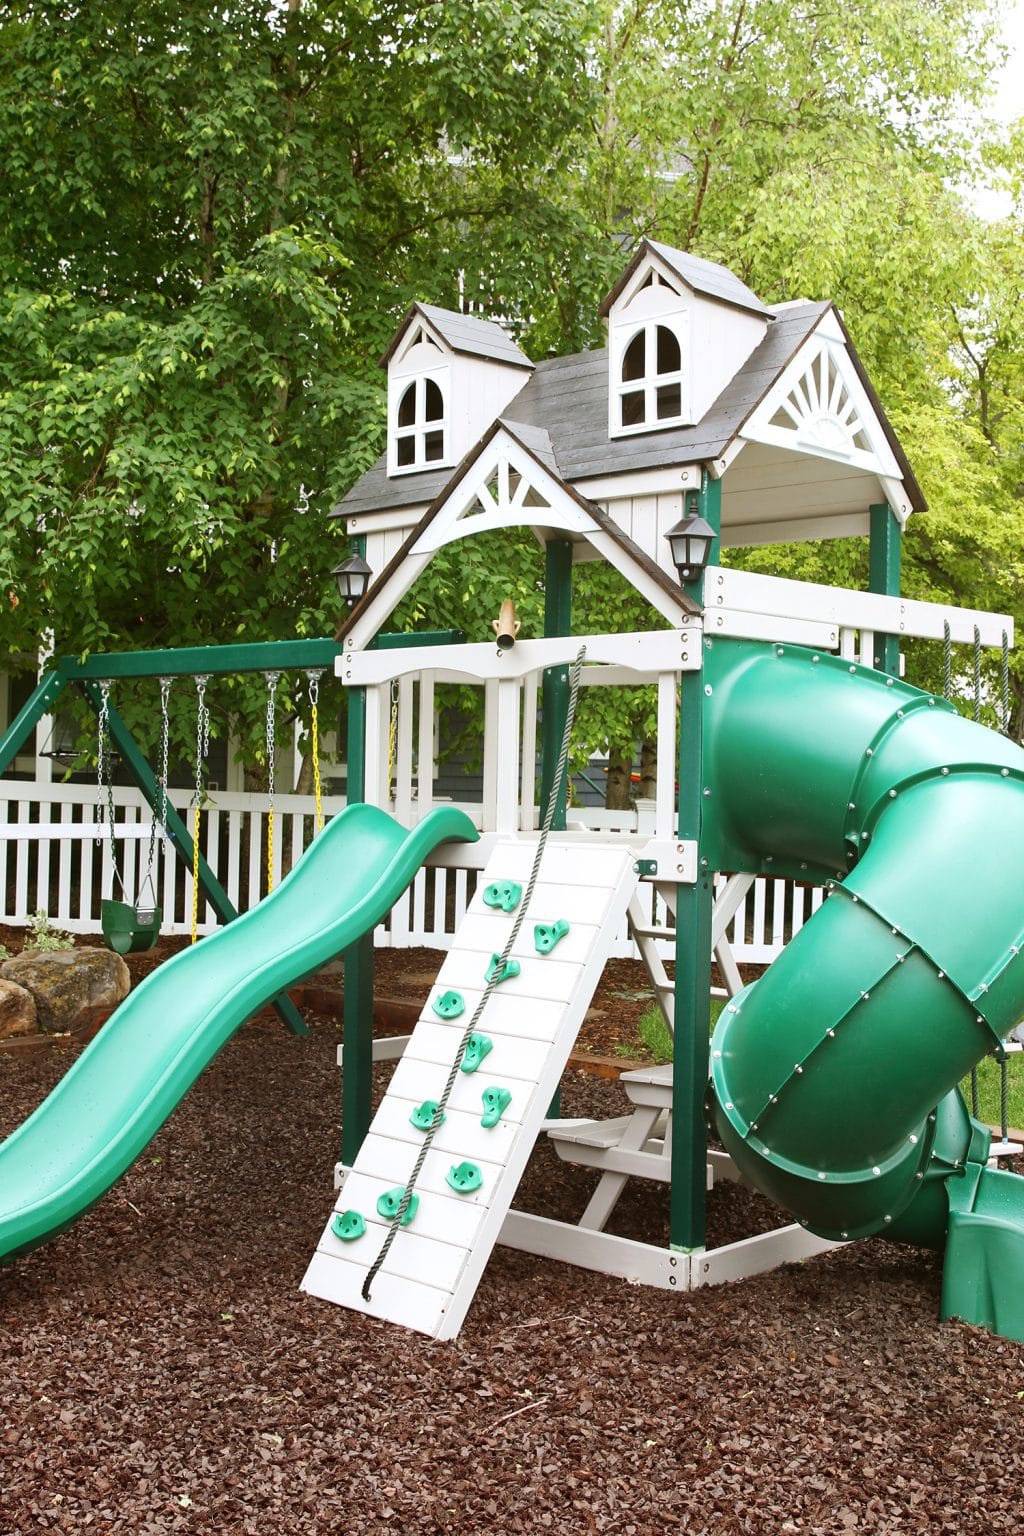
Table of Content
- 1 Transform Your Backyard into a Vibrant Playground: Building a Colorful Painted Swing Set
- 1.1 Planning Your Painted Swing Set: A Rainbow of Possibilities
- 1.2 Building Your Painted Swing Set: A Step-by-Step Guide
- 1.3 Creative Painting Techniques for Your Swing Set
- 1.4 Adding Functionality to Your Painted Swing Set
- 1.5 Maintaining Your Painted Swing Set: Ensuring Long-Lasting Beauty
- 1.6 Pricing Your Painted Swing Set Project
- 1.7 Safety Considerations for Your Painted Swing Set
- 1.8 Conclusion: A Vibrant Backdrop for Childhood Memories
A swing set isn’t just a piece of playground equipment; it’s a portal to childhood joy, a canvas for imagination, and a focal point for family fun. But why settle for a standard, boring wooden structure when you can create a vibrant, colorful masterpiece that’s as unique as your family? Building a painted swing set is a rewarding DIY project that allows you to unleash your creativity and transform your backyard into a colorful playground.
Planning Your Painted Swing Set: A Rainbow of Possibilities
Before you dive into the world of paints and brushes, it’s essential to plan your project. Consider the following factors:
1. Swing Set Design:
- Traditional A-Frame: This classic design is sturdy and versatile, accommodating swings, slides, and climbing structures.
- Modern Playset: Explore contemporary designs featuring curved elements, platforms, and unique climbing features.
- Custom-Designed: Let your imagination run wild and create a swing set that reflects your family’s personality and interests.
2. Material Choice:
- Pressure-Treated Wood: Offers durability and resistance to rot and insects, perfect for outdoor use.
- Cedar: Known for its natural resistance to decay and beautiful reddish hue.
- Metal: Provides a sleek and modern look, but may require additional rust protection.

3. Paint Selection:
- Exterior Paint: Choose a high-quality exterior paint designed for wood or metal, offering weather resistance and long-lasting color.
- Acrylic Paint: Offers vibrant colors, easy application, and water-based cleanup.
- Chalkboard Paint: Turn your swing set into an interactive canvas for kids to draw and express themselves.

4. Color Palette:
- Bright and Bold: Choose vibrant hues like reds, yellows, blues, and greens for a playful and energetic feel.
- Pastel Tones: Opt for softer colors like pinks, blues, and greens for a more calming and whimsical atmosphere.
- Nature-Inspired: Draw inspiration from the surrounding landscape with earthy tones like browns, greens, and blues.
5. Theme and Design:
- Fantasy World: Create a magical world with whimsical characters, dragons, and enchanted forests.
- Animal Kingdom: Feature your favorite animals, from playful monkeys to majestic lions.
- Nautical Adventure: Embark on a seafaring journey with boats, anchors, and nautical flags.
6. Safety and Accessibility:
- Age-Appropriate Design: Ensure the swing set is safe and accessible for the intended age group.
- Sturdy Construction: Use high-quality materials and secure all joints for a stable and safe structure.
- Proper Installation: Follow manufacturer’s instructions and ensure the swing set is installed on a level surface.
Building Your Painted Swing Set: A Step-by-Step Guide
Now that you have your plan, let’s get down to the fun part – building your colorful masterpiece!
1. Prepare the Swing Set:
- Clean the Surface: Thoroughly clean the wood or metal with soap and water, removing any dirt, debris, or previous paint.
- Sand the Surface: Sand the wood with fine-grit sandpaper to create a smooth surface for paint adhesion.
- Prime the Surface: Apply a primer specifically designed for wood or metal, ensuring even coverage.
2. Choose Your Colors:
- Color Scheme: Decide on your color palette and create a visual plan to guide your painting process.
- Test Colors: Test the colors on a scrap piece of wood or metal to ensure you’re happy with the final result.
3. Painting the Swing Set:
- Apply Paint: Use a high-quality paintbrush or roller to apply even coats of paint to the swing set.
- Multiple Coats: Apply multiple thin coats of paint, allowing each coat to dry completely before applying the next.
- Details and Designs: Use stencils, masking tape, or freehand techniques to add intricate details and designs.
4. Adding Finishing Touches:
- Decorative Elements: Incorporate decorative elements like colorful knobs, whimsical characters, or painted flowers.
- Sealing the Paint: Apply a clear sealant to protect the paint from weathering and UV rays.
- Personalize Your Swing Set: Add your family’s names, initials, or a special message to create a truly unique piece.
Creative Painting Techniques for Your Swing Set
Unleash your inner artist with these creative painting techniques:
1. Stenciling:
- Choose a Stencil: Select stencils featuring your chosen themes or designs.
- Secure the Stencil: Use painter’s tape to secure the stencil firmly to the surface.
- Apply Paint: Apply paint carefully within the stencil’s boundaries, using a brush or roller.
2. Masking Tape:
- Create Geometric Patterns: Use masking tape to create straight lines, squares, and other geometric patterns.
- Apply Paint: Paint within the designated areas, removing the tape once the paint has dried.
3. Freehand Painting:
- Sketch Your Design: Sketch your design lightly on the surface before applying paint.
- Use a Steady Hand: Use a brush or roller to create your design, layering colors and adding details.
4. Sponge Painting:
- Dip Sponge in Paint: Dip a sponge into your chosen paint color.
- Dab onto the Surface: Dab the sponge onto the surface to create a textured effect.
5. Spatter Painting:
- Load Brush with Paint: Load a brush with paint and hold it over the surface.
- Flick the Brush: Flick the brush to create splatters of paint, creating a dynamic and playful look.
Adding Functionality to Your Painted Swing Set
Beyond its vibrant appearance, your painted swing set can also be equipped with various functional features:
1. Swings:
- Traditional Swings: Classic swings provide endless hours of swinging fun.
- Baby Swings: Ensure your youngest members can join in the fun with safe and comfortable baby swings.
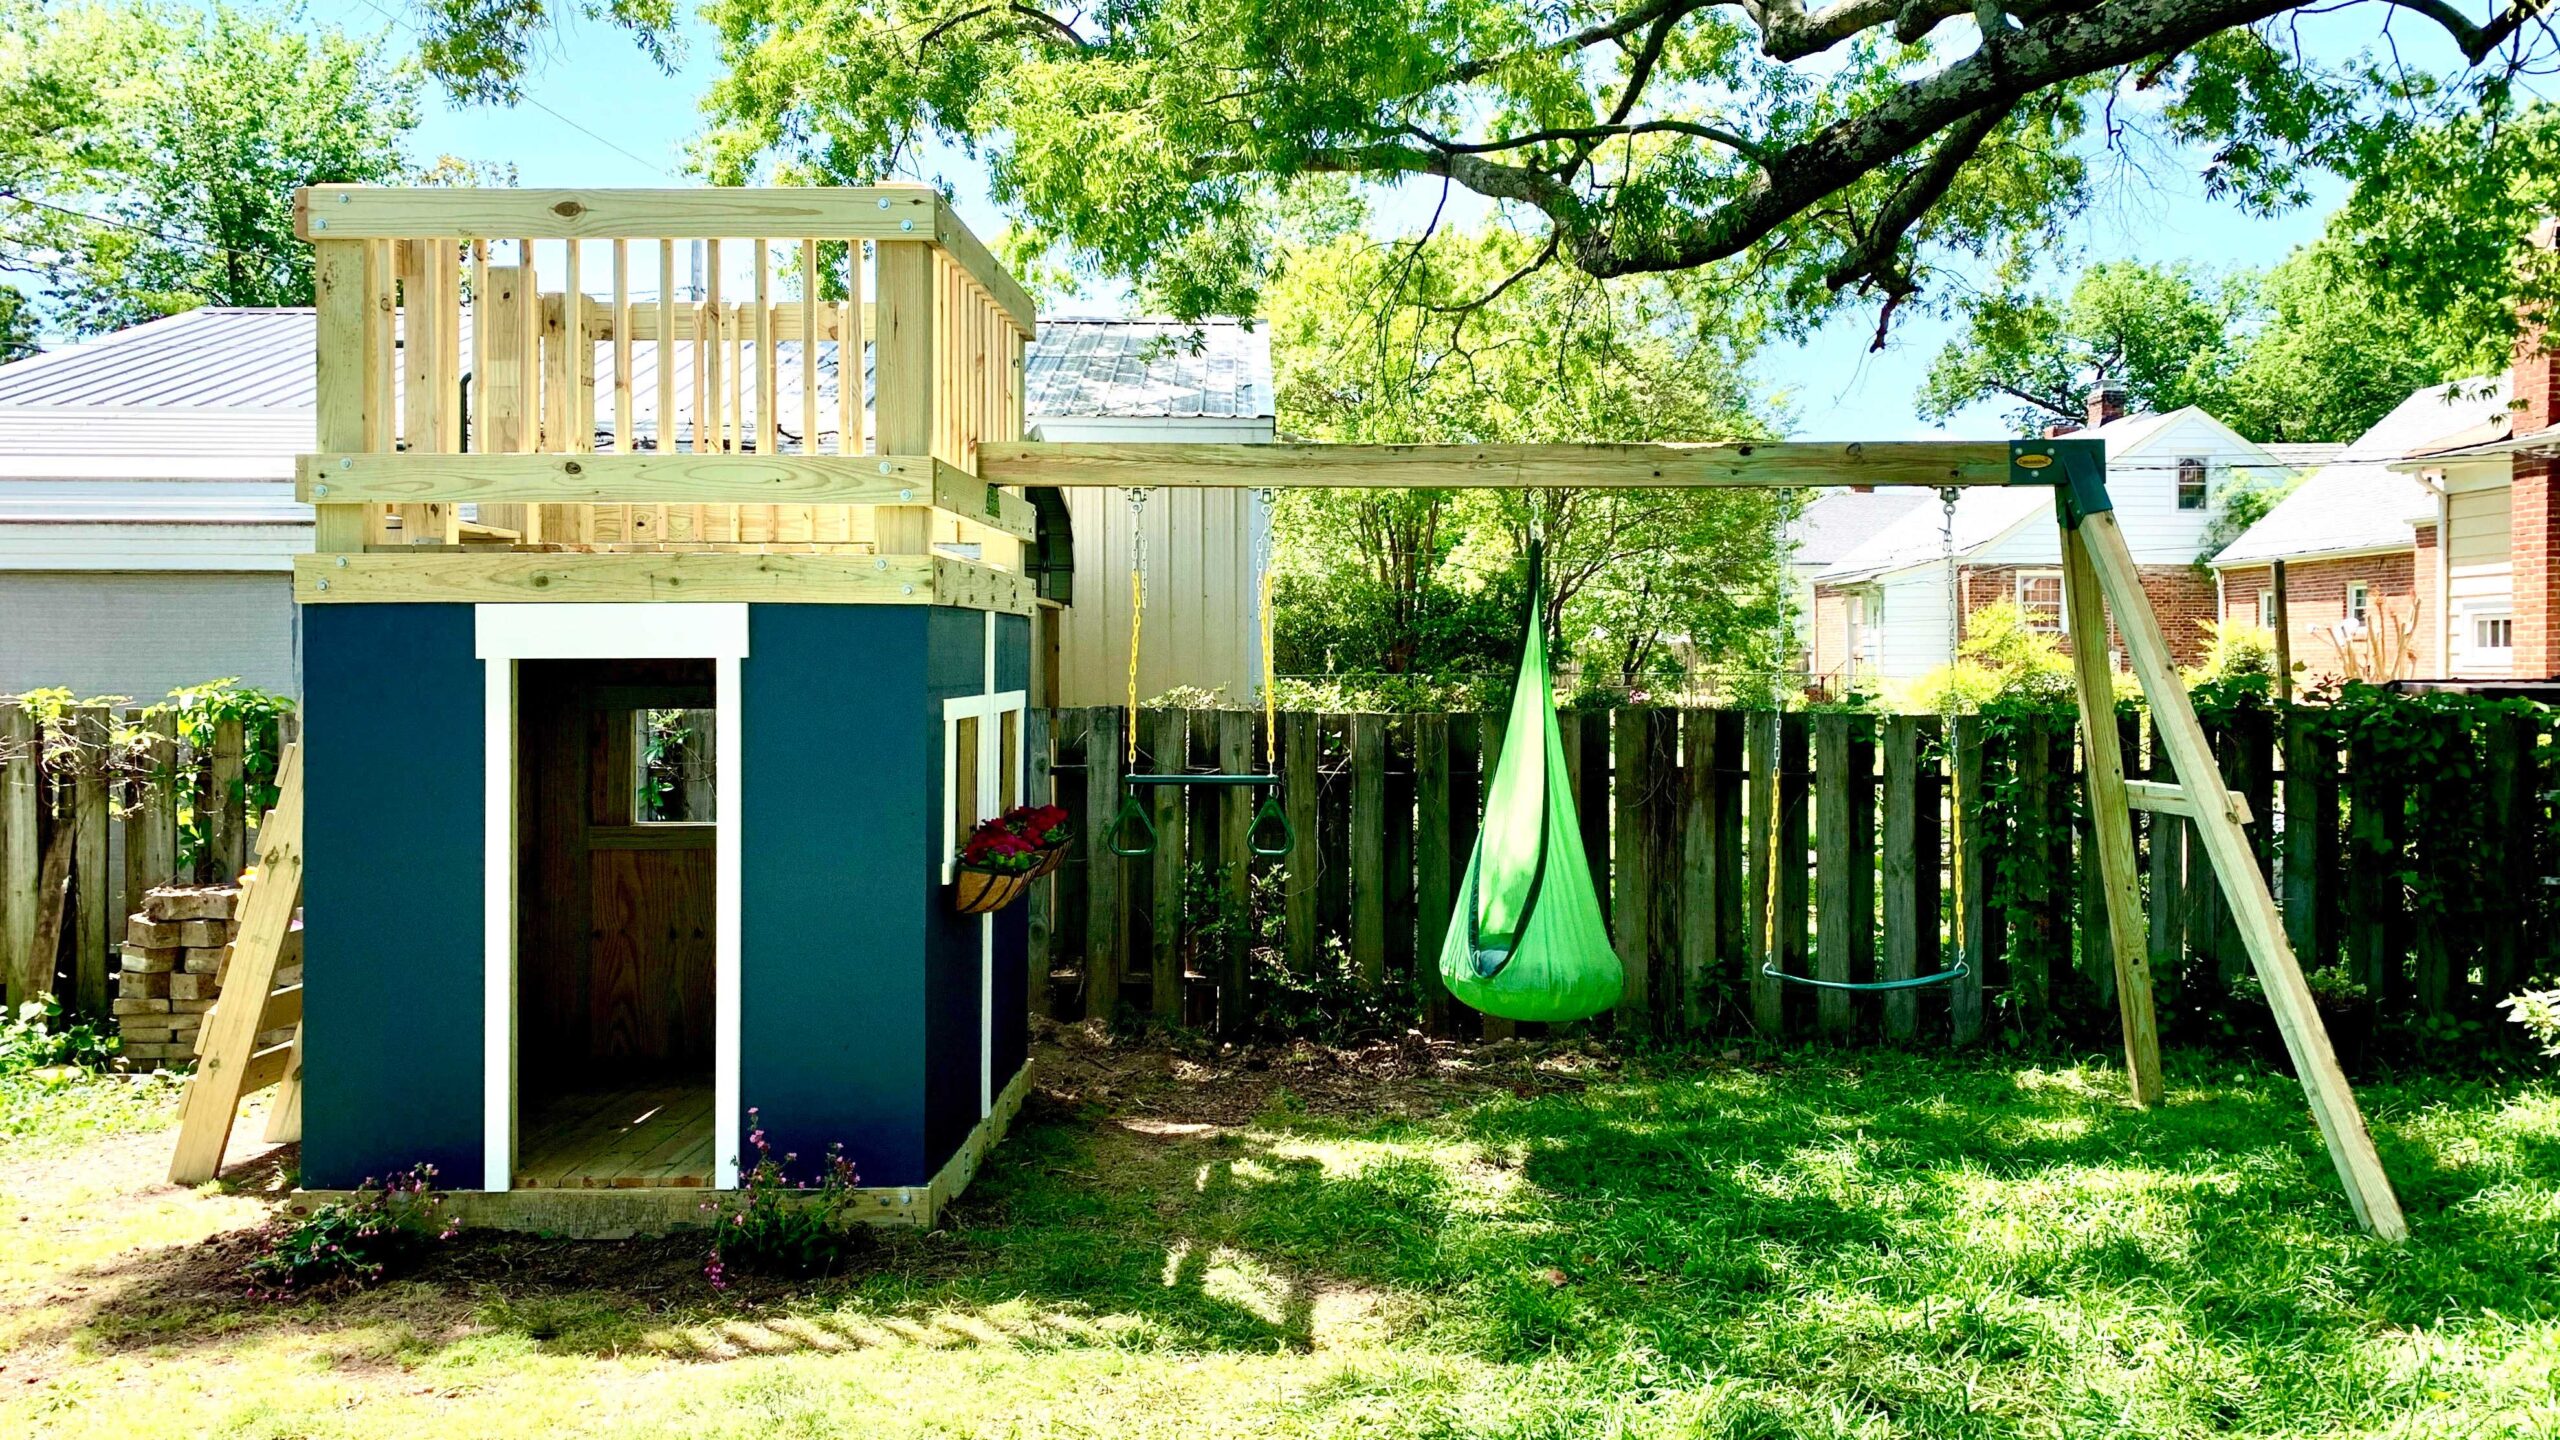
- Nest Swings: Add a cozy and inviting seating option with a nest swing.
2. Slides:
- Straight Slides: Provide a classic and fast-paced sliding experience.
- Curved Slides: Offer a more gentle and winding slide.
- Wave Slides: Add excitement with a wave-shaped slide that twists and turns.
3. Climbing Structures:
- Rock Walls: Challenge young climbers with a rock wall featuring different climbing holds.
- Monkey Bars: Develop strength and coordination with classic monkey bars.
- Climbing Ladders: Provide a safe and fun way to reach higher platforms.
4. Sandbox:
- Traditional Sandbox: A classic play area for digging and creating sandcastles.
- Covered Sandbox: Protect the sand from weather elements with a covered sandbox.
5. Playhouses:
- Wooden Playhouse: Create a magical world for kids to play and imagine.
- Plastic Playhouse: Offer a durable and easy-to-clean playhouse option.
6. Other Features:
- Picnic Tables: Provide a comfortable spot for family meals and gatherings.
- Storage Bins: Keep toys organized with storage bins attached to the swing set.
Maintaining Your Painted Swing Set: Ensuring Long-Lasting Beauty
To keep your painted swing set looking vibrant and inviting for years to come, follow these maintenance tips:
1. Regular Cleaning:
- Clean Regularly: Clean the swing set with soap and water, removing any dirt, debris, or leaves.
- Use a Soft Brush: Use a soft brush to remove any stubborn dirt or grime.
- Avoid Harsh Chemicals: Avoid using harsh chemicals that can damage the paint.
2. Inspect for Damage:
- Check for Cracks or Peeling Paint: Inspect the swing set regularly for any signs of cracks or peeling paint.
- Repair Damage Promptly: Repair any damage promptly to prevent further deterioration.
- Repaint as Needed: Repaint the swing set as needed to maintain its vibrant appearance.
3. Protect from Weather:
- Cover During Storms: Cover the swing set during storms to protect it from heavy rain or snow.
- Store Indoors During Winter: Consider storing the swing set indoors during the winter months to prevent damage from freezing temperatures.
4. Maintain Hardware:
- Check Bolts and Screws: Regularly check bolts and screws for tightness and replace any that are loose.
- Lubricate Moving Parts: Lubricate moving parts like swings and slides to prevent squeaking and ensure smooth operation.
Pricing Your Painted Swing Set Project
The cost of building a painted swing set can vary depending on the size, design, materials, and paint used. Here’s a general breakdown of costs:
Swing Set Kit:
- Basic A-Frame Swing Set: $200 – $500
- Larger Playset with Multiple Features: $500 – $1500
Materials:
- Pressure-Treated Wood: $10 – $20 per board
- Cedar: $15 – $30 per board
- Metal: $20 – $40 per piece
Paint:
- Exterior Paint: $20 – $40 per gallon
- Acrylic Paint: $10 – $20 per bottle
- Chalkboard Paint: $15 – $25 per quart
Hardware:
- Bolts, Screws, and Nuts: $20 – $50
Additional Costs:
- Labor (if hiring a contractor): $50 – $100 per hour
- Decorative Elements: $10 – $50
- Sealing Products: $10 – $20
Total Estimated Cost: $300 – $2000
[Diagram of Swing Set Cost Breakdown]
Safety Considerations for Your Painted Swing Set
Safety is paramount when building and using a swing set. Follow these safety guidelines:
1. Age-Appropriate Design:
- Choose the Right Swing Set: Select a swing set designed for the appropriate age group.
- Ensure Safe Features: Ensure the swing set features safe features like protective rails and soft landing areas.
2. Proper Installation:
- Follow Instructions: Follow the manufacturer’s instructions carefully during installation.
- Secure Anchors: Use appropriate anchors to secure the swing set to the ground.
- Level Surface: Ensure the swing set is installed on a level surface.
3. Supervision:
- Adult Supervision: Always supervise children when they are using the swing set.
- Establish Rules: Establish clear rules for safe swing set use.
4. Inspect for Damage:
- Regular Inspections: Regularly inspect the swing set for any signs of damage.
- Repair Damage Promptly: Repair any damage promptly to prevent accidents.
5. Safe Play Practices:
- No Rough Play: Discourage rough play and ensure children are using the swing set safely.
- Avoid Overcrowding: Limit the number of children using the swing set at any one time.
6. Emergency Plan:
- First Aid Kit: Keep a well-stocked first aid kit nearby.
- Emergency Numbers: Have emergency numbers readily available.
Conclusion: A Vibrant Backdrop for Childhood Memories
Building a painted swing set is a rewarding DIY project that allows you to create a vibrant and playful space for your family to enjoy. With careful planning, creative techniques, and a touch of imagination, you can transform your backyard into a colorful playground where memories are made and laughter echoes through the air. Remember, safety should always be a top priority, and with proper care and maintenance, your painted swing set will provide years of fun and joy for generations to come.
Transform Your Backyard into a Vibrant Playground: Building a Colorful Painted Swing Set
Post a Comment for "Vibrant Backyard: Building A Colorful Painted Swing Set"