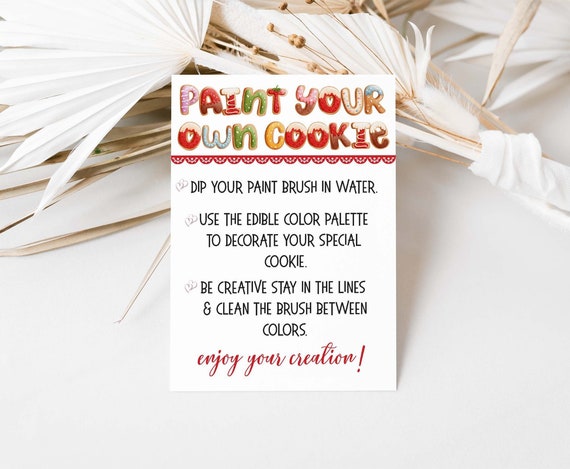
Cookie Creativity: Paint Your Own Cookie Instructions
Introduction
Unleash your inner artist and embark on a delightful culinary adventure with paint-your-own cookies. These edible canvases offer a blank slate for your creativity, allowing you to transform simple sugar cookies into vibrant masterpieces. Whether you’re a seasoned baker or a novice in the kitchen, our comprehensive guide will empower you to create stunning cookies that are both visually captivating and delectable.
Materials You’ll Need:
- Sugar cookies, baked and cooled
- Edible food coloring in various colors
- Small paintbrushes (size 0 or 1)
- Toothpicks or skewers
- Edible glitter or sprinkles (optional)
- Clear piping gel (optional)
Step-by-Step Instructions:
1. Prepare Your Palette:
Begin by creating a palette of edible food coloring. Place a small amount of each color on a plate or shallow dish. Use toothpicks or skewers to stir the colors and adjust their consistency. For a more vibrant hue, add a few drops of water or vodka.
2. Outline Your Design:
Using a small paintbrush, carefully outline the desired design on your cookie. This will serve as a guide for your subsequent painting. For intricate designs, consider using a stencil or template.
3. Fill in the Colors:
With a clean paintbrush, gently fill in the outlined areas with the desired colors. Use smooth, even strokes to achieve a seamless finish. Allow each layer to dry completely before applying the next.
4. Add Details:
Once the base colors have been applied, you can add finer details using a smaller paintbrush. This could include highlights, shadows, or intricate patterns. For a touch of sparkle, sprinkle edible glitter or sprinkles while the paint is still wet.
5. Seal and Embellish (Optional):
To preserve your masterpiece and add a glossy finish, apply a thin layer of clear piping gel over the painted surface. You can also embellish your cookies with additional decorations such as edible pearls, candy melts, or fondant.
Tips for Success:
- Use high-quality food coloring for vibrant and long-lasting results.
- Practice your painting techniques on a piece of paper before attempting your cookies.
- Allow ample drying time between layers to prevent smudging.
- If you make a mistake, simply wipe off the paint with a damp cloth and start over.
- Experiment with different colors and techniques to create unique and personalized cookies.
Conclusion:
With a little patience and creativity, you can transform ordinary sugar cookies into extraordinary edible works of art. Paint-your-own cookies are a delightful way to express your artistic side while indulging in a sweet treat. Whether you’re hosting a party, preparing for a special occasion, or simply looking for a fun and rewarding activity, our comprehensive guide will empower you to create stunning cookies that will impress your family, friends, and taste buds alike.
Post a Comment for "Cookie Creativity: Paint Your Own Cookie Instructions"