The Ultimate Guide to Acrylic Paint Stripper: Secrets and Tips for a Flawless Finish

Table of Content
Acrylic paint, with its versatility and quick drying time, is a favorite among artists and DIY enthusiasts. However, its stubborn nature can pose a challenge when it comes to removing unwanted paint. This is where acrylic paint stripper comes in.
This comprehensive guide will delve into the intricacies of acrylic paint stripper, offering you the knowledge and tips to effectively remove paint from various surfaces without damaging them. We’ll cover everything from choosing the right stripper to applying it correctly, ensuring a flawless finish for your projects.
Understanding Acrylic Paint Stripper: A Deep Dive
Acrylic paint stripper is a chemical solution designed to break down the polymer bonds in acrylic paint, making it easier to remove. It’s available in various forms, including liquids, gels, and pastes, each with its own advantages and disadvantages.
Types of Acrylic Paint Stripper
- Chemical Strippers: These are the most common and effective type, utilizing strong chemicals to dissolve the paint. They are typically available in liquid form and come in varying strengths, depending on the type of paint and surface you’re working with.
- Bio-Based Strippers: Made from plant-derived ingredients, these strippers offer a more environmentally friendly alternative. They are generally less aggressive than chemical strippers, making them suitable for delicate surfaces.
- Gel Strippers: These strippers have a thicker consistency, allowing them to adhere to vertical surfaces and stay in place longer. They are ideal for stripping paint from intricate details or hard-to-reach areas.
- Paste Strippers: These strippers are thick and creamy, offering excellent adhesion to surfaces. They are particularly useful for stripping paint from porous materials like wood.
Choosing the Right Stripper
The choice of acrylic paint stripper depends on several factors, including:
- Surface: Different surfaces require different types of strippers. For example, wood requires a different stripper than metal or plastic.
- Paint Type: The type of acrylic paint also influences the choice of stripper. Some strippers are designed to work specifically with certain types of acrylic paint.
- Severity of the Paint: The thickness and age of the paint will determine the strength of the stripper needed.
- Environmental Concerns: If you are environmentally conscious, consider using bio-based strippers.
Safety Precautions: Handling Acrylic Paint Stripper
Acrylic paint strippers are powerful chemicals that can cause skin irritation, eye damage, and respiratory problems. Always follow these safety precautions:
- Wear Protective Gear: Use gloves, goggles, and a respirator mask to protect your skin, eyes, and respiratory system.
- Work in a Well-Ventilated Area: Ensure adequate ventilation to prevent inhaling fumes.
- Keep Away from Children and Pets: Store strippers in a secure location out of reach of children and pets.
- Avoid Contact with Skin and Eyes: If contact occurs, immediately flush the affected area with plenty of water and seek medical attention if necessary.
- Follow Manufacturer Instructions: Always read and follow the manufacturer’s instructions carefully.
The Art of Stripping Acrylic Paint: A Step-by-Step Guide
Now, let’s dive into the practical aspects of stripping acrylic paint. Here’s a detailed guide to help you achieve a professional finish:
Step 1: Preparation
- Clean the Surface: Remove any loose paint, dirt, or debris from the surface using a scraper, brush, or vacuum cleaner.
- Protect Surrounding Areas: Cover nearby surfaces with drop cloths or plastic sheeting to prevent accidental spills or splashes.
- Test in an Inconspicuous Area: Before applying the stripper to the entire surface, test it in an inconspicuous area to ensure it doesn’t damage the material.
Step 2: Application
- Apply Liberally: Use a brush, roller, or paint sprayer to apply the stripper liberally to the painted surface.
- Follow Manufacturer Instructions: Follow the manufacturer’s instructions regarding the application time and recommended thickness of the stripper.
- Work in Sections: If the surface is large, work in sections to ensure the stripper is applied evenly and effectively.
Step 3: Dwell Time
- Allow the Stripper to Work: The stripper needs time to break down the paint. Allow it to sit on the surface for the time specified by the manufacturer.
- Check Progress Regularly: Periodically check the paint to see if it’s softening. If necessary, reapply the stripper to stubborn areas.
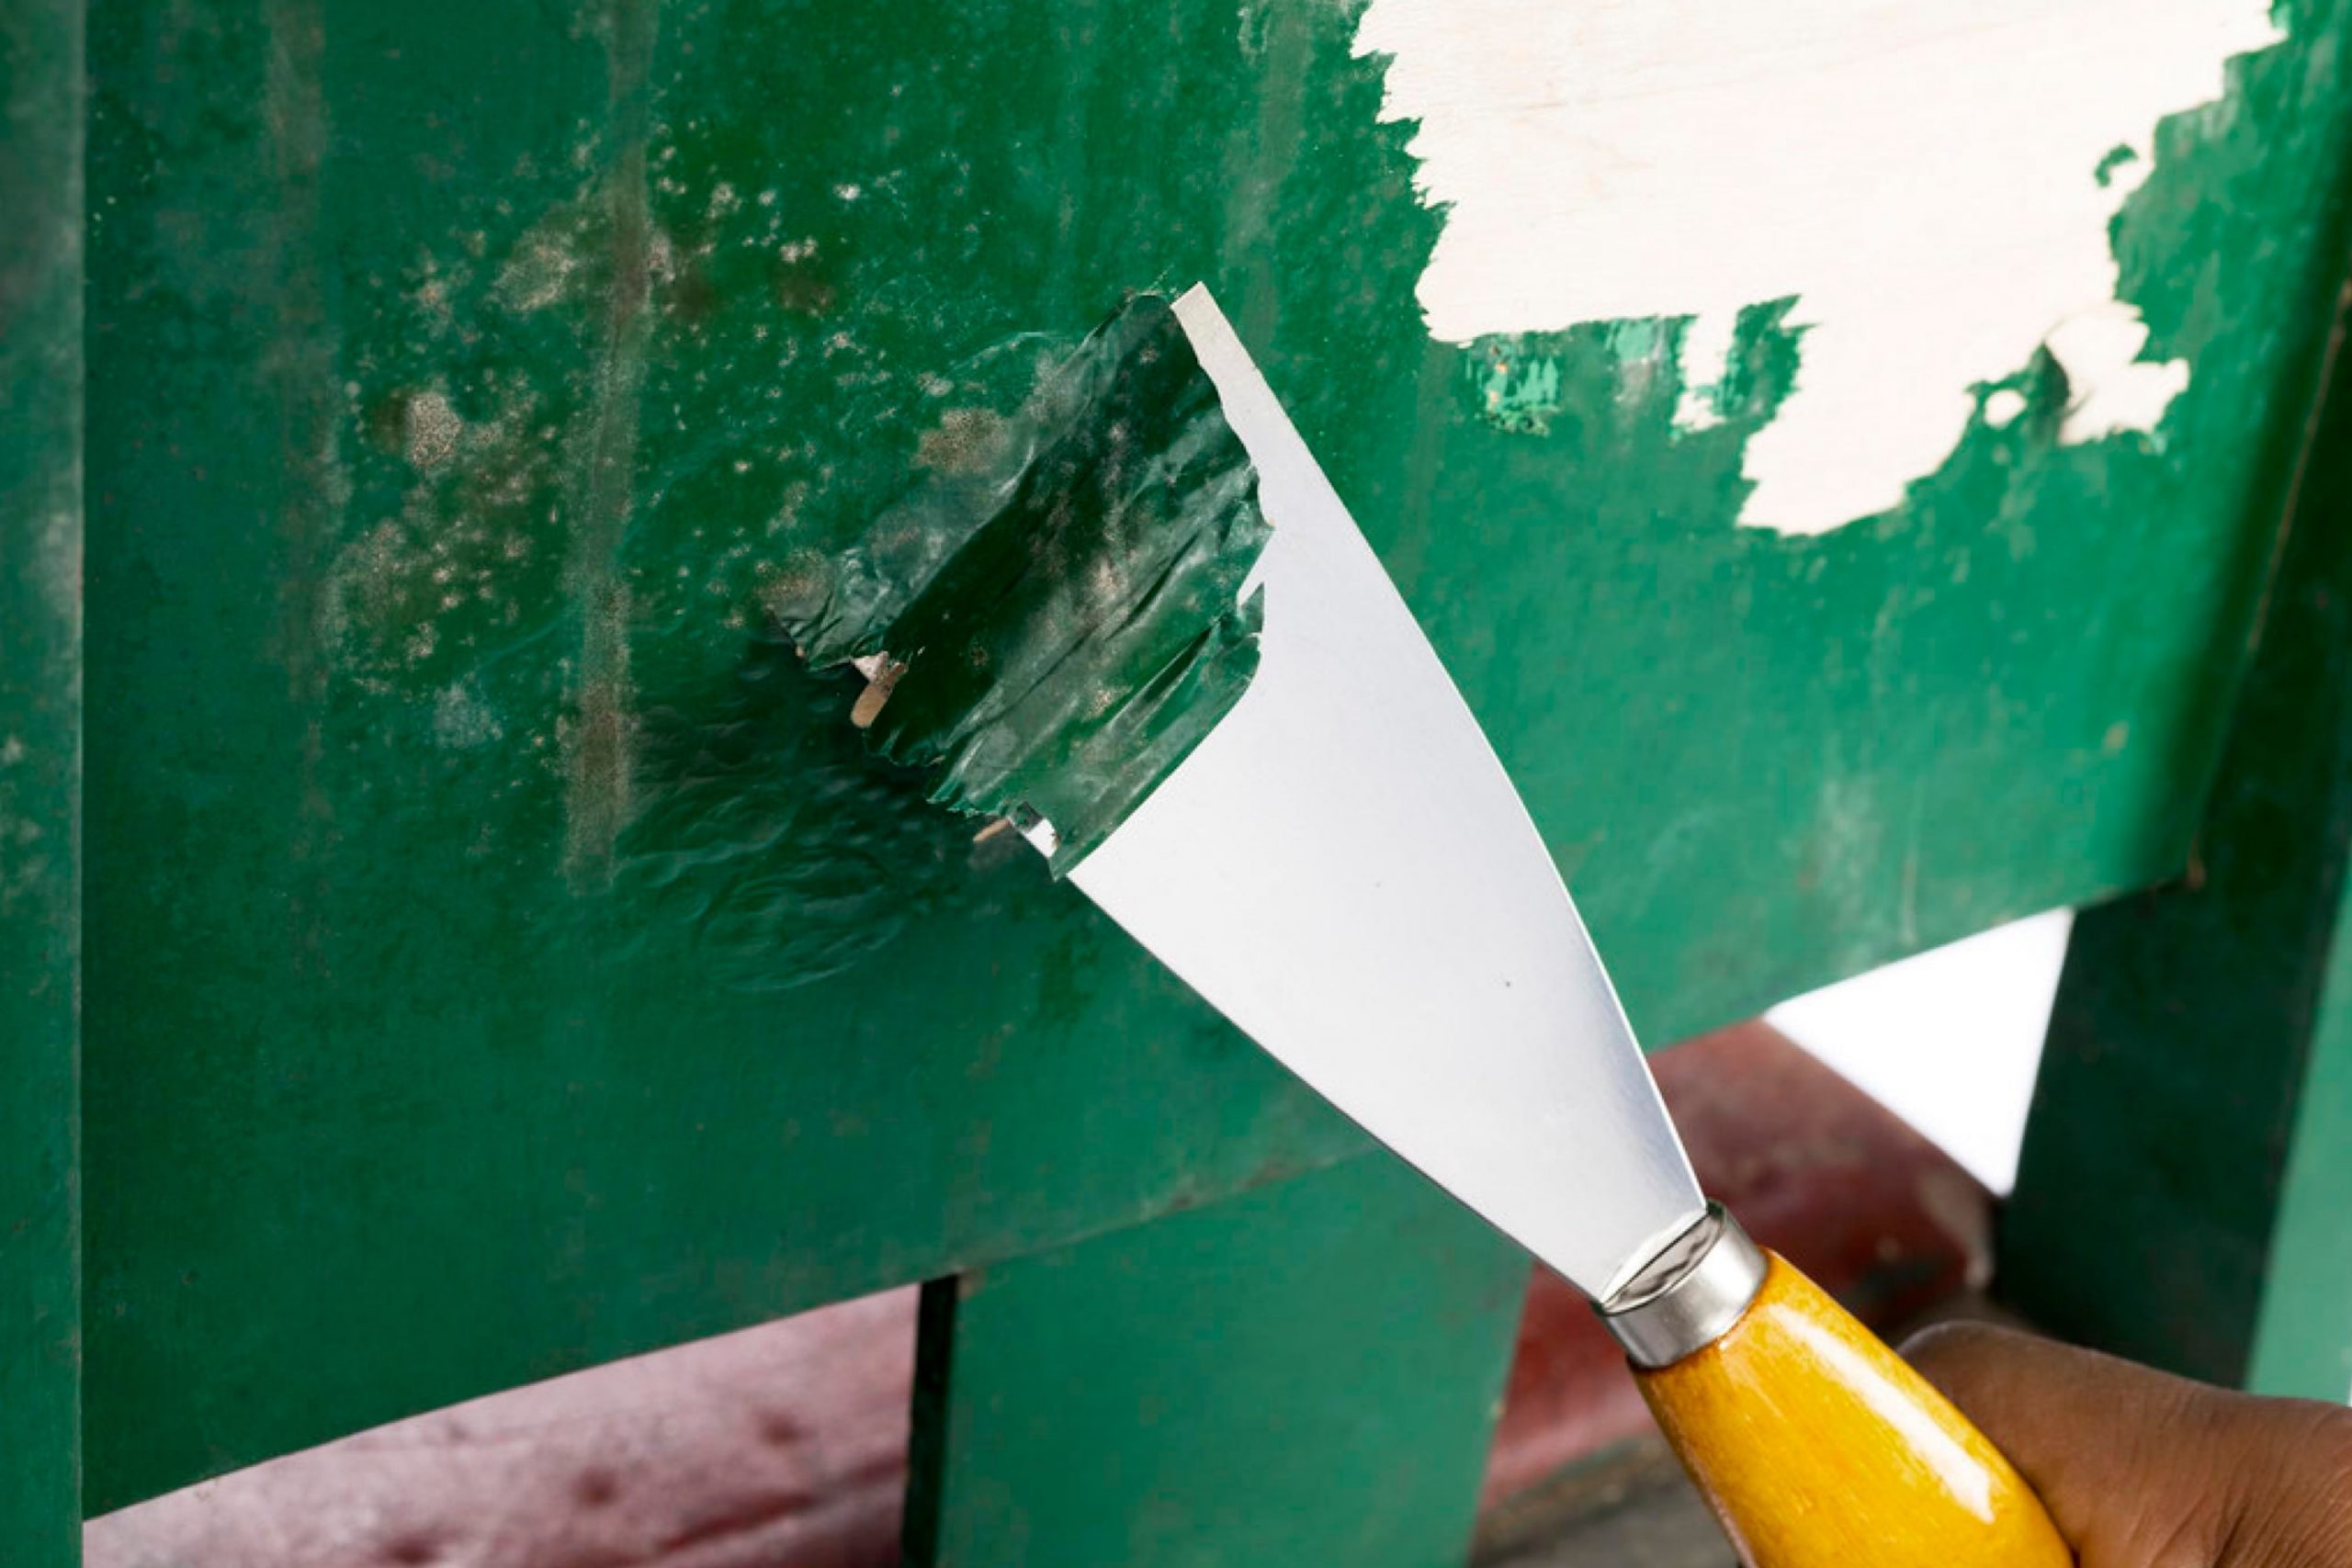
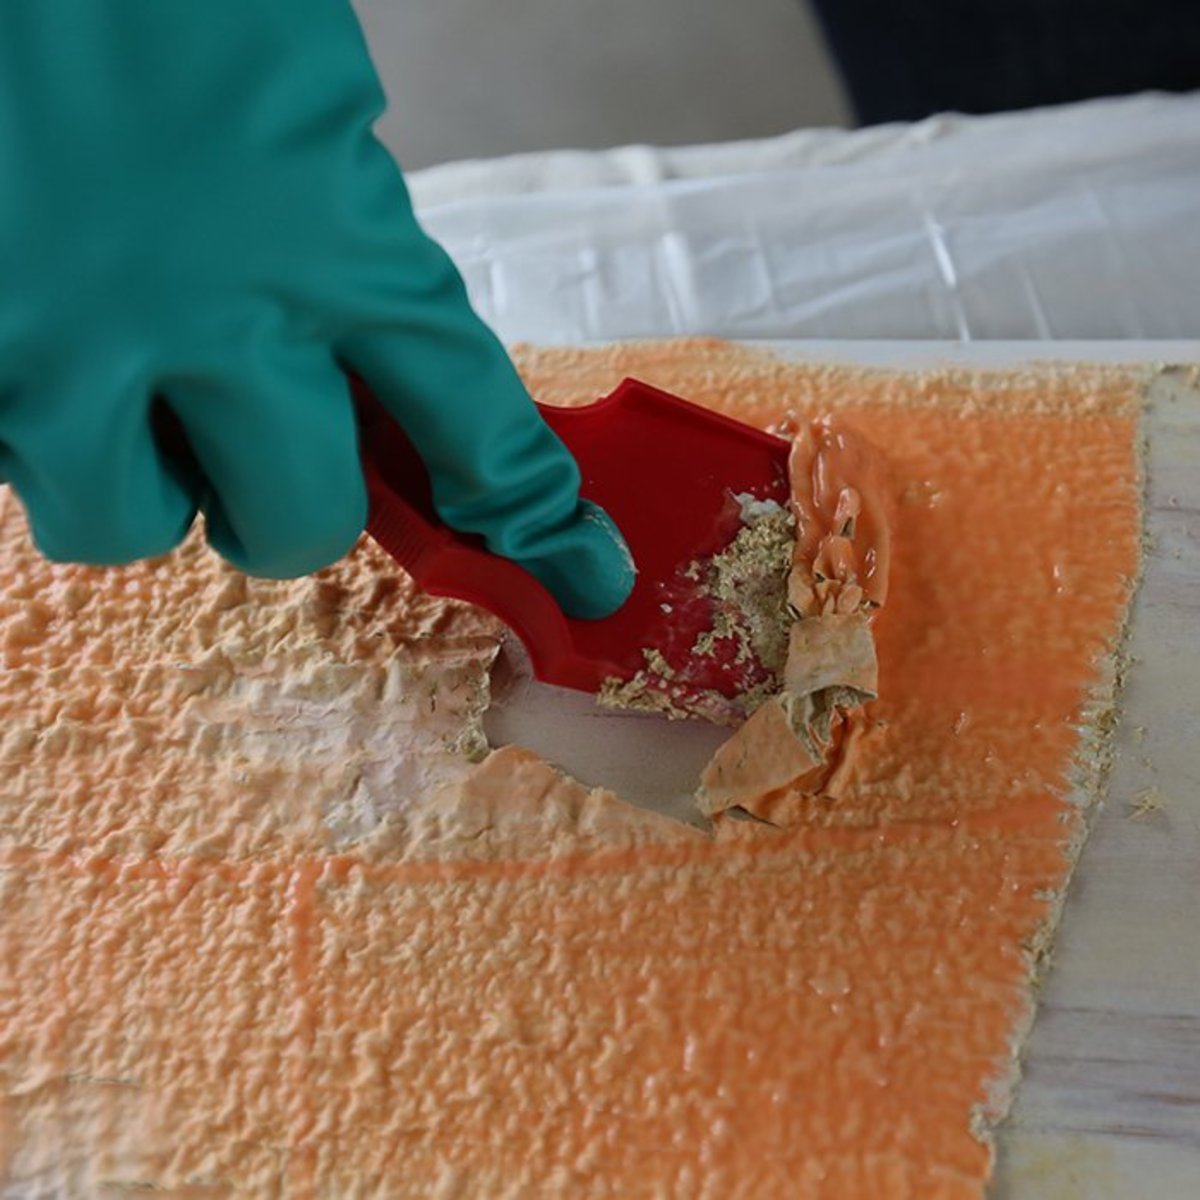
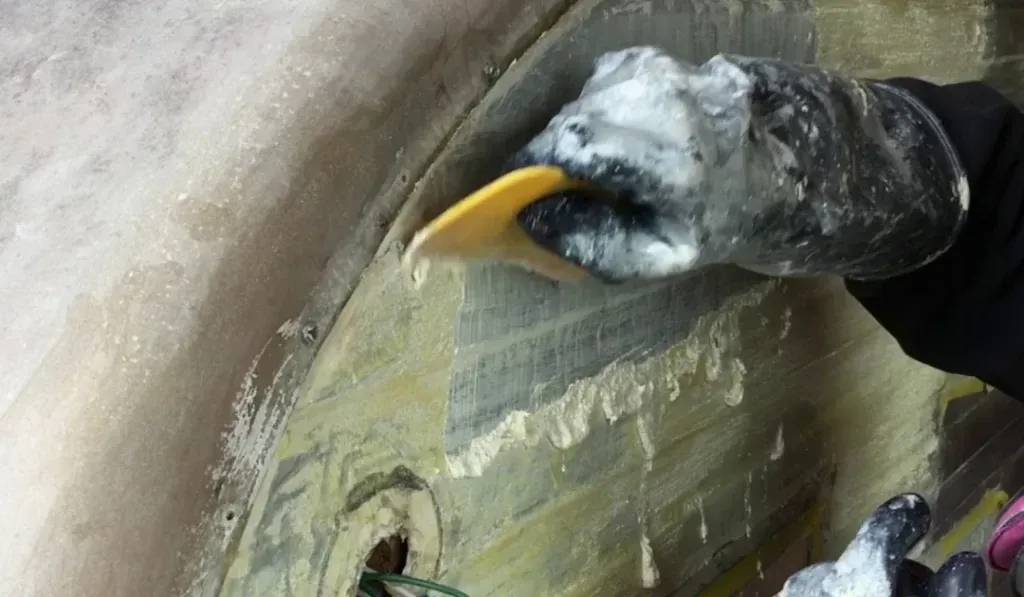
Step 4: Removal
- Scrape or Wipe: Once the paint has softened, use a scraper, putty knife, or a stiff brush to remove the paint.
- Use a Cloth for Gel or Paste Strippers: For gel or paste strippers, use a clean cloth to wipe away the softened paint.
- Rinse Thoroughly: After removing the paint, rinse the surface thoroughly with water to remove any remaining stripper residue.
Step 5: Finishing Touches
- Sand the Surface: Sand the surface lightly to remove any remaining paint residue and create a smooth finish.
- Clean the Surface: Clean the surface with a damp cloth to remove any sanding dust.
- Apply a Primer: If you plan to repaint the surface, apply a primer to create a smooth and even base for the new paint.
Troubleshooting Common Problems
- Stripper Not Working: If the stripper isn’t working, it may be too weak for the type of paint or surface you’re working with. Consider using a stronger stripper or applying it for a longer time.
- Damage to the Surface: If the stripper is causing damage to the surface, stop using it immediately and try a different type of stripper or a more gentle method.
- Stripper Residue: If stripper residue remains on the surface after rinsing, try cleaning it with a mild detergent or a stripper remover.
Tips for Success
- Work in a Well-Ventilated Area: Ensure adequate ventilation to prevent inhaling fumes.
- Protect Your Hands and Eyes: Wear gloves and goggles to protect your skin and eyes.
- Use a Scraper with a Sharp Edge: A sharp scraper will make removing the paint easier.
- Apply Stripper Evenly: Ensure the stripper is applied evenly to the surface to prevent uneven removal.
- Be Patient: Stripping paint can be a time-consuming process. Be patient and allow the stripper to work its magic.
Alternatives to Acrylic Paint Stripper
If you’re looking for less aggressive alternatives to chemical strippers, here are a few options:
- Heat Gun: A heat gun can soften acrylic paint, making it easier to remove with a scraper.
- Sanding: Sanding can remove thin layers of acrylic paint, but it can be a time-consuming process.
- Chemical Paint Remover: Some chemical paint removers are designed specifically for acrylic paint.
- Steam Stripper: A steam stripper uses hot steam to soften the paint, making it easier to remove.
Conclusion: Your Guide to a Flawless Finish
Acrylic paint stripper is a valuable tool for removing unwanted paint from various surfaces. By understanding the different types of strippers, following safety precautions, and employing the correct application techniques, you can achieve a flawless finish for your projects.
Remember, patience and careful preparation are key to successful paint stripping. With this comprehensive guide, you’re equipped to tackle any acrylic paint removal challenge with confidence and achieve the desired results.

The Ultimate Guide to Acrylic Paint Stripper: Secrets and Tips for a Flawless Finish
Post a Comment for "The Ultimate Guide To Acrylic Paint Stripper: Secrets And Tips"