Precision Painting: Techniques for Painting a Pistol Slide
Introduction
The intricate details of a pistol slide require meticulous precision when painting. Achieving a flawless finish demands an understanding of the techniques and materials involved. This comprehensive guide will delve into the art of precision painting, empowering you with the knowledge and skills to transform your pistol slide into a masterpiece.
Preparation: The Foundation of Success
Before embarking on the painting process, thorough preparation is paramount. Disassemble the slide, removing all internal components and accessories. Clean the surface meticulously with a degreaser to eliminate any oils or contaminants. Sand the slide lightly with fine-grit sandpaper to create a smooth, even surface for paint adhesion.
Materials: The Right Tools for the Job
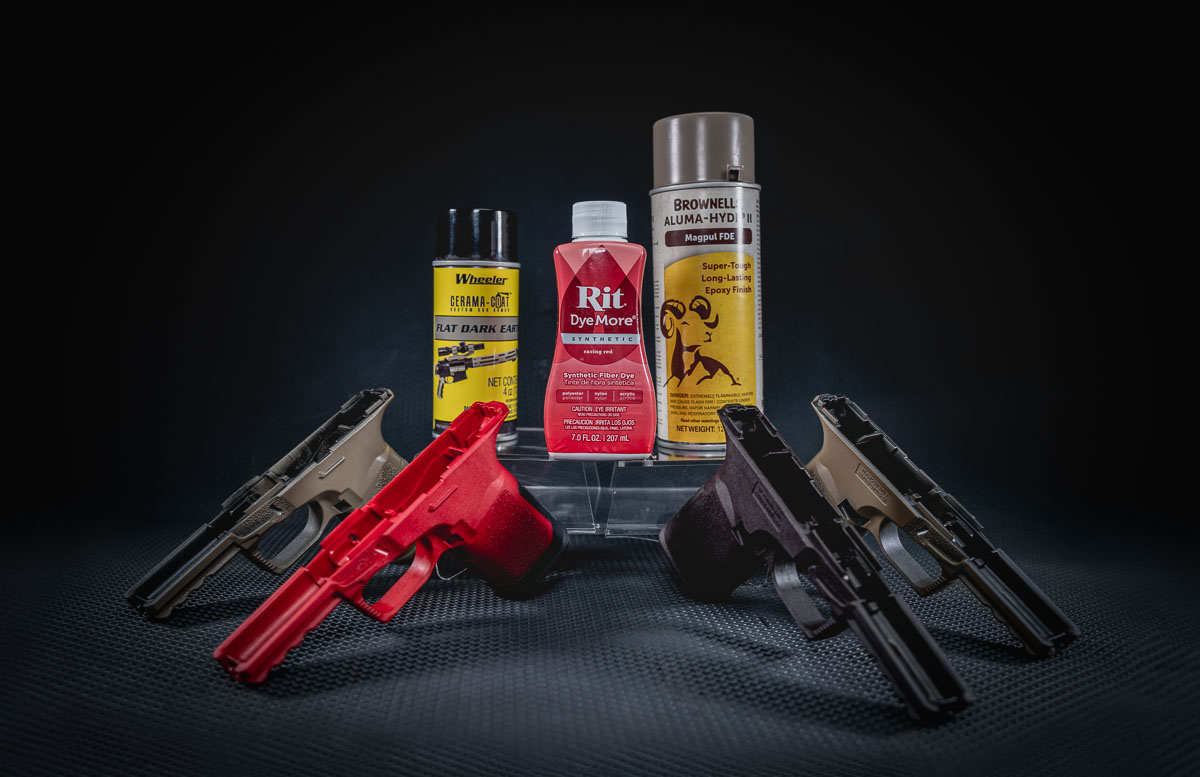
Precision painting requires specialized materials. Invest in high-quality paints specifically designed for firearms. Opt for durable, corrosion-resistant finishes that withstand the rigors of handling and use. Choose a fine-tipped brush or airbrush for intricate details and a larger brush for broader areas.
Techniques: The Art of Precision
1. Base Coating:
Apply a thin, even layer of base coat to the slide. Use a light touch and avoid brush strokes that may create unevenness. Allow the base coat to dry completely before proceeding.
2. Stenciling:
For intricate designs or lettering, stencils can be employed. Secure the stencil firmly to the slide and apply paint using a sponge or brush. Remove the stencil carefully to reveal the crisp, precise design.
3. Masking:
Masking tape can be used to protect areas that should not be painted. Apply the tape carefully, ensuring no gaps or overlaps. Paint the exposed areas and remove the tape once dry.
4. Detailing:
Use a fine-tipped brush to add details and highlights. This requires a steady hand and a keen eye for precision. Allow each layer of paint to dry before applying the next.
5. Clear Coating:
Once the paint is complete, apply a clear coat to protect the finish. Choose a clear coat that is compatible with the paint used and provides a durable, glossy surface.
Troubleshooting: Overcoming Common Challenges
1. Runs and Drips:
Avoid applying too much paint at once. Use thin, even layers and allow each layer to dry completely before applying the next.
2. Uneven Coverage:
Ensure the surface is properly prepared and sanded before painting. Use a fine-tipped brush or airbrush for precise application.
3. Bleeding:
Apply masking tape carefully to prevent paint from seeping into unwanted areas. Use a clear coat that is compatible with the paint to seal the finish.
Conclusion
Precision painting a pistol slide is a rewarding endeavor that requires patience, skill, and the right techniques. By following the steps outlined in this guide, you can achieve a flawless finish that enhances the aesthetics and functionality of your firearm. Remember, practice makes perfect, so don’t hesitate to experiment and refine your skills to create a truly exceptional masterpiece.
Post a Comment for "Precision Painting: Techniques For Painting A Pistol Slide"