Metallic Copper Car Paint: A Guide to Application and Maintenance

Table of Content
- 1 Metallic Copper Car Paint: A Guide to Application and Maintenance
- 1.1 Understanding Metallic Copper Paint
- 1.2 Choosing the Right Metallic Copper Paint
- 1.3 Preparing for Metallic Copper Paint Application
- 1.4 Applying Metallic Copper Paint
- 1.5 Applying the Clear Coat (Basecoat/Clearcoat Systems)
- 1.6 Maintaining Metallic Copper Car Paint
- 1.7 Repairing Scratches and Chips
- 1.8 Conclusion
- 2 Metallic Copper Car Paint: A Comprehensive Guide for Enthusiasts
Metallic copper car paint is a stunning choice for those seeking a unique and eye-catching finish. It offers a rich, warm hue that shifts and sparkles in the light, adding a touch of luxury and sophistication to any vehicle. However, achieving and maintaining this vibrant look requires careful application and consistent care. This comprehensive guide will delve into the intricacies of metallic copper car paint, from its application to its long-term maintenance.
Understanding Metallic Copper Paint
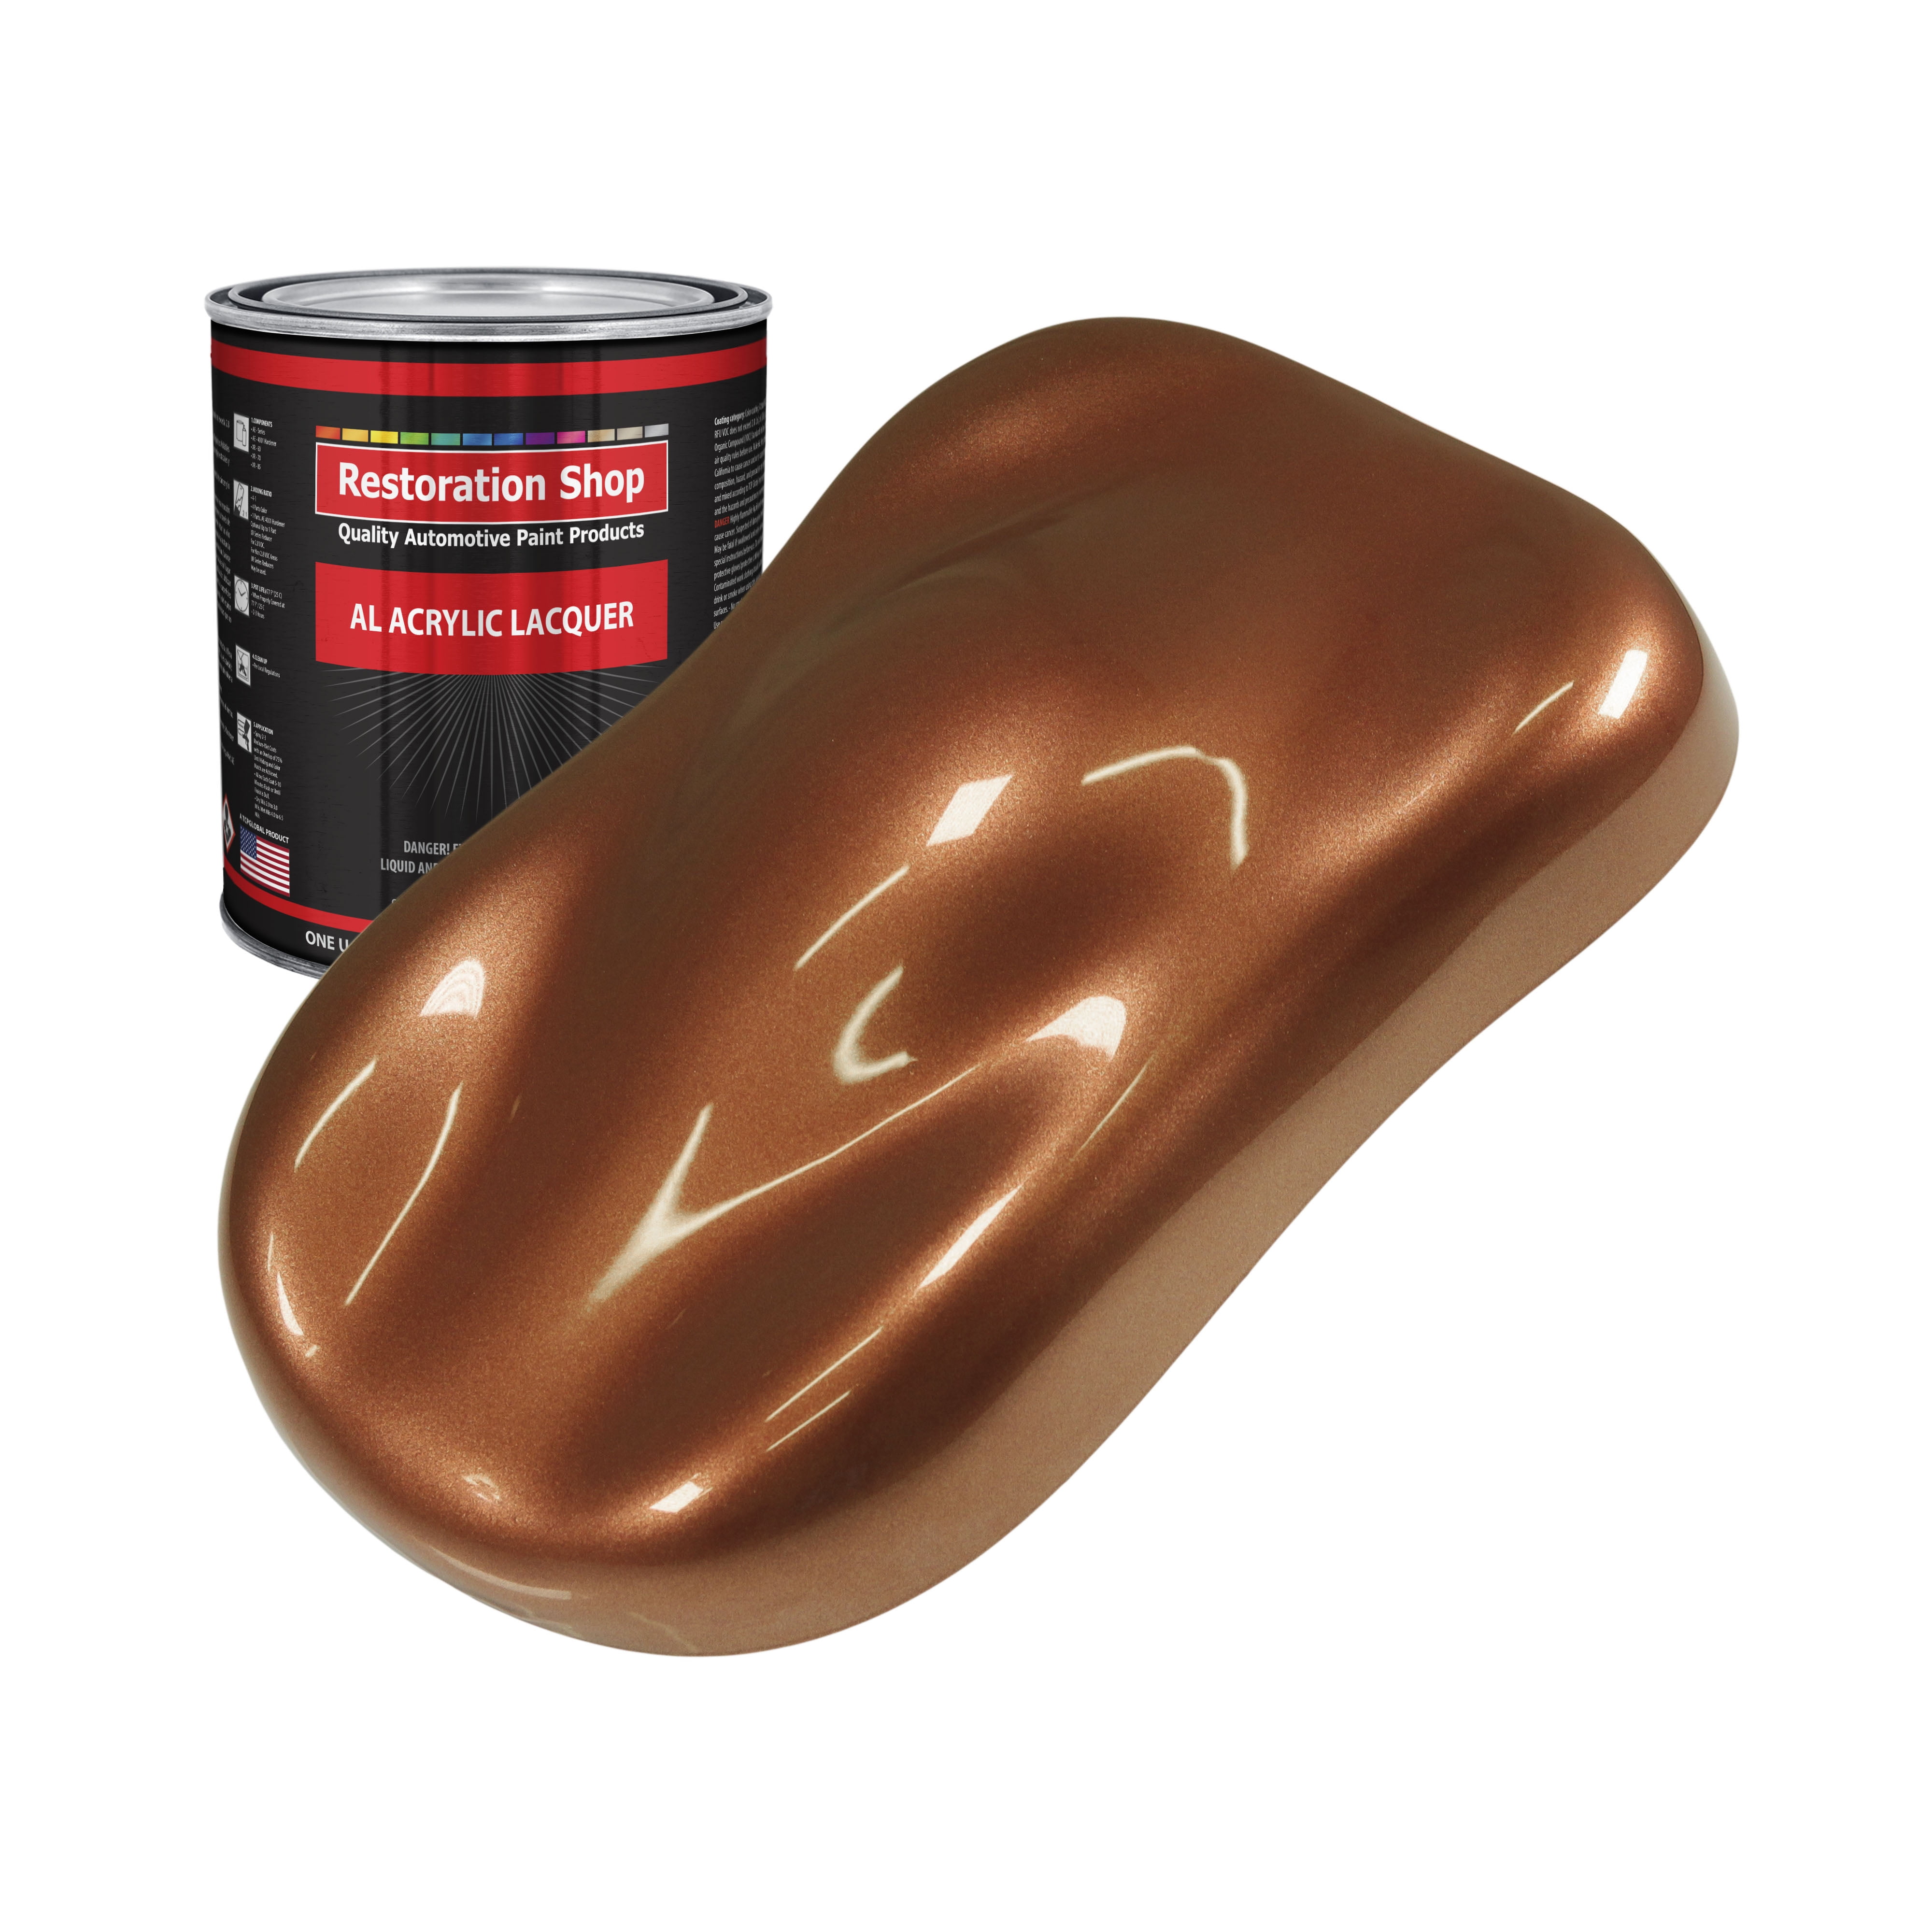
Metallic copper paint achieves its distinctive look through the addition of microscopic aluminum flakes to the base coat. These flakes reflect light differently, creating a shimmering effect that changes with the angle of view. The result is a captivating finish that appears to pulse with life.
Key Characteristics:
- Unique Appearance: Metallic copper paint offers a vibrant, warm hue with a captivating shimmering effect.
- Durability: While metallic paints are generally more durable than solid colors, they can be susceptible to scratches and chips.
- Maintenance: Maintaining the brilliance of metallic copper paint requires careful cleaning and regular polishing.
- Application Complexity: Achieving a flawless metallic copper finish requires skilled application techniques.

Choosing the Right Metallic Copper Paint
The market offers a variety of metallic copper paint options, each with its own characteristics and intended application.
Types of Metallic Copper Paint:
- Single-Stage: This type combines the color and metallic flakes in a single coat, offering a simpler application process. It’s often used for quick touch-ups or smaller projects.
- Basecoat/Clearcoat: This system involves applying a base coat of metallic copper followed by a clear coat for added protection and shine. It offers superior durability and depth of color.

Factors to Consider When Choosing:
- Desired Finish: Single-stage paint is suitable for simpler projects, while basecoat/clearcoat offers a more durable and sophisticated finish.
- Budget: Single-stage paint is generally more affordable than basecoat/clearcoat.
- Application Experience: Basecoat/clearcoat requires more experience and precision for optimal results.
- Environmental Conditions: Consider the climate and weather conditions in your area when choosing paint, as some formulations may be better suited for specific environments.
Preparing for Metallic Copper Paint Application
Proper preparation is crucial for achieving a flawless metallic copper finish.
Surface Preparation:
- Cleaning: Thoroughly clean the surface to remove dirt, grime, grease, and any existing coatings. Use a degreaser and a microfiber cloth for optimal results.
- Sanding: Sand the surface to create a smooth and even base for the paint. Use progressively finer grit sandpaper, starting with 400 grit and finishing with 800 grit.
- Masking: Mask off areas that you don’t want to paint, ensuring a clean and precise application.
- Primer: Apply a primer compatible with the chosen paint type. This helps the paint adhere better and provides a smooth surface for a uniform finish.
Important Considerations:
- Temperature and Humidity: Ensure the temperature and humidity are within the recommended range for the chosen paint.
- Ventilation: Work in a well-ventilated area to prevent hazardous fumes from accumulating.
- Personal Protective Equipment: Wear appropriate personal protective equipment, including gloves, a mask, and eye protection.
Applying Metallic Copper Paint
The application process for metallic copper paint requires precision and patience.
Application Techniques:
- Spray Gun: For optimal coverage and a smooth finish, use a professional-grade spray gun.
- Brush: For smaller areas or touch-ups, a high-quality brush can be used.
- Roller: Rollers can be used for larger areas, but they may leave visible brush strokes.
Important Tips:
- Thinning: Thin the paint according to the manufacturer’s instructions to ensure proper flow and atomization.
- Even Coats: Apply thin, even coats, allowing each coat to dry completely before applying the next.
- Overlapping: Overlap each coat slightly to avoid visible lines and ensure full coverage.
- Drying Time: Allow the paint to dry completely before applying the clear coat (if using basecoat/clearcoat).
Applying the Clear Coat (Basecoat/Clearcoat Systems)
The clear coat is crucial for protecting the metallic copper base coat and enhancing its shine.
Clear Coat Application:
- Sanding: Lightly sand the base coat with fine-grit sandpaper (1000-1500 grit) to create a smooth surface for the clear coat.
- Application: Apply the clear coat in thin, even coats, ensuring complete coverage.
- Drying Time: Allow the clear coat to dry completely before polishing.
Important Considerations:
- UV Protection: Choose a clear coat with UV protection to prevent fading and discoloration.
- Multiple Coats: Applying multiple coats of clear coat enhances durability and gloss.
Maintaining Metallic Copper Car Paint
Maintaining the brilliance of metallic copper paint requires consistent care.
Cleaning:
- Regular Washing: Wash the car regularly with a mild car wash soap and soft microfiber cloths.
- Avoid Harsh Chemicals: Avoid harsh chemicals, abrasive cleaners, and dish soap, as they can damage the paint.
- Dry Thoroughly: Dry the car thoroughly after washing to prevent water spots.
Polishing:
- Regular Polishing: Polish the car regularly to remove light scratches, swirl marks, and oxidation.
- Use Appropriate Products: Use a high-quality car polish specifically designed for metallic paints.
- Follow Instructions: Follow the manufacturer’s instructions for the chosen polish.
Waxing:
- Waxing: Wax the car regularly to provide a protective layer against the elements and enhance shine.
- Choose a Quality Wax: Use a high-quality car wax specifically designed for metallic paints.
- Apply Evenly: Apply the wax evenly and allow it to dry before buffing off.
Other Maintenance Tips:
- Avoid Harsh Weather: Park the car in a garage or covered area when possible to protect it from harsh weather conditions.
- Bird Droppings: Clean bird droppings promptly as they can etch the paint.
- Tree Sap: Remove tree sap as soon as possible to prevent staining.
- Road Salt: Wash the car frequently during winter to remove road salt, which can damage the paint.
Repairing Scratches and Chips
Scratches and chips are inevitable with any car paint, but they can be repaired.
Repair Options:
- Touch-Up Paint: For minor scratches and chips, use touch-up paint that matches the original color.
- Professional Repair: For deeper scratches or larger chips, seek professional repair from a reputable auto body shop.
Important Considerations:
- Matching Color: Ensure the touch-up paint matches the original color as closely as possible.
- Proper Technique: Apply touch-up paint in thin coats and allow each coat to dry completely.
- Professional Repair: For significant damage, professional repair is essential to restore the paint’s integrity.
Conclusion
Metallic copper car paint offers a unique and captivating finish that adds a touch of luxury and sophistication to any vehicle. Achieving and maintaining this vibrant look requires careful application and consistent care. By following the guidelines outlined in this comprehensive guide, you can ensure your metallic copper paint remains stunning for years to come.
Remember: This guide provides general information. Always consult the manufacturer’s instructions for specific paint products and consult with a professional for complex repairs or any doubts.
Metallic Copper Car Paint: A Comprehensive Guide for Enthusiasts
Introduction:
The allure of a metallic copper car paint job is undeniable. It’s a captivating blend of warmth, depth, and shimmering brilliance that sets vehicles apart. This comprehensive guide delves into the world of metallic copper car paint, offering insights into its application, maintenance, and the nuances that make it a coveted choice for car enthusiasts.
Understanding the Magic of Metallic Copper Paint:
Metallic copper paint isn’t merely a color; it’s an experience. Its unique character stems from the inclusion of microscopic aluminum flakes within the paint formulation. These flakes, when exposed to light, reflect it at varying angles, creating a mesmerizing shimmer that dances and shifts with the viewer’s perspective.
Choosing the Right Paint for Your Project:
The first step in embarking on a metallic copper paint journey is selecting the right paint. Two primary types cater to different needs and budgets:
- Single-Stage Metallic Copper Paint: This type combines the color and metallic flakes in a single coat, offering a streamlined application process. It’s often favored for smaller projects, touch-ups, and those seeking a more budget-friendly option.
- Basecoat/Clearcoat System: This system involves applying a base coat of metallic copper, followed by a clear coat for added protection, durability, and a deeper, richer finish. It’s the preferred choice for professional applications and enthusiasts seeking the ultimate in color depth and longevity.
Factors to Consider When Choosing:
- Project Scope: For smaller projects or touch-ups, single-stage paint may suffice. For full-body paint jobs or those seeking the best possible finish, basecoat/clearcoat is the way to go.
- Budget: Single-stage paint is generally more budget-friendly than basecoat/clearcoat systems.
- Application Experience: Basecoat/clearcoat systems require a higher level of skill and precision for optimal results.
- Environmental Considerations: The climate and weather conditions in your area can influence paint choice. Consult with a paint specialist to ensure compatibility.
Preparing for a Perfect Metallic Copper Finish:
A flawless metallic copper paint job begins with meticulous preparation. This involves:
- Thorough Cleaning: The surface must be immaculately clean, free of dirt, grime, grease, and any previous coatings. Degreasers and microfiber cloths are essential tools.
- Sanding for a Smooth Foundation: Sanding the surface with progressively finer grit sandpaper (400 to 800 grit) creates a smooth, even base for the paint to adhere to.
- Masking for Precision: Mask off areas you don’t want to paint to ensure a clean and precise application.
- Primer for Optimal Adhesion: Apply a primer compatible with your chosen paint type. It acts as a bridge between the surface and the paint, promoting better adhesion and a smoother finish.
Important Considerations:
- Temperature and Humidity: Paint manufacturers provide specific temperature and humidity ranges for optimal application. Adhering to these guidelines is crucial for successful results.
- Ventilation: Work in a well-ventilated area to prevent the accumulation of hazardous fumes.
- Personal Protective Equipment: Always wear appropriate personal protective equipment, including gloves, a mask, and eye protection.
Applying Metallic Copper Paint: A Symphony of Precision:
The application of metallic copper paint is a delicate dance, requiring skill and patience. Two primary methods are commonly employed:
- Spray Gun: For achieving optimal coverage and a smooth, professional finish, a spray gun is the preferred tool. It allows for even application and fine control over the paint flow.
- Brush: For smaller areas, touch-ups, or intricate details, a high-quality brush can be used. However, care must be taken to avoid visible brush strokes.
Important Tips for a Flawless Finish:
- Thinning the Paint: Thin the paint according to the manufacturer’s instructions to ensure proper flow and atomization.
- Thin, Even Coats: Apply thin, even coats, allowing each coat to dry completely before applying the next. Overlapping each coat slightly helps prevent visible lines and ensures full coverage.
- Drying Time: Allow the paint to dry completely before applying the clear coat (if using basecoat/clearcoat).
The Clear Coat: Protecting and Enhancing the Beauty:
For basecoat/clearcoat systems, the clear coat plays a vital role in protecting the metallic copper base coat and enhancing its shine.
- Sanding Before Clear Coat: Lightly sand the base coat with fine-grit sandpaper (1000-1500 grit) to create a smooth surface for the clear coat.
- Applying the Clear Coat: Apply the clear coat in thin, even coats, ensuring complete coverage.
- Drying Time: Allow the clear coat to dry completely before polishing.
Crucial Clear Coat Considerations:
- UV Protection: Choose a clear coat with UV protection to prevent fading and discoloration caused by sunlight exposure.
- Multiple Coats for Durability: Applying multiple coats of clear coat enhances the paint’s durability and gloss.
Maintaining the Brilliance of Metallic Copper Paint:
The key to preserving the captivating beauty of metallic copper paint lies in consistent maintenance.
Cleaning:
- Regular Washing: Wash the car regularly with a mild car wash soap and soft microfiber cloths. Avoid abrasive sponges or harsh chemicals that can damage the paint.
- Dry Thoroughly: Dry the car thoroughly after washing to prevent water spots.
Polishing:
- Regular Polishing: Polish the car regularly to remove light scratches, swirl marks, and oxidation.
- Appropriate Polishing Products: Use a high-quality car polish specifically designed for metallic paints.
- Follow Manufacturer Instructions: Adhere to the manufacturer’s instructions for the chosen polish.
Waxing:
- Waxing for Protection: Wax the car regularly to provide a protective layer against the elements and enhance shine.
- Quality Wax: Use a high-quality car wax specifically designed for metallic paints.
- Even Application: Apply the wax evenly and allow it to dry before buffing off.
Additional Maintenance Tips:
- Protection from Harsh Weather: Park the car in a garage or covered area when possible to protect it from harsh weather conditions.
- Promptly Remove Bird Droppings: Clean bird droppings as soon as possible, as they can etch the paint.
- Remove Tree Sap: Remove tree sap promptly to prevent staining.
- Winter Road Salt Removal: Wash the car frequently during winter to remove road salt, which can damage the paint.
Repairing Scratches and Chips:
Scratches and chips are inevitable with any car paint, but they can be repaired.
- Touch-Up Paint: For minor scratches and chips, use touch-up paint that matches the original color.
- Professional Repair: For deeper scratches or larger chips, seek professional repair from a reputable auto body shop.
Important Considerations for Repairs:
- Color Matching: Ensure the touch-up paint matches the original color as closely as possible.
- Proper Technique: Apply touch-up paint in thin coats and allow each coat to dry completely.
- Professional Expertise: For significant damage, professional repair is essential to restore the paint’s integrity and ensure a flawless finish.
Conclusion:
Metallic copper car paint is a testament to the artistry of automotive finishes. Its captivating brilliance and depth of color make it a coveted choice for car enthusiasts. By understanding the nuances of its application, maintenance, and repair, you can ensure your metallic copper paint job continues to turn heads and radiate its mesmerizing charm for years to come. Remember, consulting with a professional paint specialist can provide valuable guidance and ensure optimal results.

Metallic Copper Car Paint: A Guide to Application and Maintenance
Post a Comment for "Metallic Copper Car Paint: A Guide To Application And Maintenance"