Enclosed Trailer Floor Paint Ideas: Durable and Stylish

Table of Content
Your enclosed trailer is more than just a hauler; it’s your mobile workspace, your rolling storage unit, or even your temporary living space. A well-maintained floor is essential for both functionality and aesthetics. This guide explores a range of durable and stylish floor paint ideas, helping you choose the perfect finish for your enclosed trailer.
Understanding Your Needs
Before diving into paint options, consider your specific needs and the intended use of your trailer:
- Heavy-duty use: If you’re hauling heavy equipment or frequently loading and unloading items, durability is paramount. Look for paints designed for high-traffic areas and resistant to abrasion, impact, and chemicals.
- Light-duty use: For storage or occasional transport, you may prioritize aesthetics over extreme durability. Consider a paint that offers a smooth finish, is easy to clean, and complements your trailer’s overall look.
- Environmental conditions: Will your trailer be exposed to extreme temperatures, moisture, or UV rays? Choose a paint formulated for the specific climate and conditions it will face.
Types of Enclosed Trailer Floor Paint
1. Epoxy Flooring
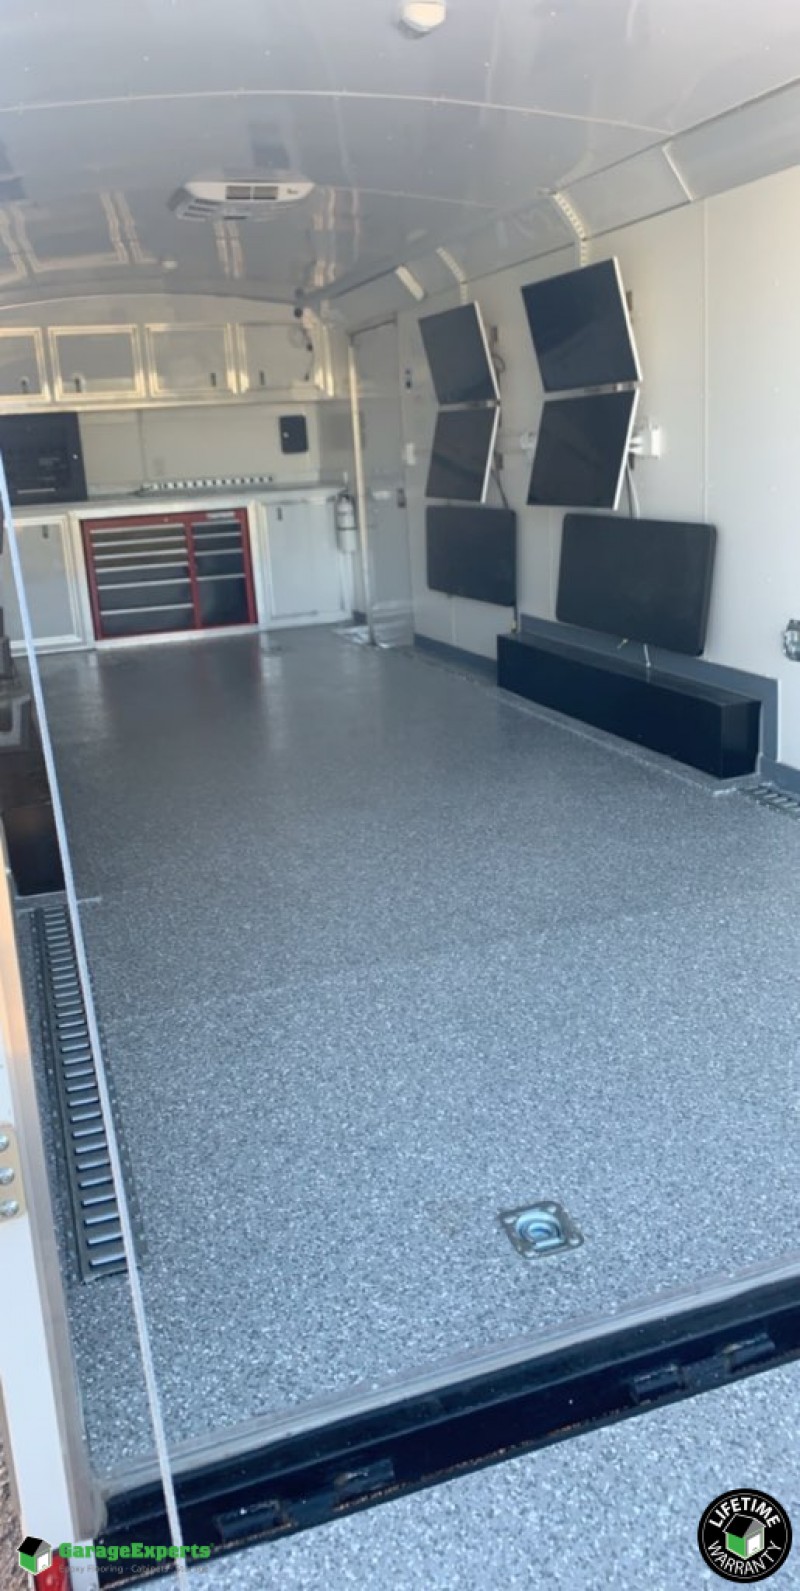
- Benefits: Epoxy paints offer exceptional durability, resistance to chemicals, and a sleek, non-porous finish. They’re ideal for heavy-duty use, resisting wear and tear from heavy loads and frequent movement.
- Drawbacks: Epoxy paints require careful preparation, including proper cleaning and surface etching. They can be more expensive than other options.
- Application: Follow the manufacturer’s instructions for proper mixing and application. Use a roller or brush for a smooth, even coat. Allow sufficient drying time before applying a second coat.

2. Polyurethane Flooring
- Benefits: Polyurethane paints are known for their durability, moisture resistance, and UV stability. They offer a slightly softer finish than epoxy, making them easier on foot traffic.
- Drawbacks: Polyurethane paints may not be as chemically resistant as epoxy. They also require careful preparation and application to achieve a smooth, even finish.
- Application: Clean the surface thoroughly and apply a primer before painting. Use a roller or brush for application, ensuring even coverage. Allow adequate drying time between coats.
3. Acrylic Flooring
- Benefits: Acrylic paints are water-based, making them easy to apply and clean. They offer a good balance of durability and affordability, making them a popular choice for enclosed trailers.
- Drawbacks: Acrylic paints may not be as durable as epoxy or polyurethane paints, especially in high-traffic areas. They can also be susceptible to scratches and stains.
- Application: Clean the surface thoroughly and apply a primer for optimal adhesion. Use a roller or brush for application, ensuring even coverage. Allow sufficient drying time between coats.
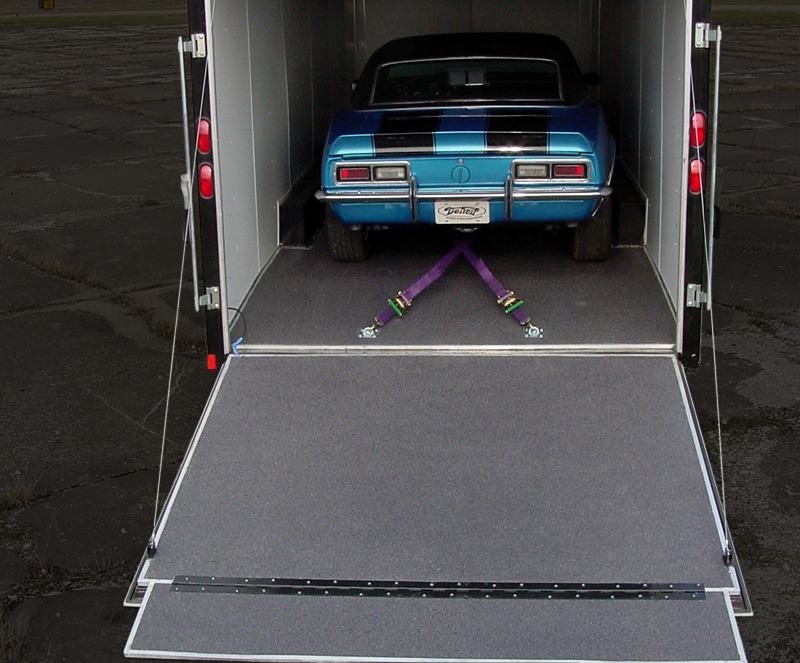
4. Specialty Floor Coatings
- Benefits: Specialty coatings like rubberized bed liners or textured paints offer additional protection and grip. They are ideal for trailers used for hauling dirt bikes, motorcycles, or other equipment that requires a non-slip surface.
- Drawbacks: Specialty coatings may be more expensive than traditional paints and can be more difficult to apply.
- Application: Follow the manufacturer’s instructions carefully. Some specialty coatings may require a specific application technique or specialized tools.
Choosing the Right Color
- Light colors: Reflect heat and create a brighter interior, ideal for hot climates.
- Dark colors: Absorb heat and create a more subdued atmosphere.
- Neutral colors: Provide a clean, professional look and are easy to match with other interior elements.
- Bold colors: Add a touch of personality and make your trailer stand out.
Enhancing the Look with Design
- Stencils: Create custom patterns or logos on your trailer floor.
- Tape: Use painter’s tape to create stripes or other geometric designs.
- Decorative accents: Add decorative elements like border tape or floor mats to enhance the overall look.
Painting Your Enclosed Trailer Floor: A Step-by-Step Guide
1. Preparation:
- Clean the surface: Remove all dirt, debris, grease, and oil. Consider using a pressure washer for a thorough cleaning.
- Repair any damage: Fill cracks or holes with a suitable patching compound.
- Sand the surface: Sand the floor to create a smooth, even surface and improve paint adhesion.
- Prime the surface: Apply a primer designed for the type of paint you’re using. This will help the paint adhere better and create a more durable finish.
2. Painting:
- Choose the right paint: Consider the durability, aesthetics, and application requirements of each paint type.
- Apply the paint: Use a roller or brush for a smooth, even application. Follow the manufacturer’s instructions for drying times and recoating.
- Allow sufficient drying time: Ensure the paint is fully cured before applying a second coat or loading your trailer.
3. Finishing Touches:
- Seal the paint: Apply a sealant to protect the paint from wear and tear, UV rays, and chemicals.
- Add decorative accents: Consider using stencils, tape, or floor mats to enhance the look of your trailer floor.
Maintaining Your Painted Floor
- Regular cleaning: Sweep or vacuum the floor regularly to remove dirt and debris.
- Spot clean spills: Clean spills promptly to prevent staining.
- Avoid harsh chemicals: Use mild cleaners and avoid abrasive scrubbers.
- Recoat as needed: Recoat the floor every few years to maintain its durability and appearance.
Cost Considerations
The cost of painting your enclosed trailer floor can vary depending on the size of the trailer, the type of paint used, and the labor involved. Here’s a general breakdown of costs:
| Type of Paint | Cost per Gallon | Coverage | Total Cost (Approximate) |
|---|---|---|---|
| Epoxy | $50 – $100 | 200 – 300 sq ft | $100 – $300 |
| Polyurethane | $30 – $60 | 150 – 250 sq ft | $60 – $150 |
| Acrylic | $20 – $40 | 100 – 200 sq ft | $40 – $80 |
DIY vs. Professional Painting
- DIY: Painting your trailer floor yourself can save you money, but it requires time, effort, and attention to detail.
- Professional: Hiring a professional painter ensures a high-quality finish and saves you time and effort. However, it will cost more than doing it yourself.
Conclusion
Choosing the right paint for your enclosed trailer floor is crucial for both functionality and aesthetics. By understanding your needs, considering the different paint types, and following a proper painting process, you can create a durable and stylish floor that will enhance your trailer’s performance and appeal. Whether you choose to paint it yourself or hire a professional, a well-maintained floor will serve you well for years to come.

Enclosed Trailer Floor Paint Ideas: Durable and Stylish
Post a Comment for "Enclosed Trailer Floor Paint Ideas: Durable And Stylish"