Water Tank Paint: Best Practices for Long-Lasting Protection
Table of Content
- 1 Water Tank Paint: Best Practices for Long-Lasting Protection
- 1.1 Understanding Water Tank Paint: A Crucial First Step
- 1.2 Selecting the Right Water Tank Paint: A Guide to Choosing Wisely
- 1.3 Preparing Your Water Tank for Painting: A Step-by-Step Guide
- 1.4 Safety Precautions: Protecting Yourself During Painting
- 1.5 Maintaining Your Water Tank: A Guide to Long-Term Protection
- 1.6 Conclusion: Ensuring a Safe and Reliable Water Supply
Protecting your water tank from the elements is crucial for ensuring safe and clean water supply. Applying the right water tank paint can significantly extend its lifespan and prevent costly repairs. This comprehensive guide will delve into the best practices for selecting and applying water tank paint, ensuring long-lasting protection and optimal performance.
Understanding Water Tank Paint: A Crucial First Step
Water tank paint isn’t your average paint. It needs to withstand harsh conditions, including:
- Exposure to UV rays: Sunlight can degrade paint, leading to fading and cracking.
- Temperature fluctuations: Extreme temperatures can cause expansion and contraction, stressing the paint film.
- Moisture and humidity: Water tank paint must be resistant to moisture and humidity to prevent corrosion and mildew growth.
- Chemical exposure: Water tanks may contain chemicals, making it crucial to use paint compatible with the water source.
Selecting the Right Water Tank Paint: A Guide to Choosing Wisely
The type of water tank paint you choose depends heavily on the specific needs of your tank and the environment it’s exposed to. Here’s a breakdown of the most common types:
1. Epoxy-Based Paints:
- Advantages: Exceptional durability, excellent adhesion, and resistance to chemicals and water.
- Disadvantages: Can be difficult to apply, requiring specialized techniques and proper ventilation.
- Applications: Ideal for potable water tanks, offering long-term protection against corrosion and contamination.
2. Polyurethane Paints:
- Advantages: Durable, flexible, and resistant to UV rays and abrasion.
- Disadvantages: Less chemical-resistant than epoxy paints, potentially limiting their use in some water tanks.
- Applications: Suitable for non-potable water tanks, offering excellent protection against weathering and wear.

3. Acrylic Paints:
- Advantages: Easy to apply, water-based, and offer good adhesion.
- Disadvantages: Less durable than epoxy or polyurethane paints, making them unsuitable for harsh environments.
- Applications: Best suited for non-potable water tanks or tanks with minimal exposure to harsh conditions.
4. Chlorinated Rubber Paints:
- Advantages: Highly resistant to chemicals, water, and abrasion.
- Disadvantages: Can be difficult to apply and require proper ventilation.
- Applications: Suitable for water tanks storing chemicals or exposed to harsh industrial environments.
5. Zinc-Rich Paints:
- Advantages: Excellent corrosion protection, particularly in harsh environments.
- Disadvantages: Can be more expensive than other options.
- Applications: Recommended for water tanks exposed to highly corrosive environments.
6. Aluminum Paints:
- Advantages: Reflective, reducing heat absorption and minimizing temperature fluctuations within the tank.
- Disadvantages: Less durable than other options, requiring frequent repainting.
- Applications: Suitable for water tanks exposed to high temperatures, offering protection against heat damage.
7. Silicone-Based Paints:
- Advantages: Excellent water repellency and resistance to UV rays and weathering.
- Disadvantages: Less durable than epoxy or polyurethane paints, making them unsuitable for high-stress environments.
- Applications: Suitable for non-potable water tanks or tanks with minimal exposure to harsh conditions.
Pro Tip: Always consult the paint manufacturer’s specifications and safety data sheets (SDS) to ensure compatibility with your water tank material and intended use.
Preparing Your Water Tank for Painting: A Step-by-Step Guide
Proper preparation is key to achieving a long-lasting and effective paint finish. Follow these steps to ensure a successful application:
1. Cleaning and Surface Preparation:
- Thoroughly clean the tank: Remove all dirt, debris, rust, algae, and other contaminants using a high-pressure washer or a combination of soap and water.
- Remove loose paint or coatings: Scrape off any flaking or peeling paint to create a smooth surface for the new paint.
- Sand the surface: Use sandpaper or a wire brush to roughen the surface, providing better adhesion for the new paint.
2. Priming the Tank:
- Apply a primer: Choose a primer compatible with the chosen paint and the tank material. Priming creates a bonding layer, enhancing paint adhesion and preventing corrosion.
- Allow the primer to dry completely: Follow the manufacturer’s drying time recommendations to ensure proper curing.
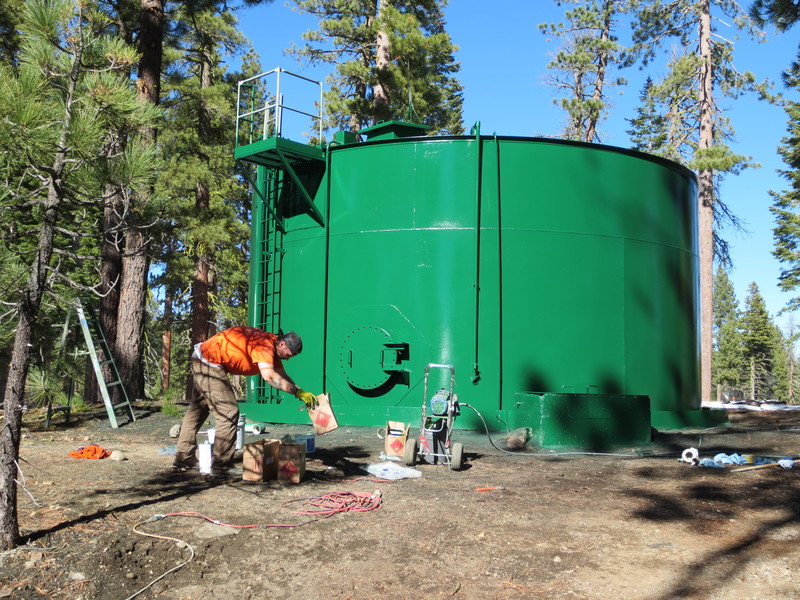
3. Applying the Water Tank Paint:
- Use the appropriate application method: Choose between brushes, rollers, or sprayers based on the paint type and the tank size.
- Apply thin, even coats: Avoid applying thick coats, as they can lead to cracking and peeling.
- Allow each coat to dry completely: Ensure proper drying time between coats according to the manufacturer’s instructions.
- Apply multiple coats: Two to three coats are typically recommended for optimal coverage and protection.
4. Curing and Maintenance:
- Allow the paint to cure: After the final coat is applied, allow the paint to cure completely according to the manufacturer’s recommendations.
- Inspect the tank regularly: Check for any signs of damage, wear, or peeling.
- Repaint as needed: Apply a fresh coat of paint when necessary to maintain the protective barrier.
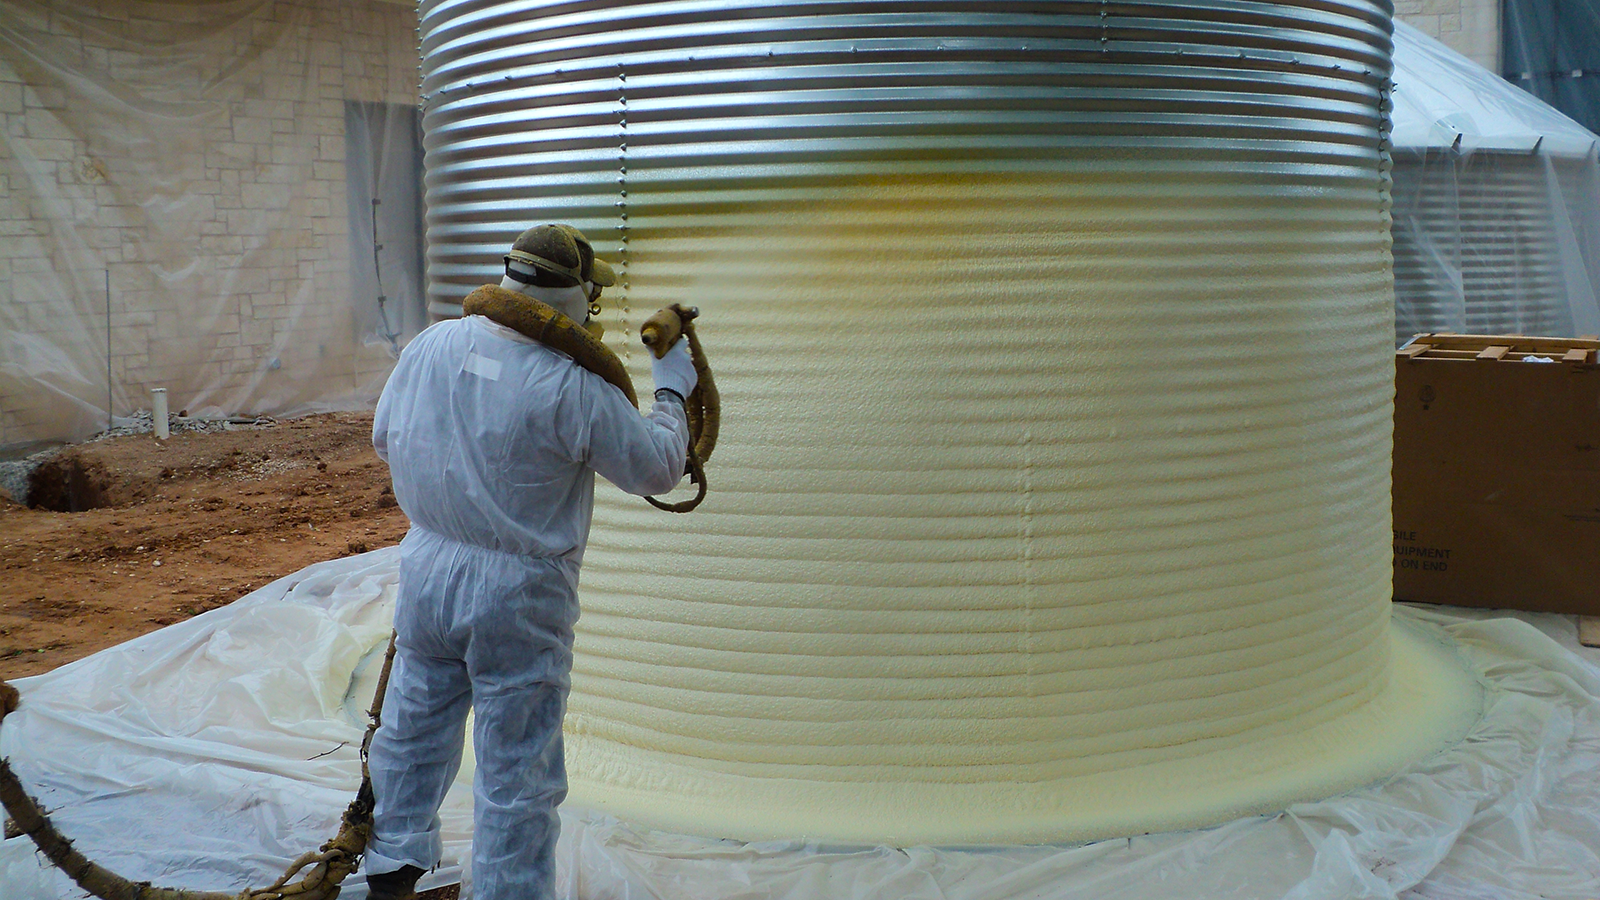
Safety Precautions: Protecting Yourself During Painting
Painting a water tank involves working with chemicals and potentially hazardous materials. Always prioritize safety by taking the following precautions:
- Wear protective gear: Use gloves, goggles, and a respirator to protect your skin, eyes, and respiratory system from paint fumes.
- Work in a well-ventilated area: Ensure adequate airflow to prevent the buildup of hazardous fumes.
- Store paints and materials safely: Keep paints and materials out of reach of children and pets, following the manufacturer’s storage guidelines.
- Dispose of materials properly: Follow local regulations for disposing of paint containers and other waste materials.
Maintaining Your Water Tank: A Guide to Long-Term Protection
Regular maintenance is essential to extend the lifespan of your water tank and ensure a continuous supply of clean water. Here are some key steps:
- Inspect the tank regularly: Look for signs of damage, wear, or peeling paint.
- Clean the tank periodically: Remove dirt, debris, and algae buildup to prevent contamination and corrosion.
- Repaint as needed: Apply a fresh coat of paint when the existing coating shows signs of wear or damage.
- Check the tank’s structural integrity: Ensure the tank is free from cracks, leaks, or other structural issues.
Conclusion: Ensuring a Safe and Reliable Water Supply
Applying the right water tank paint and following best practices for preparation, application, and maintenance can significantly extend the lifespan of your water tank, ensuring a safe and reliable supply of clean water for years to come. By understanding the different types of paint, preparing the surface properly, and prioritizing safety, you can create a durable and long-lasting protective barrier for your water tank.
Remember, consulting with a professional painter or coating specialist can provide expert advice and ensure proper application, maximizing the effectiveness of your water tank paint.

Water Tank Paint: Best Practices for Long-Lasting Protection
Post a Comment for "Water Tank Paint: Best Practices For Long-Lasting Protection"