Unleash Your Inner Artist: Transforming Stones with Glow-in-the-Dark Paint

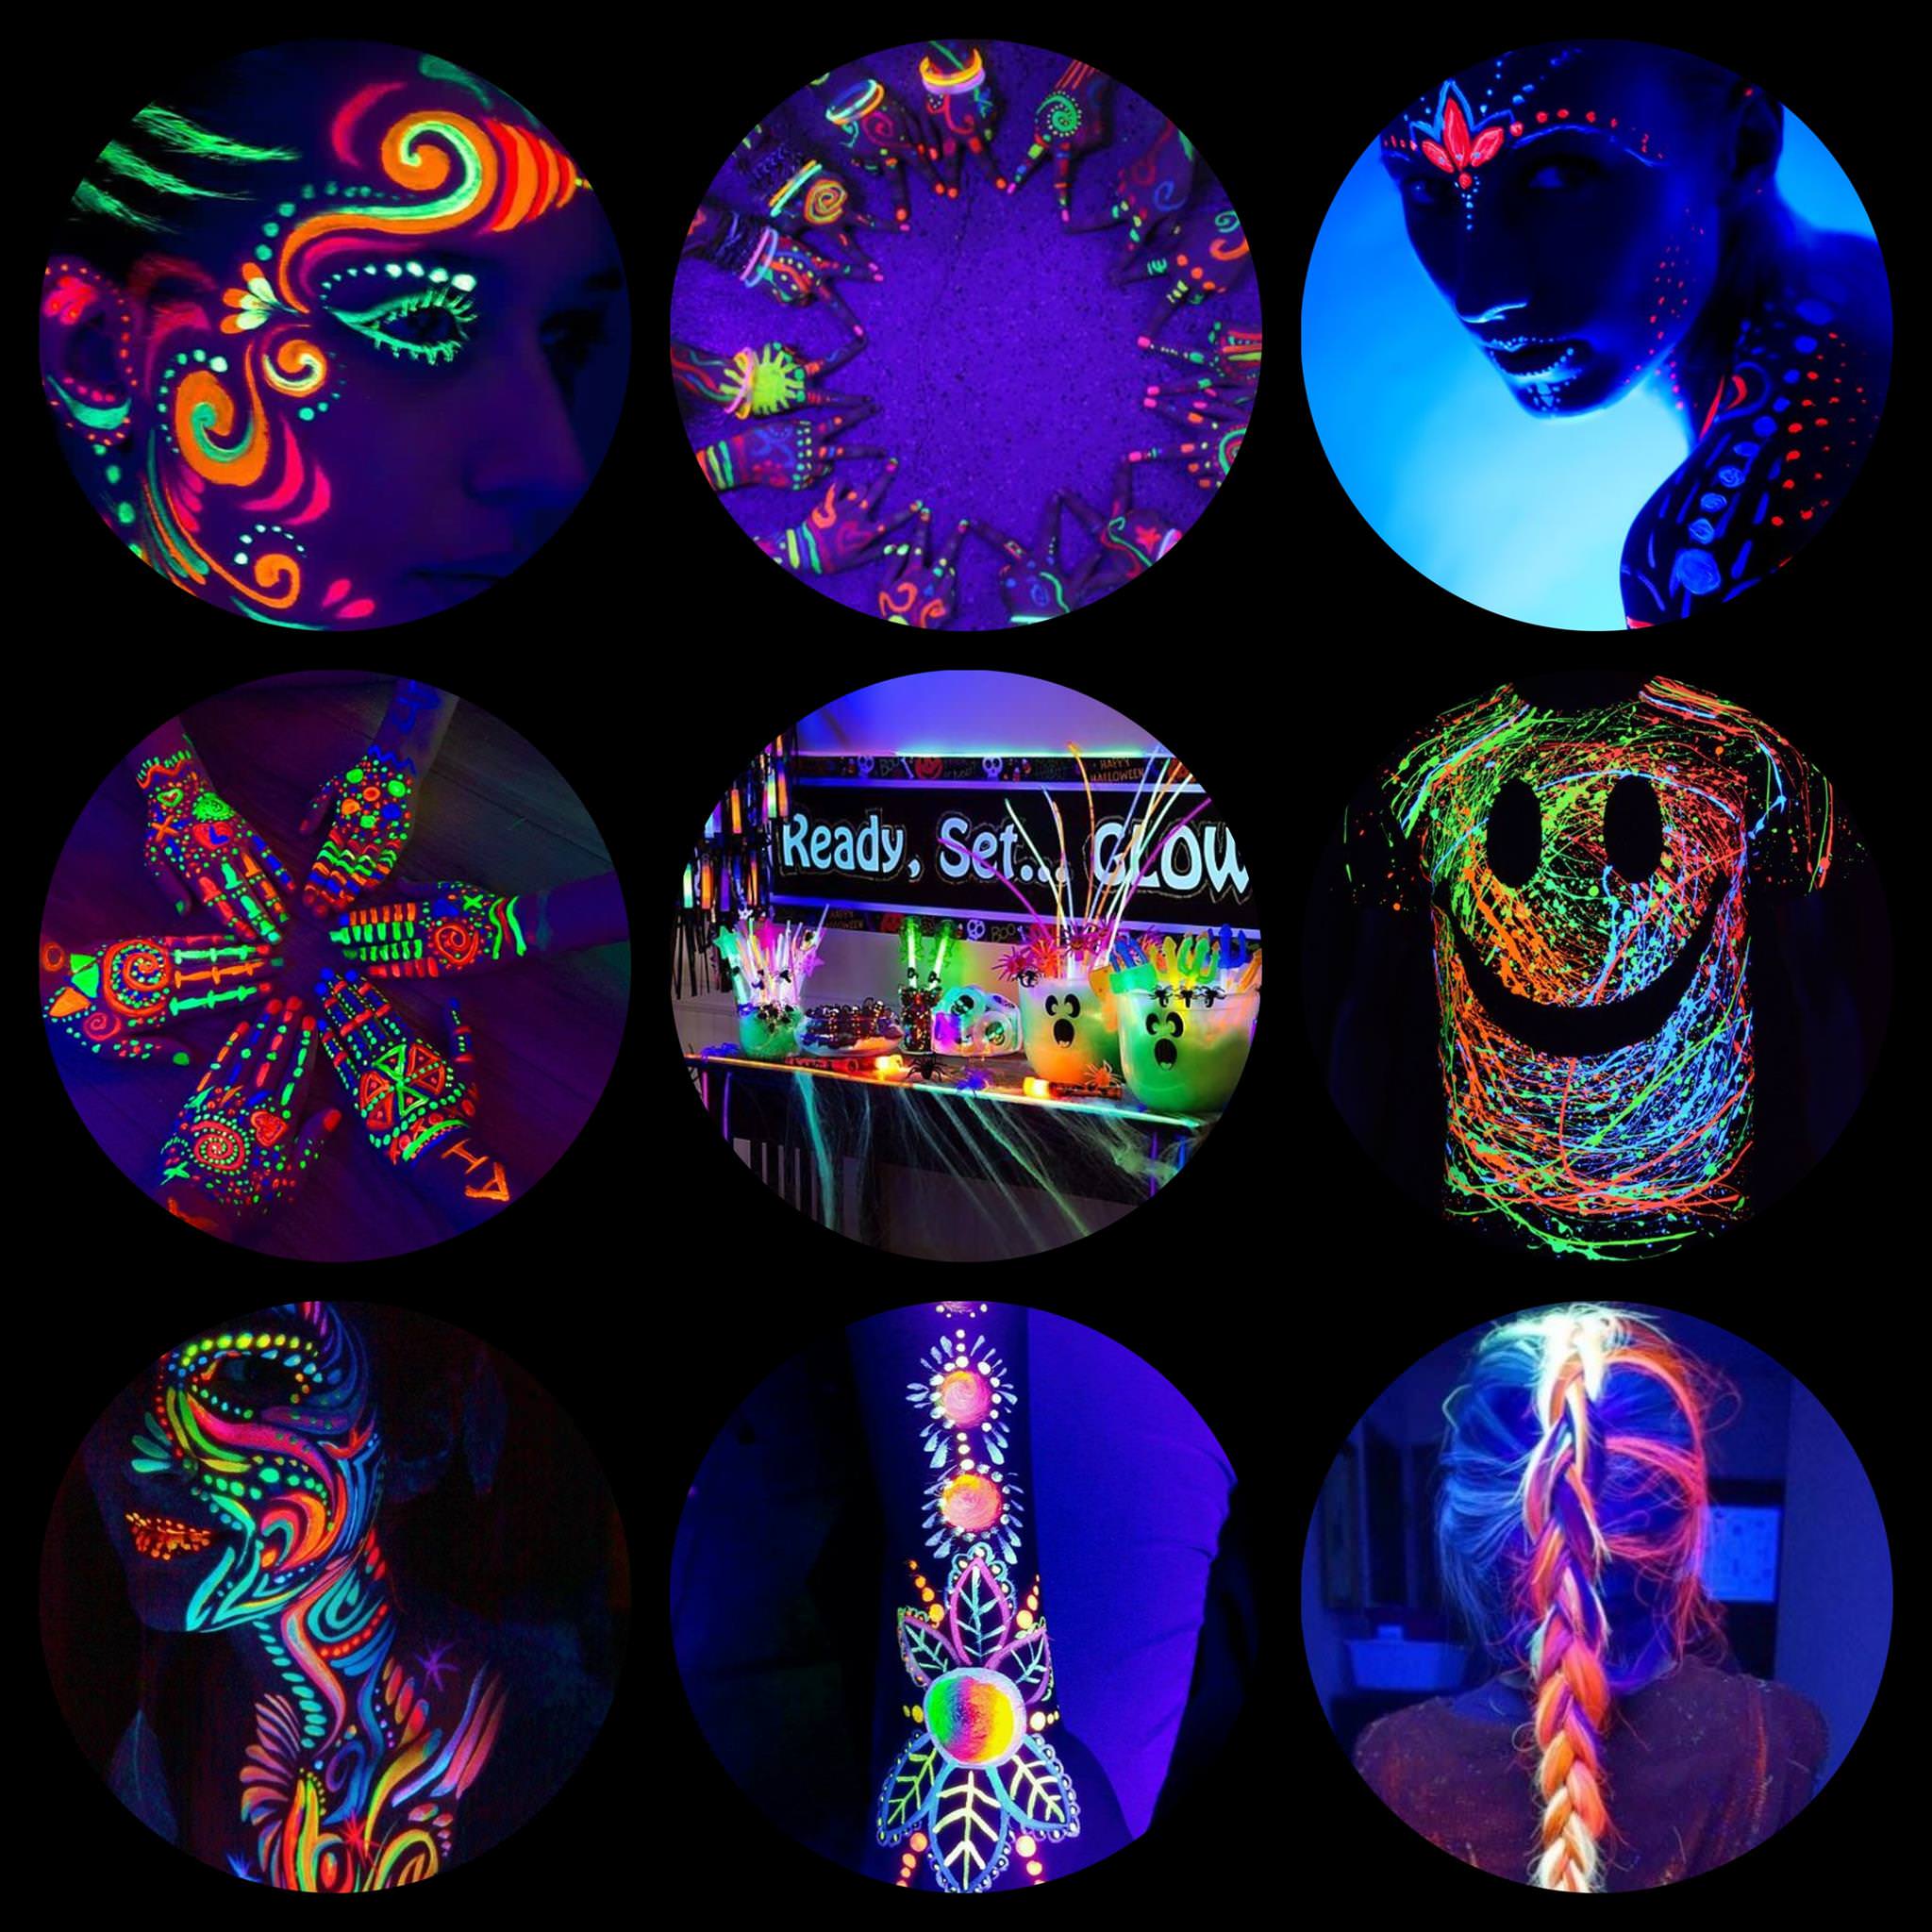
Glow-in-the-dark paint has become a beloved tool for artists, crafters, and DIY enthusiasts alike. Its ability to absorb light and release a mesmerizing glow in the dark opens up a world of creative possibilities, especially when applied to the natural beauty of stones.
This article explores the captivating world of using glow-in-the-dark paint on stones, offering a comprehensive guide to techniques, projects, and inspiration. We delve into the nuances of choosing the right paint, preparing your stones, and applying the paint for stunning results.
Unlocking the Magic: Choosing the Right Glow-in-the-Dark Paint
The key to achieving vibrant, long-lasting glow lies in selecting the right glow-in-the-dark paint. Several types are available, each with its own strengths and considerations:
- Acrylic Glow-in-the-Dark Paint: This versatile option is water-based, making it easy to clean up and suitable for various surfaces. It dries quickly, offering a smooth, opaque finish that enhances the glow effect.
- Oil-Based Glow-in-the-Dark Paint: Offering a more durable and weather-resistant finish, oil-based glow-in-the-dark paint is ideal for outdoor projects or those requiring a long-lasting glow. However, it requires solvents for cleanup and may take longer to dry.
- Spray Glow-in-the-Dark Paint: This convenient option provides a quick and even application, ideal for covering larger surfaces or intricate designs. However, it requires proper ventilation and a steady hand for precise application.
Preparing Your Stones: A Foundation for Brilliance

Before embarking on your creative journey, preparing your stones is crucial for optimal paint adhesion and a flawless finish:
- Cleaning and Drying: Thoroughly clean your stones with soap and water, ensuring all dirt and debris are removed. Allow them to dry completely before proceeding.
- Smoothing Rough Edges: If your stones have sharp edges, use sandpaper or a sanding block to smooth them, creating a safer and more aesthetically pleasing surface.
- Priming for Enhanced Adhesion: Applying a primer specifically designed for stone surfaces enhances paint adhesion, preventing chipping or peeling. Let the primer dry completely before painting.

Painting with Precision: Techniques for Stunning Effects
With your stones prepped and ready, it’s time to unleash your creativity and explore various painting techniques:
- Solid Color: For a simple yet striking effect, apply a single coat of glow-in-the-dark paint to your stones, ensuring even coverage. This technique creates a luminous base for further embellishment.
- Patterns and Designs: Using stencils, masking tape, or freehand techniques, create intricate patterns or designs on your stones. Layer different colors of glow-in-the-dark paint for a multi-dimensional effect.
- Ombre Effect: Achieve a gradual transition of color by blending two or more shades of glow-in-the-dark paint. This technique creates a captivating visual depth, mimicking a sunset or a starry night sky.
- Textured Effects: Create unique textures by layering different mediums like sand, glitter, or textured paint over the glow-in-the-dark base. This adds tactile and visual interest to your creations.
Beyond the Basics: Enhancing Your Glow-in-the-Dark Stone Creations
Elevate your glow-in-the-dark stone projects with these creative enhancements:
- Adding Sparkle: Incorporate glitter or iridescent pigments into your paint for an extra layer of shimmer and sparkle.
- Layering with Other Paints: Combine glow-in-the-dark paint with other colors, metallics, or even acrylics for a multi-dimensional look.
- Protective Coatings: Seal your painted stones with a clear acrylic sealer or varnish to protect them from scratches and fading, ensuring a longer-lasting glow.
Inspiring Projects: Unveiling the Potential of Glow-in-the-Dark Stones
The possibilities with glow-in-the-dark paint on stones are boundless. Here are some inspiring project ideas to ignite your creativity:
- Luminous Garden Decorations: Transform ordinary rocks into captivating garden accents by painting them with glow-in-the-dark paint. Create pathways, borders, or even miniature sculptures that illuminate your garden at night.
- Magical Home Decor: Craft unique and whimsical home decor elements like glowing planters, candle holders, or decorative bowls.
- Creative Jewelry: Turn smooth stones into mesmerizing pendants, earrings, or bracelets. Incorporate intricate designs, patterns, or even miniature scenes for a personalized touch.
- Personalized Gifts: Create thoughtful and unique gifts by painting stones with names, dates, or meaningful symbols.
- Educational Tools: Engage children in learning about the night sky by painting stones with constellations or planets.
- Glow-in-the-Dark Art Installations: Push the boundaries of creativity by creating large-scale art installations using glow-in-the-dark stones. Imagine a mesmerizing pathway of glowing stones leading to a hidden garden or a luminous sculpture illuminating a dark space.
Beyond the Glow: Safety and Environmental Considerations
While glow-in-the-dark paint offers a captivating creative outlet, it’s essential to be mindful of safety and environmental considerations:
- Ventilation: When working with spray paint or oil-based paints, ensure adequate ventilation to avoid inhaling fumes.
- Protective Gear: Wear gloves and a mask to protect your skin and respiratory system from paint contact.
- Proper Disposal: Dispose of paint containers and any leftover paint responsibly, following local regulations for hazardous waste.
- Environmental Impact: Choose paints with low VOCs (Volatile Organic Compounds) and consider using eco-friendly alternatives whenever possible.
Conclusion: Embracing the Glow of Creativity
Using glow-in-the-dark paint on stones opens a world of creative possibilities, allowing you to transform ordinary rocks into captivating works of art. With the right techniques, materials, and inspiration, you can unleash your inner artist and create stunning projects that illuminate your imagination. Embrace the glow, experiment with different techniques, and let your creativity shine through.
Our Form: A Comprehensive Guide to Glow-in-the-Dark Stone Projects
Introduction
Embrace the enchanting world of glow-in-the-dark paint and unlock the potential of ordinary stones. This comprehensive guide delves into the art of transforming stones with this magical paint, providing step-by-step instructions, creative project ideas, and essential tips for achieving stunning results.
Choosing the Right Glow-in-the-Dark Paint
- Acrylic Glow-in-the-Dark Paint: Water-based, easy cleanup, quick drying, smooth opaque finish, suitable for various surfaces.
- Oil-Based Glow-in-the-Dark Paint: Durable, weather-resistant, long-lasting glow, requires solvents for cleanup, slower drying time.
- Spray Glow-in-the-Dark Paint: Convenient, quick and even application, ideal for large surfaces or intricate designs, requires ventilation and precision.
Preparing Your Stones: A Foundation for Brilliance
- Cleaning and Drying: Thoroughly clean stones with soap and water, remove debris, and allow to dry completely.
- Smoothing Rough Edges: Use sandpaper or a sanding block to smooth sharp edges for safety and aesthetics.
- Priming for Enhanced Adhesion: Apply a primer specifically designed for stone surfaces to enhance paint adhesion and prevent chipping or peeling.
Painting Techniques for Stunning Effects
- Solid Color: Apply a single coat of glow-in-the-dark paint for a simple yet striking effect, ensuring even coverage.
- Patterns and Designs: Use stencils, masking tape, or freehand techniques to create intricate patterns or designs. Layer different colors for multi-dimensional effects.
- Ombre Effect: Achieve a gradual transition of color by blending two or more shades of glow-in-the-dark paint.
- Textured Effects: Layer different mediums like sand, glitter, or textured paint over the glow-in-the-dark base for tactile and visual interest.
Enhancing Your Glow-in-the-Dark Stone Creations
- Adding Sparkle: Incorporate glitter or iridescent pigments for an extra layer of shimmer and sparkle.
- Layering with Other Paints: Combine glow-in-the-dark paint with other colors, metallics, or acrylics for a multi-dimensional look.
- Protective Coatings: Seal painted stones with a clear acrylic sealer or varnish to protect them from scratches and fading, ensuring a longer-lasting glow.
Inspiring Project Ideas
- Luminous Garden Decorations: Create glowing pathways, borders, or miniature sculptures for a captivating night garden.
- Magical Home Decor: Craft glowing planters, candle holders, decorative bowls, or other unique home decor elements.
- Creative Jewelry: Transform smooth stones into mesmerizing pendants, earrings, or bracelets with intricate designs, patterns, or miniature scenes.
- Personalized Gifts: Paint stones with names, dates, or meaningful symbols for thoughtful and unique gifts.
- Educational Tools: Engage children with glow-in-the-dark stone constellations or planets for a fun learning experience.
- Glow-in-the-Dark Art Installations: Create large-scale art installations using glow-in-the-dark stones for mesmerizing pathways, sculptures, or hidden gardens.
Safety and Environmental Considerations
- Ventilation: Ensure adequate ventilation when working with spray paint or oil-based paints to avoid inhaling fumes.
- Protective Gear: Wear gloves and a mask to protect your skin and respiratory system from paint contact.
- Proper Disposal: Dispose of paint containers and leftover paint responsibly, following local regulations for hazardous waste.
- Environmental Impact: Choose paints with low VOCs and consider using eco-friendly alternatives whenever possible.
Conclusion: Embracing the Glow of Creativity
Transform ordinary stones into captivating works of art using glow-in-the-dark paint. Unleash your inner artist and create stunning projects that illuminate your imagination. Experiment with different techniques, materials, and ideas to embrace the glow and let your creativity shine through.
Pricing Table
| Product | Description | Price |
|---|---|---|
| Acrylic Glow-in-the-Dark Paint | Water-based, easy cleanup, quick drying, smooth opaque finish | $10-$20 per bottle |
| Oil-Based Glow-in-the-Dark Paint | Durable, weather-resistant, long-lasting glow | $15-$30 per bottle |
| Spray Glow-in-the-Dark Paint | Convenient, quick and even application | $12-$25 per can |
| Stone Primer | Enhances paint adhesion and prevents chipping or peeling | $8-$15 per bottle |
| Clear Acrylic Sealer | Protects painted stones from scratches and fading | $7-$12 per bottle |
| Glitter | Adds sparkle and shimmer to your creations | $5-$10 per jar |
Diagram: Glow-in-the-Dark Stone Garden Path
[Diagram of a garden path made of glowing stones]Diagram: Glow-in-the-Dark Stone Constellation
[Diagram of a stone painted with a constellation]Keywords: glow in the dark paint, stones, rocks, painting, art, craft, DIY, project, ideas, techniques, instructions, guide, garden, home decor, jewelry, gifts, educational, installation, safety, environmental, pricing, diagram.

Unleash Your Inner Artist: Transforming Stones with Glow-in-the-Dark Paint
Post a Comment for "Using Glow In The Dark Paint For Stones: Creative Projects"