The Ultimate Guide to Painting Your Cargo Trailer: From Prep to Perfection
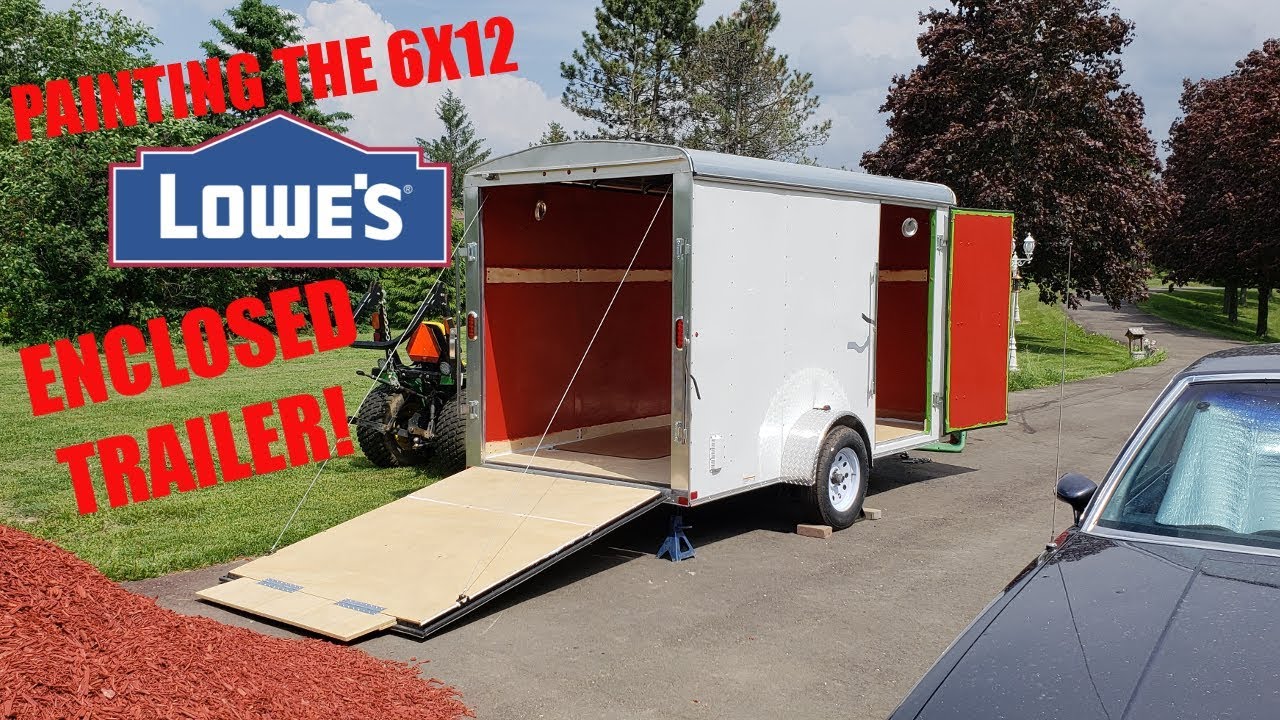
Table of Content
- 1 The Ultimate Guide to Painting Your Cargo Trailer: From Prep to Perfection
- 1.1 1. Preparation: The Foundation of a Great Paint Job
- 1.2 2. Choosing the Right Paint: Navigating the Options
- 1.3 3. Painting: The Transformation Begins
- 1.4 4. Finishing Touches: Enhancing the Look
- 1.5 5. Maintenance: Keeping Your Painted Trailer Looking Great
- 1.6 6. Safety Considerations: Working with Paint
- 1.7 Conclusion: Your Cargo Trailer, Your Way
Transforming your plain cargo trailer into a personalized and eye-catching masterpiece is within reach. This comprehensive guide will walk you through every step of the painting process, ensuring a professional-looking finish that will last for years to come. Whether you’re aiming for a vibrant color, a sleek black, or a custom design, this guide has you covered.
1. Preparation: The Foundation of a Great Paint Job
A successful paint job begins with meticulous preparation. This phase lays the groundwork for a durable and aesthetically pleasing finish.
1.1. Cleaning and Degreasing:
- Remove all loose debris: Use a brush, broom, or pressure washer to remove dirt, dust, leaves, and any other debris from the trailer’s exterior.
- Wash thoroughly: Use a mild detergent and water to wash the entire surface of the trailer, including the roof, sides, and doors. Be sure to reach all corners and crevices.
- Degrease the surface: Apply a degreaser specifically designed for automotive surfaces. This removes oils, grease, and other contaminants that can interfere with paint adhesion.
1.2. Sanding and Patching:
- Sanding: Use progressively finer grades of sandpaper (e.g., 80-grit, 120-grit, 220-grit) to smooth out any imperfections, such as rust, dents, or scratches. Focus on achieving a smooth and even surface.
- Patching: Repair any holes or dents using fiberglass resin, body filler, or other appropriate patching materials. Allow the patching material to cure completely before sanding.
1.3. Masking and Protecting:

- Masking: Use painter’s tape to protect areas you don’t want to paint, such as windows, lights, and trim. Apply tape carefully to ensure a clean line.
- Protective coverings: Cover the interior of the trailer with drop cloths or plastic sheeting to prevent paint overspray.
1.4. Primer Application:
- Purpose of primer: Primer acts as a bonding agent between the surface and the topcoat. It helps the paint adhere better and provides a smooth, even base.
- Primer selection: Choose a primer specifically designed for metal surfaces. Consider using an etching primer if dealing with bare metal or rust.
- Primer application: Apply the primer evenly using a brush, roller, or spray gun. Allow the primer to dry completely according to the manufacturer’s instructions.
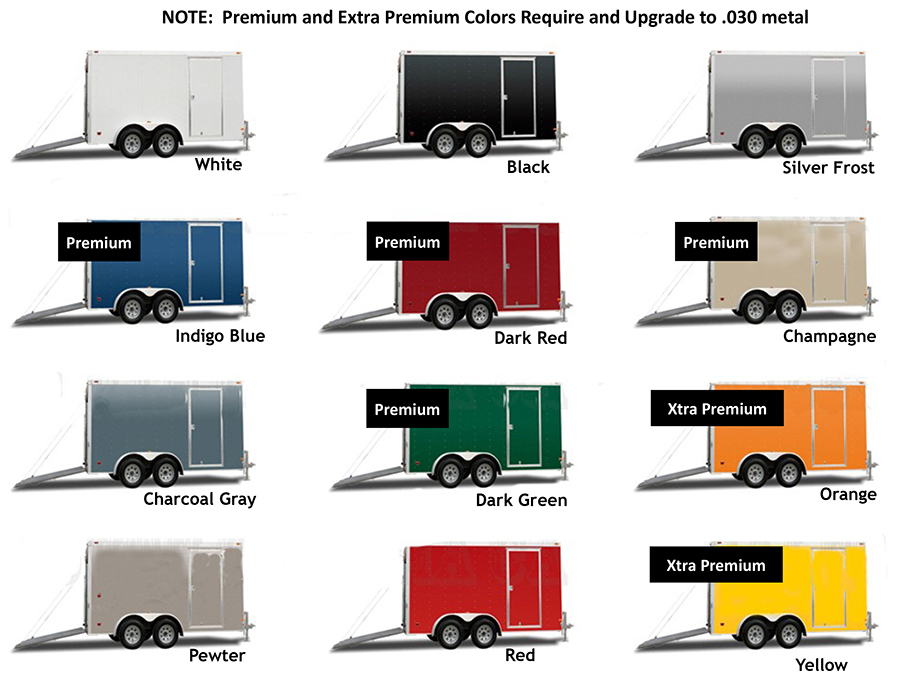
2. Choosing the Right Paint: Navigating the Options
The type of paint you choose will significantly impact the final look and durability of your cargo trailer. Here’s a breakdown of common options:
2.1. Acrylic Enamel:
- Pros: Durable, easy to apply, dries quickly, available in a wide range of colors.
- Cons: Can be susceptible to chipping or scratching if not applied properly.
2.2. Urethane:
- Pros: Extremely durable, resistant to chemicals and UV rays, provides a high-gloss finish.
- Cons: More expensive than acrylic enamel, requires specialized equipment for application.
2.3. Epoxy:
- Pros: Provides a very hard and durable finish, resistant to abrasion and chemicals.
- Cons: Can be difficult to apply, requires precise mixing and application techniques.
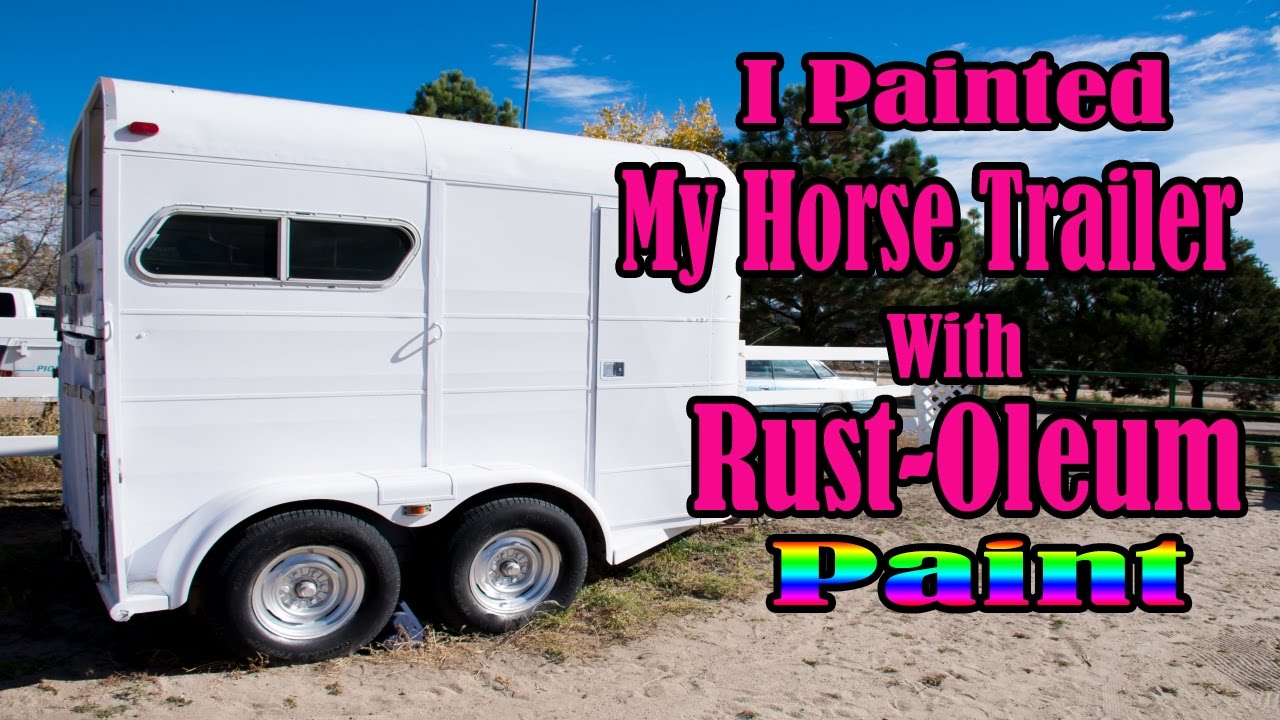
2.4. Rust-Oleum:
- Pros: Easy to apply, available in a variety of colors, provides decent durability.
- Cons: Not as durable as other options, may require more frequent touch-ups.
2.5. Specialty Paints:
- Hammered finish: Creates a textured, metallic look.
- Bedliner: Provides a tough, protective coating that is resistant to scratches and chips.
- Powder coating: Durable and long-lasting, requires specialized equipment for application.
3. Painting: The Transformation Begins
With the preparation completed and paint selected, it’s time to bring your vision to life.
3.1. Application Techniques:
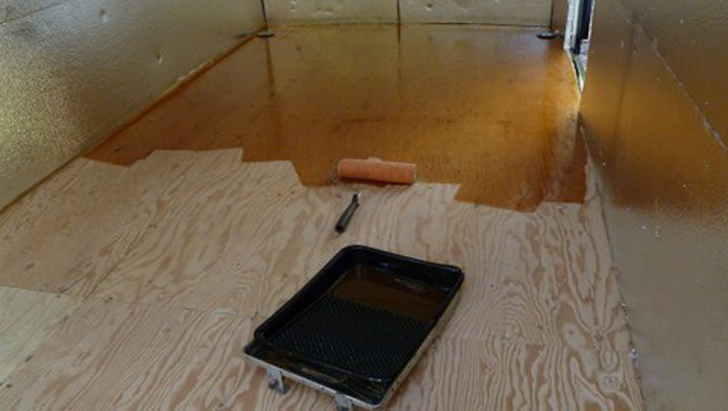
- Spray gun: Provides a smooth and even finish, ideal for large areas.
- Roller: Offers a good balance of speed and quality, suitable for most applications.
- Brush: Best for small areas or intricate designs, requires more skill and time.
3.2. Application Tips:
- Thin the paint: Follow the manufacturer’s instructions for thinning the paint to achieve the desired consistency.
- Apply in thin coats: Apply multiple thin coats instead of one thick coat. This helps prevent runs and sags.
- Allow each coat to dry completely: Follow the drying time specified by the paint manufacturer.
3.3. Achieving a Professional Finish:
- Even application: Aim for consistent coverage and avoid overlapping strokes.
- Smooth out imperfections: Use a brush or roller to smooth out any brush marks or imperfections.
- Clean up immediately: Clean tools and equipment promptly after use to prevent paint from drying and becoming unusable.
4. Finishing Touches: Enhancing the Look
After the paint has dried, it’s time to add the final touches that will make your cargo trailer truly stand out.
4.1. Clear Coat:
- Purpose: A clear coat protects the paint from UV rays, scratches, and other environmental damage.
- Types: Single-stage clear coats offer a glossy finish, while multi-stage clear coats provide a deeper, more durable finish.
4.2. Decals and Graphics:
- Design: Choose decals or graphics that reflect your personal style or business branding.
- Application: Apply decals carefully to ensure they are centered and smooth.
4.3. Hardware and Accessories:
- Handles: Replace worn or damaged handles with new ones.
- Lights: Ensure all lights are functioning properly and consider upgrading to LED lights for increased visibility.
- Rims: Consider painting or replacing the rims to enhance the overall look.
5. Maintenance: Keeping Your Painted Trailer Looking Great
A well-maintained paint job will last for years to come.
5.1. Regular Cleaning:
- Wash regularly: Wash the trailer with mild detergent and water to remove dirt and grime.
- Avoid harsh chemicals: Avoid using harsh chemicals that can damage the paint.
5.2. Touch-Ups:
- Address scratches and chips promptly: Use touch-up paint to repair minor scratches and chips.
- Waxing: Apply a car wax to protect the paint from UV rays and environmental damage.
5.3. Storage:
- Store in a covered area: If possible, store the trailer in a garage or under a carport to protect it from the elements.
- Use a cover: When not in use, cover the trailer with a protective tarp or cover.
6. Safety Considerations: Working with Paint
Painting involves working with potentially hazardous materials.
6.1. Ventilation:
- Work in a well-ventilated area: Ensure adequate ventilation to prevent exposure to paint fumes.
- Wear a respirator: Use a respirator to protect yourself from inhaling paint fumes.
6.2. Protective Gear:
- Gloves: Wear gloves to protect your hands from paint and solvents.
- Eye protection: Wear safety glasses or goggles to protect your eyes from paint splashes.
6.3. Flammability:
- Store paint properly: Store paint in a cool, dry place away from heat and open flames.
- Use caution with solvents: Be careful when using solvents as they can be flammable.
Conclusion: Your Cargo Trailer, Your Way
With careful planning, preparation, and attention to detail, you can transform your cargo trailer into a stunning and functional asset. This guide provides a comprehensive roadmap to achieving a professional-looking paint job that will enhance the appearance and longevity of your trailer. Remember to prioritize safety throughout the process and enjoy the satisfaction of creating a personalized masterpiece.
The Ultimate Guide to Painting Your Cargo Trailer: From Prep to Perfection
Post a Comment for "Step-by-Step Guide To Painting A Cargo Trailer"