Transform Your Ski Helmet: A Guide to Creative and Safe Helmet Painting
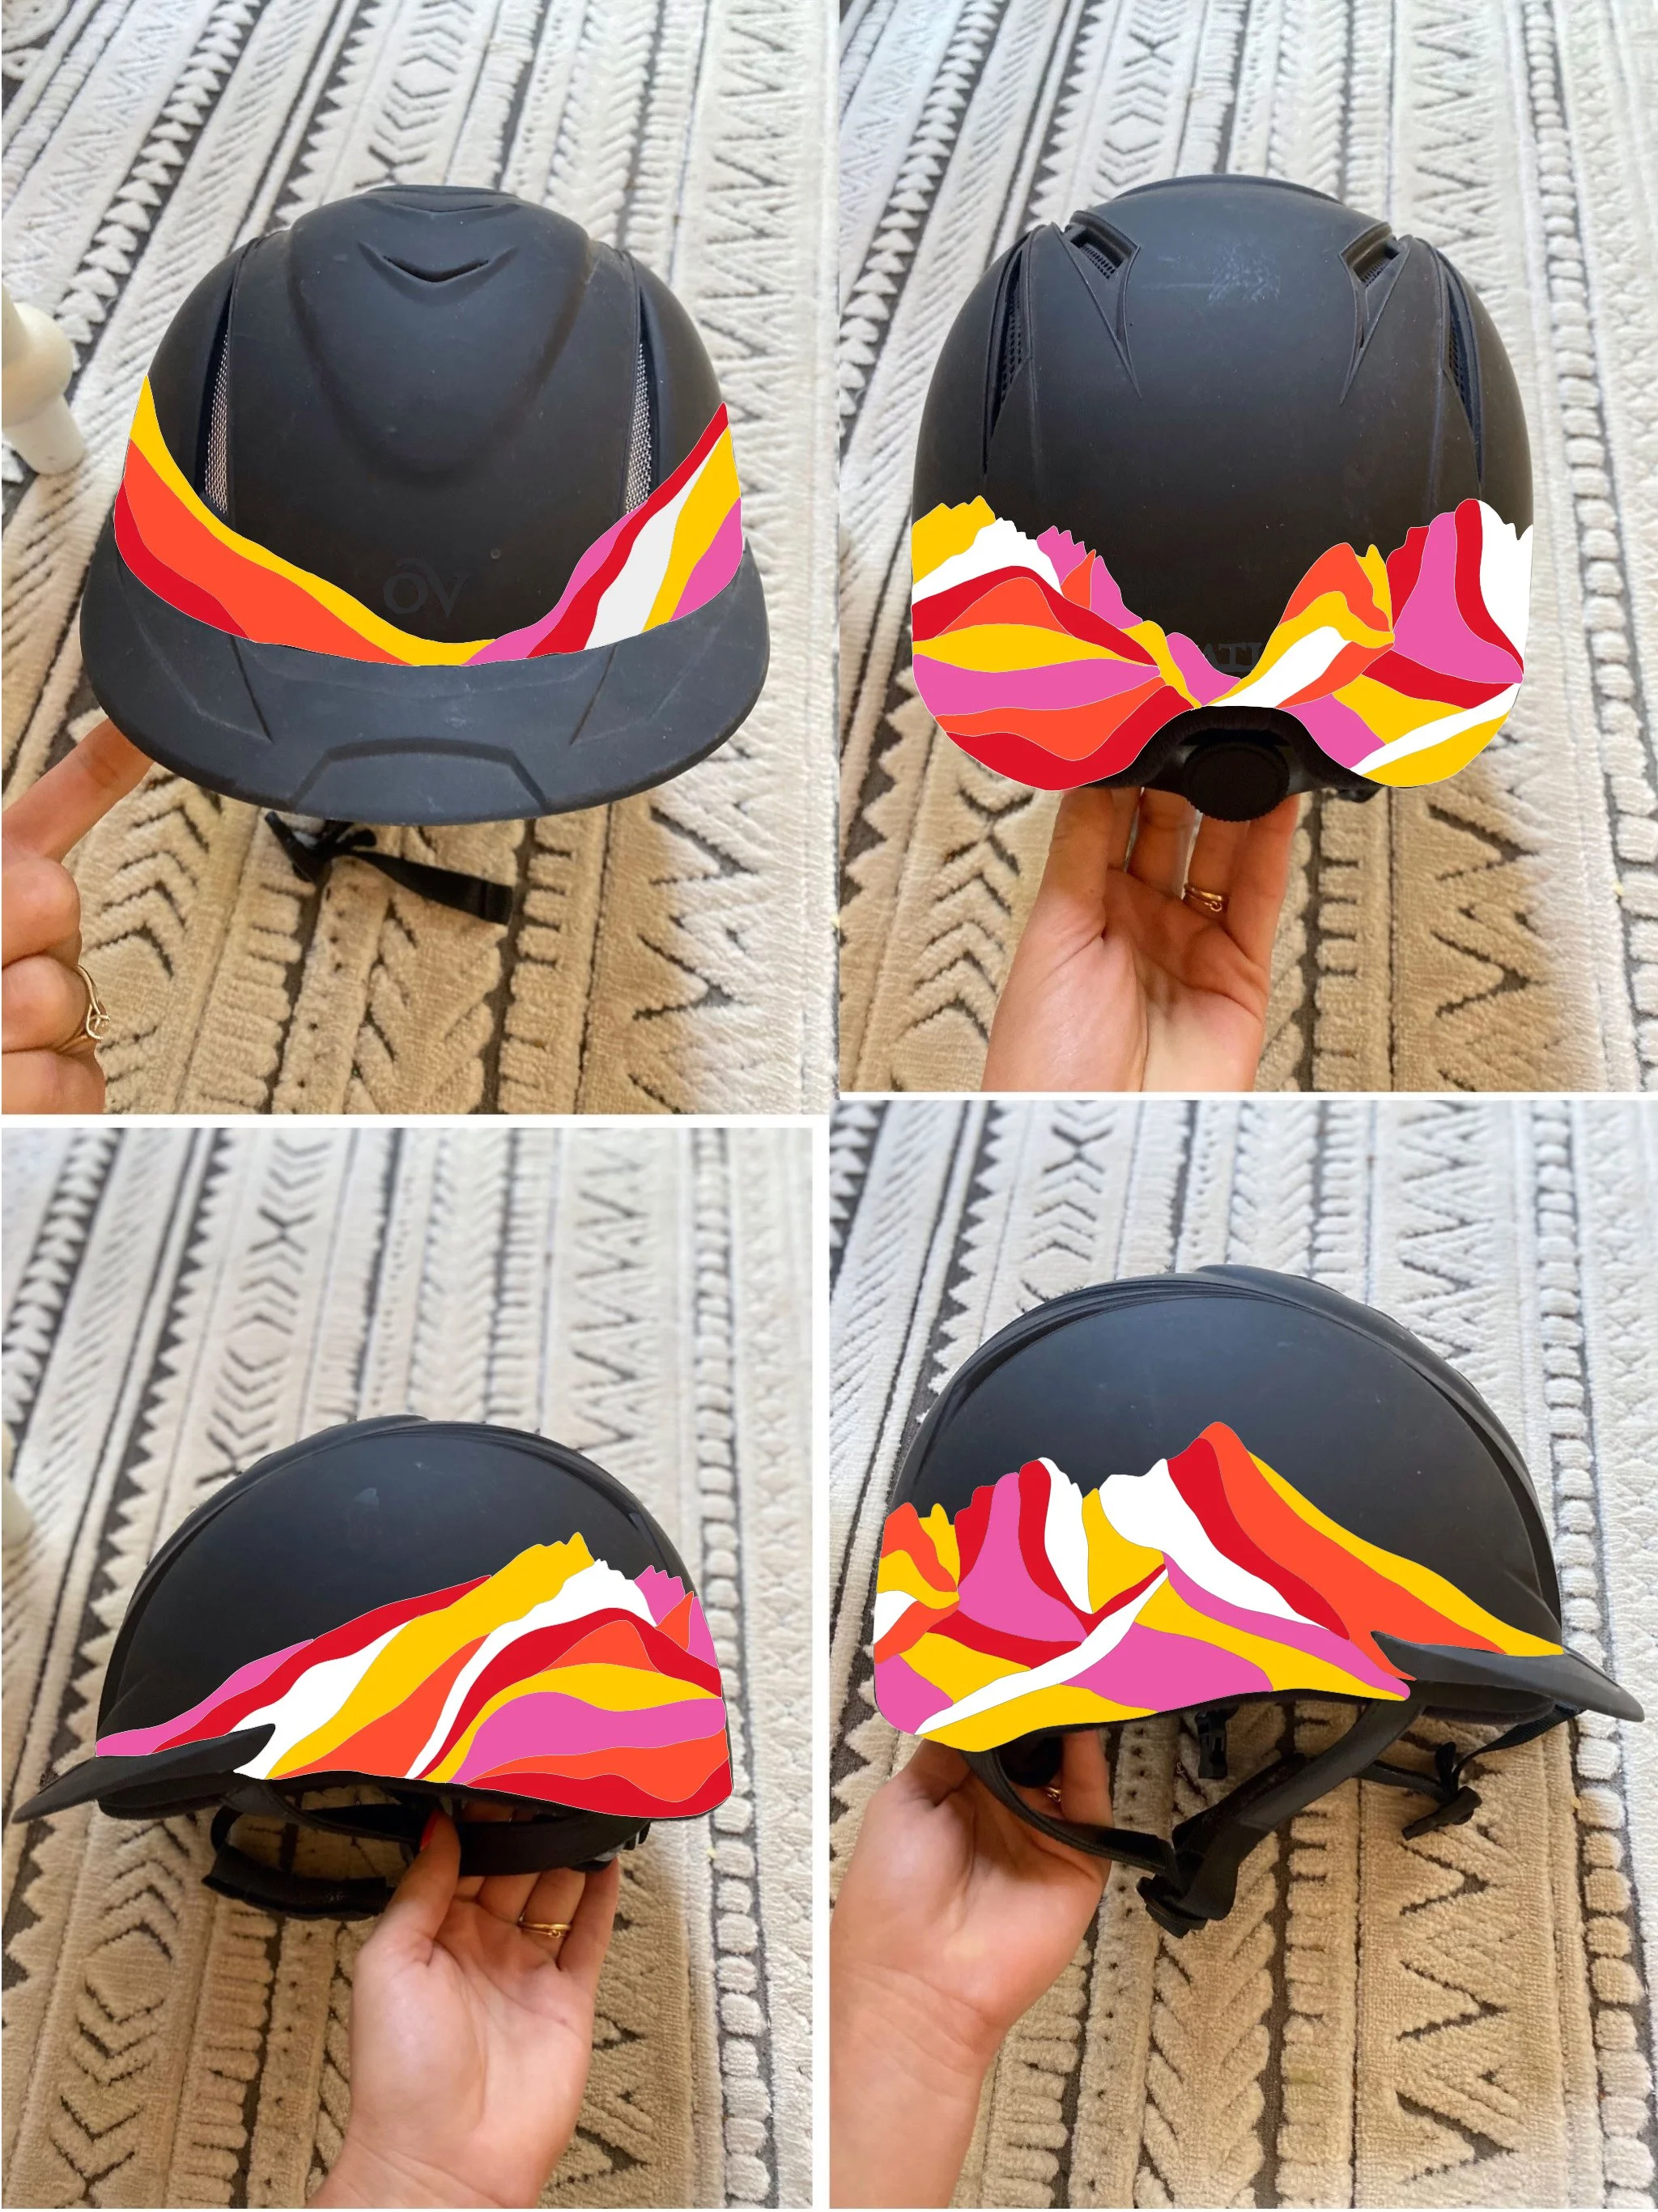
Table of Content
- 1 Transform Your Ski Helmet: A Guide to Creative and Safe Helmet Painting
- 1.1 Why Paint Your Ski Helmet?
- 1.2 Choosing the Right Paint for Your Ski Helmet
- 1.3 Preparing Your Ski Helmet for Painting
- 1.4 Designing Your Ski Helmet
- 1.5 Painting Your Ski Helmet: A Step-by-Step Guide
- 1.6 Safety Considerations When Painting Your Ski Helmet
- 1.7 Alternative Helmet Customization Options
- 1.8 Maintaining Your Painted Helmet
- 1.9 Conclusion
Hitting the slopes with a personalized ski helmet is a fantastic way to express your style and stand out on the mountain. Painting your helmet is a fun and affordable way to achieve this, but it requires careful planning and execution to ensure a durable and safe finish. This comprehensive guide will walk you through the process, from choosing the right paint to applying it flawlessly, while keeping safety as our top priority.
Why Paint Your Ski Helmet?
Beyond simply adding a splash of color, painting your ski helmet offers several advantages:
- Unique Style: Make your helmet truly your own, reflecting your personality and interests.
- Increased Visibility: Bright colors and bold designs can enhance your visibility on the slopes, especially in challenging conditions.
- Protection: A well-painted helmet can help protect the original finish from scratches and wear, extending its lifespan.
- Fun Project: Painting your helmet can be a rewarding and enjoyable DIY project.
Choosing the Right Paint for Your Ski Helmet
The key to a successful paint job lies in selecting the right paint. Here’s what to consider:
- Adhesion: The paint must adhere strongly to the helmet’s surface, especially considering the impact and temperature fluctuations it will endure.
- Durability: Look for paint that is scratch-resistant, impact-resistant, and resistant to fading from UV exposure.
- Flexibility: The paint should be flexible enough to withstand the helmet’s movement and bending without cracking or chipping.
- Safety: Choose paint specifically designed for helmets, as it will be less likely to contain harmful chemicals.

Recommended Paint Types:
- Automotive Acrylic Enamel: This is a popular choice for helmet painting, offering excellent durability, adhesion, and color options.
- Epoxy Paint: Epoxy paints are known for their exceptional durability and resistance to chemicals, making them ideal for helmets that will be exposed to harsh conditions.
- Specialty Helmet Paint: Many brands offer paints specifically formulated for helmet painting, ensuring compatibility with helmet materials and safety standards.

Important Note: Always check the paint manufacturer’s instructions for compatibility with your helmet’s material. Some paints might not be suitable for all helmet types.
Preparing Your Ski Helmet for Painting
Proper preparation is crucial for a smooth and durable finish. Follow these steps:
- Clean the Helmet: Thoroughly clean the helmet with soap and water, removing any dirt, grease, or wax. Allow it to dry completely.
- Sand the Surface: Use fine-grit sandpaper (200-400 grit) to lightly sand the entire surface of the helmet. This will create a rough surface for the paint to adhere to.
- Prime the Helmet: Apply a primer specifically designed for plastics. This will provide a smooth, even base for the paint and enhance adhesion.
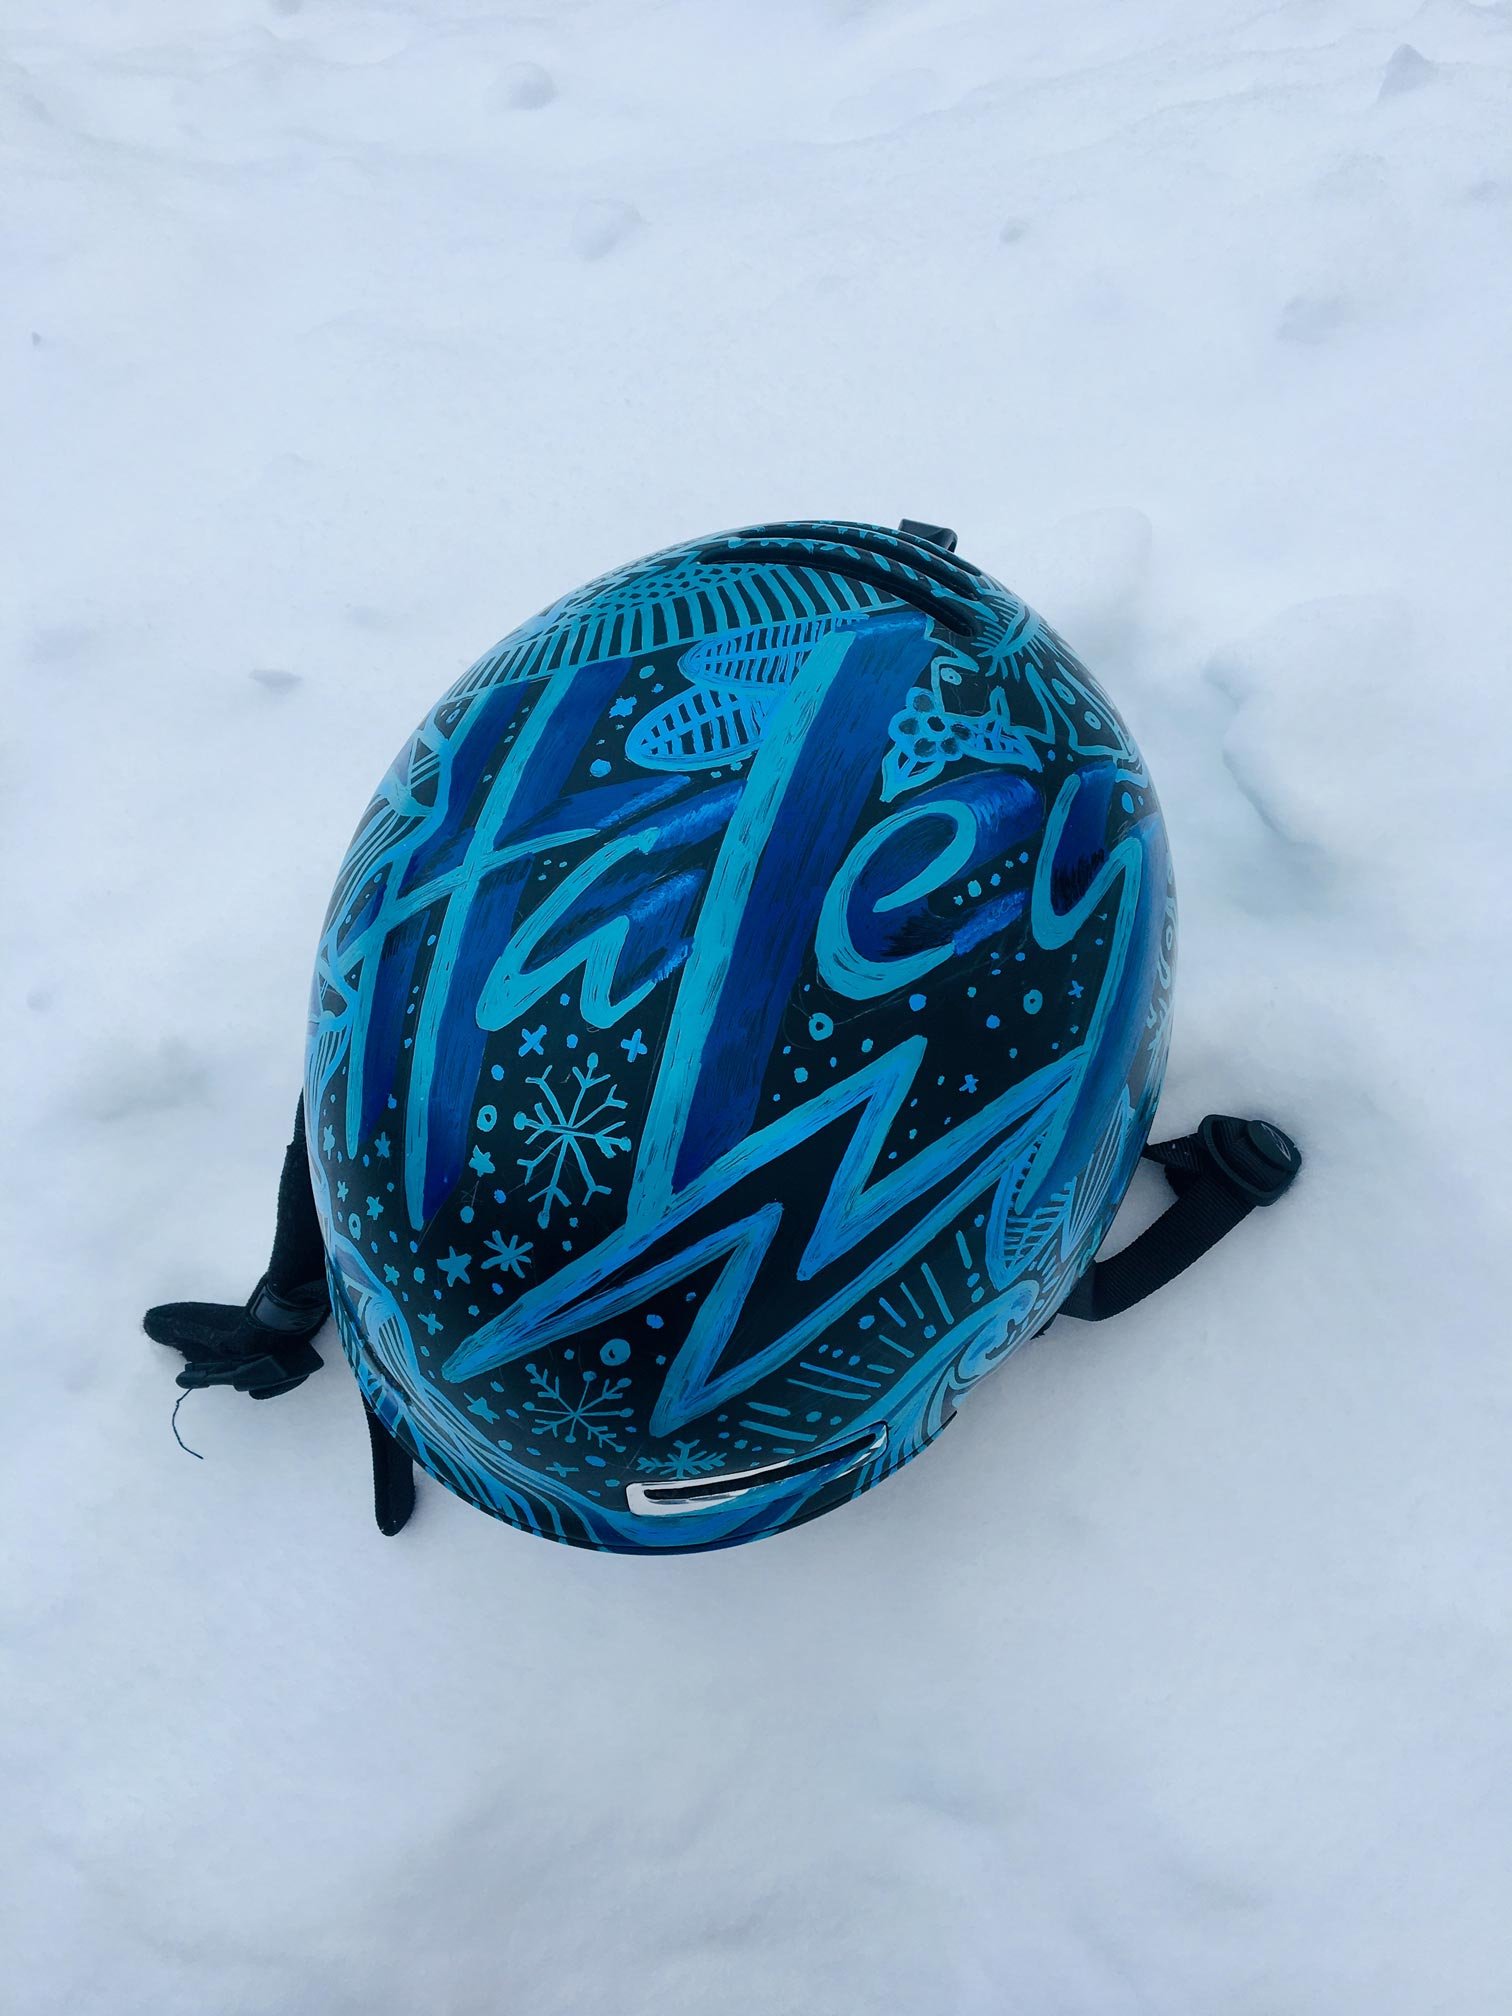
Designing Your Ski Helmet
Now comes the fun part – designing your helmet! Here are some creative ideas:
- Geometric Patterns: Create bold and eye-catching designs with geometric shapes, lines, and angles.
- Animal Prints: Add a touch of wilderness with animal prints like leopard, zebra, or tiger.
- Abstract Art: Express your artistic side with abstract designs and vibrant colors.
- Nature Scenes: Paint a mountain landscape, a snowy forest, or a starry night sky.
- Sports Teams: Show your team spirit with logos, colors, and mascots.
- Personalized Designs: Add your name, initials, or a special message to make your helmet truly unique.
Tips for Designing:
- Sketch Your Idea: Before you start painting, sketch your design on paper to visualize the final look.
- Use Templates: Templates can be helpful for creating precise geometric shapes or lettering.
- Consider Color Combinations: Choose colors that complement each other and create a visually appealing design.
- Don’t Overdo It: Keep the design simple and avoid overcrowding the helmet with too many details.
Painting Your Ski Helmet: A Step-by-Step Guide
With your helmet prepped and design finalized, you’re ready to start painting. Follow these steps for a professional-looking finish:
- Mask Off Areas: Use painter’s tape to mask off any areas you don’t want to paint. This will help create clean lines and prevent paint from getting on unwanted surfaces.
- Apply Thin Coats: Apply the paint in thin, even coats, allowing each coat to dry completely before applying the next. This will prevent the paint from becoming too thick and cracking.
- Use a Paintbrush or Spray Gun: Choose the application method that best suits your design and skill level. Paintbrushes are great for detailed work, while spray guns allow for smooth, even coverage.
- Allow for Drying Time: Follow the paint manufacturer’s instructions for drying time. Avoid touching the paint until it is completely dry.
- Apply a Clear Coat: Finish with a clear coat to protect the paint from scratches and wear.
Safety Considerations When Painting Your Ski Helmet
While painting your helmet can be a fun project, safety should always be the top priority. Here are some important points to remember:
- Ventilation: Work in a well-ventilated area to minimize exposure to paint fumes.
- Gloves: Wear gloves to protect your hands from paint.
- Eye Protection: Always wear safety glasses or goggles to protect your eyes from paint splatters.
- Avoid Painting Near Vents: Do not paint near ventilation openings or air intake systems.
- Test Paint: Test the paint on a small, inconspicuous area of the helmet before applying it to the entire surface.
- Never Paint the Vents: Painting the vents can obstruct airflow and affect the helmet’s safety features.
Alternative Helmet Customization Options
If you’re not comfortable painting your helmet or prefer a less permanent solution, consider these alternatives:
- Helmet Stickers: Decals and stickers are a quick and easy way to add personality to your helmet.
- Vinyl Wraps: Vinyl wraps offer a durable, removable alternative to paint, allowing you to change your helmet’s design whenever you want.
- Helmet Covers: Helmet covers are soft, breathable fabric covers that can be easily changed to match your outfit or mood.
Maintaining Your Painted Helmet
To keep your painted helmet looking its best, follow these care tips:
- Clean Regularly: Clean your helmet with a mild soap and water solution after each use.
- Avoid Harsh Chemicals: Avoid using harsh chemicals or solvents that can damage the paint.
- Store Properly: Store your helmet in a cool, dry place to prevent damage from moisture and extreme temperatures.
Conclusion
Painting your ski helmet is a fun and rewarding way to personalize your gear and make a statement on the slopes. By following these guidelines, you can achieve a durable, safe, and stylish finish that will turn heads. Remember, safety comes first, so always choose the right paint, prepare your helmet properly, and prioritize ventilation and eye protection during the painting process. With a little creativity and care, you can transform your ski helmet into a unique and eye-catching masterpiece.

Transform Your Ski Helmet: A Guide to Creative and Safe Helmet Painting
Post a Comment for "Painting Your Ski Helmet: Creative And Safe Designs"