Painting Over Plasti Dip: A Comprehensive Guide to Achieving a Flawless Finish

Table of Content
- 1 Painting Over Plasti Dip: A Comprehensive Guide to Achieving a Flawless Finish
- 1.1 Understanding Plasti Dip and Its Challenges
- 1.2 Preparing for Success: The Foundation of a Flawless Finish
- 1.3 Choosing the Right Paint: A Matter of Compatibility
- 1.4 Applying the Paint: Techniques for a Professional Finish
- 1.5 Additional Tips for a Flawless Finish
- 1.6 Troubleshooting Common Problems
- 1.7 Painting Over Plasti Dip: A Recap
Plasti Dip, with its versatility and protective properties, has become a popular choice for DIY projects. But what happens when you want to change the color or achieve a different look? Can you paint over Plasti Dip? The answer is a resounding yes, but it requires careful preparation and techniques to ensure a smooth and durable finish.
This comprehensive guide will equip you with the knowledge and skills to paint over Plasti Dip successfully, transforming your projects from drab to fab.
Understanding Plasti Dip and Its Challenges
Plasti Dip is a rubberized coating that provides a unique textured finish. This texture, while desirable in some applications, presents a challenge when painting. The uneven surface can trap paint, leading to uneven coverage and a less than ideal finish.
Here’s a breakdown of the challenges you might encounter when painting over Plasti Dip:
- Adhesion: Plasti Dip’s rubbery surface can make it difficult for paint to adhere properly. Poor adhesion can result in peeling, chipping, or cracking of the paint layer.
- Texture: The textured surface of Plasti Dip can lead to uneven paint distribution, creating a blotchy or uneven finish.
- Flexibility: Plasti Dip is flexible, and if the paint layer is not flexible enough, it can crack or peel when the underlying Plasti Dip flexes.
Preparing for Success: The Foundation of a Flawless Finish
Before you even think about grabbing your paintbrush, meticulous preparation is key. This crucial step ensures optimal adhesion and a professional-looking result.
Cleaning and Degreasing: Start by thoroughly cleaning the Plasti Dip surface with a degreaser or soap and water. Remove any dirt, grime, or oil that could interfere with paint adhesion.
Sanding and Smoothing: This is the most crucial step in prepping your Plasti Dip surface. Use fine-grit sandpaper (220-400 grit) to gently smooth out the texture of the Plasti Dip. The goal is not to remove the entire layer, but to create a smoother surface for the paint to adhere to.
Primer Time: Apply a primer specifically designed for adhesion to rubberized surfaces. This primer acts as a bonding agent, creating a strong foundation for the paint to adhere to. Allow the primer to dry completely before proceeding.


Choosing the Right Paint: A Matter of Compatibility
Not all paints are created equal. When painting over Plasti Dip, selecting the right type of paint is crucial for a long-lasting and aesthetically pleasing finish.
Acrylic Latex Paint: This is a popular choice for painting over Plasti Dip due to its flexibility, durability, and ease of application. It’s readily available, dries quickly, and comes in a wide range of colors.
Epoxy Paint: For added durability and resistance to chemicals and abrasion, epoxy paint is a good option. However, it requires more preparation and can be more challenging to apply.
Specialty Paints: Some manufacturers offer specialty paints specifically designed for painting over rubberized surfaces. These paints often contain additives that improve adhesion and flexibility.
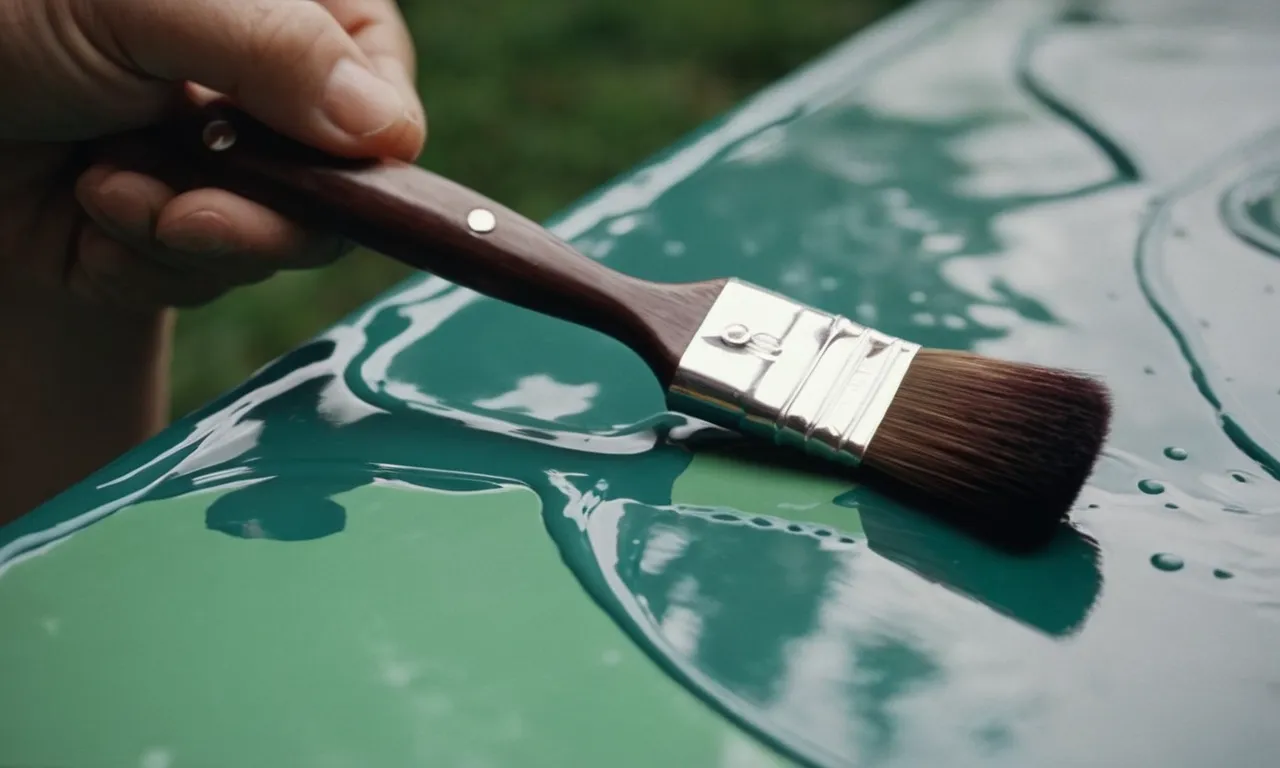
Applying the Paint: Techniques for a Professional Finish
With your surface prepped and your paint chosen, it’s time to get creative. Here are some techniques to ensure a smooth and professional paint application:
Thin Coats: Apply thin coats of paint, allowing each layer to dry completely before applying the next. This approach ensures even coverage and prevents the paint from becoming too thick, which can lead to cracking.
Use a Quality Brush or Roller: Choose a brush or roller designed for the type of paint you’re using. A high-quality brush will help create smooth, even strokes, while a roller can be used for larger areas.
Avoid Overworking: Don’t overwork the paint. Apply it evenly and smoothly, and avoid going back over areas that have already dried. Overworking can lead to brush strokes or uneven coverage.
Let it Dry: Allow the paint to dry completely before handling or applying additional coats. Drying times can vary depending on the type of paint and environmental conditions.
Additional Tips for a Flawless Finish
- Masking Tape: Use masking tape to protect areas you don’t want to paint.
- Ventilation: Ensure adequate ventilation when painting, as fumes can be harmful.
- Clean Up: Clean your brushes or rollers thoroughly with the appropriate solvent after use.
Troubleshooting Common Problems
Even with careful preparation and application, you might encounter some challenges. Here’s how to address common problems:
- Peeling or Chipping: This indicates poor adhesion. Ensure the surface was properly cleaned and degreased, and that you used a primer specifically designed for rubberized surfaces.
- Uneven Coverage: Thin your paint slightly or apply additional thin coats to achieve a smooth finish.
- Cracking: This can happen if the paint layer is too thick or if the underlying Plasti Dip is flexing. Use a flexible paint and apply thin coats.
Painting Over Plasti Dip: A Recap
Painting over Plasti Dip is achievable with the right preparation, paint selection, and application techniques. By following these steps, you can transform your Plasti Dip projects into stunning creations that will stand the test of time.
Remember: Patience and attention to detail are key to achieving a professional-looking finish. Don’t rush the process, and take pride in your work.
With these tips and techniques, you’ll be well on your way to painting over Plasti Dip like a pro.
Painting Over Plasti Dip: A Comprehensive Guide to Achieving a Flawless Finish
Post a Comment for "How To Paint Over Plasti Dip: Tips And Techniques"