How to Paint a Glock Slide: A Comprehensive Customization Guide
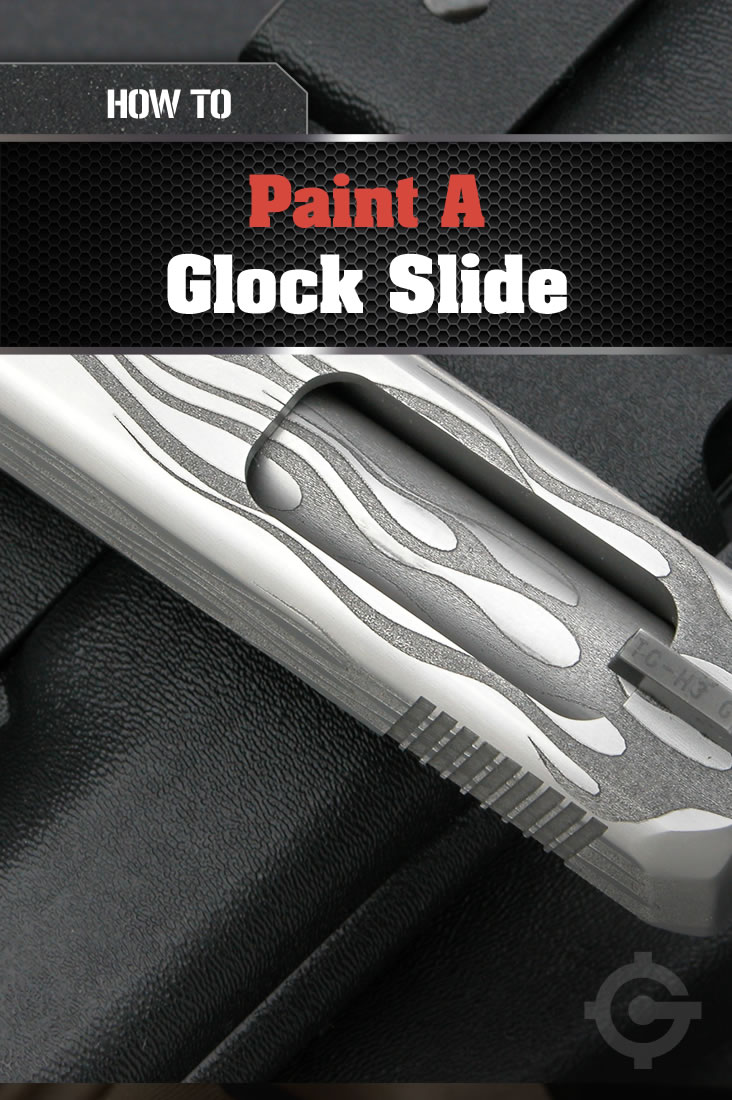
Painting your Glock slide is a popular way to personalize your firearm and give it a unique look. It’s a relatively simple process that can be done at home with the right tools and materials. This guide will walk you through every step, from preparation to finishing, ensuring you achieve a professional-looking result.
Before You Begin:
- Safety First: Always prioritize safety when working with firearms. Unload your Glock and ensure the chamber is clear. Wear appropriate safety glasses and gloves throughout the process.
- Legal Considerations: Check your local laws and regulations regarding firearm modifications. Some areas may have restrictions on painting or customizing firearms.
- Necessary Tools & Materials:
- Glock Slide: The star of the show!
- Paint Stripper: For removing existing finishes (if applicable).
- Sandpaper: Various grits (180, 400, 600) for smoothing and prepping the surface.
- Degreaser: To remove oils and contaminants.
- Primer: A compatible primer for your chosen paint.
- Paint: Choose a durable, high-quality paint specifically designed for firearms.
- Masking Tape: For precise masking and protecting areas you don’t want to paint.
- Paint Brushes or Spray Gun: Depending on your desired finish.
- Protective Gear: Gloves, mask, and eye protection.
- Cleaning Supplies: Rags, paper towels, and a container for cleaning solutions.
- Optional: Heat gun or hairdryer, baking sheet, oven (for curing paint).


Step 1: Disassembly and Cleaning
- Disassemble the Slide: Carefully remove the slide from the frame, paying attention to any small parts like the extractor, ejector, and sights. Refer to your Glock’s owner’s manual for detailed instructions.
- Thorough Cleaning: Use a degreaser and a soft cloth to thoroughly clean the entire slide. Remove any dirt, oil, or grease that could interfere with the paint adhesion.
Step 2: Surface Preparation
- Remove Existing Finish: If your slide has an existing finish, use a paint stripper to remove it. Follow the manufacturer’s instructions carefully.
- Sanding: After removing the old finish, sand the slide with various grits of sandpaper. Start with 180 grit to smooth out any rough areas and imperfections. Progress to 400 and then 600 grit to achieve a fine, even finish.
- Degreasing Again: After sanding, degrease the slide once more to remove any sanding dust or residue.
Step 3: Masking and Priming
- Masking: Use masking tape to protect areas you don’t want to paint. This includes the rails, sight grooves, and any other functional components.
- Priming: Apply a thin, even coat of primer to the slide. Choose a primer compatible with your chosen paint. Allow the primer to dry completely before proceeding.
Step 4: Painting
- Choose Your Paint: Select a durable, high-quality paint designed for firearms. Consider factors like color, finish (matte, gloss), and durability.
- Application: Apply the paint in thin, even coats. Avoid overloading the brush or spray gun, as this can lead to drips and runs. Allow each coat to dry completely before applying the next.
- Multiple Coats: Apply multiple thin coats of paint to achieve a smooth, consistent finish. Two to three coats are generally recommended.
Step 5: Curing and Finishing
- Curing: Once the final coat of paint is dry, allow the slide to cure completely. This process can vary depending on the paint type and manufacturer’s recommendations.
- Heat Curing (Optional): Some paints benefit from heat curing. Check the paint instructions for recommended temperatures and time. You can use a heat gun, hairdryer, or even an oven (with proper precautions).
- Final Touches: Remove the masking tape and inspect the painted surface. If necessary, touch up any imperfections with a small brush.
Step 6: Reassembly and Testing
- Reassembly: Once the paint is completely cured, reassemble the slide onto the frame. Ensure all parts are properly installed and function correctly.
- Testing: Take your Glock to the range and test its functionality. Ensure the slide cycles smoothly and the sights are properly aligned.
Tips for Success:
- Cleanliness: Maintain a clean workspace and tools to prevent debris from contaminating the paint.
- Patience: Allow each coat of paint to dry thoroughly before applying the next. Rushing the process can lead to imperfections.
- Practice: If you’re new to painting, practice on a scrap piece of metal to get a feel for the process and the paint.
- Experimentation: Don’t be afraid to try different techniques and paint finishes to find what works best for you.
- Seek Professional Help: If you’re unsure about any part of the process, consider seeking guidance from a professional gunsmith or painter.
Beyond Basic Painting:
- Custom Designs: Add personal touches to your slide with stencils, decals, or custom artwork.
- Cerakote Coating: Cerakote is a durable, ceramic-based coating that offers excellent protection and a variety of colors and finishes.
- Hydro Dipping: This technique allows you to create unique patterns and designs on your slide by submerging it in a water-based solution.
Conclusion:
Painting your Glock slide is a rewarding project that allows you to personalize your firearm and express your individual style. By following this comprehensive guide, you can achieve a professional-looking result and enjoy a custom-painted Glock that stands out from the crowd. Remember to prioritize safety, research local regulations, and take your time to ensure a successful outcome.

How to Paint a Glock Slide: A Comprehensive Customization Guide
Post a Comment for "How To Paint A Glock Slide: A Customization Guide"