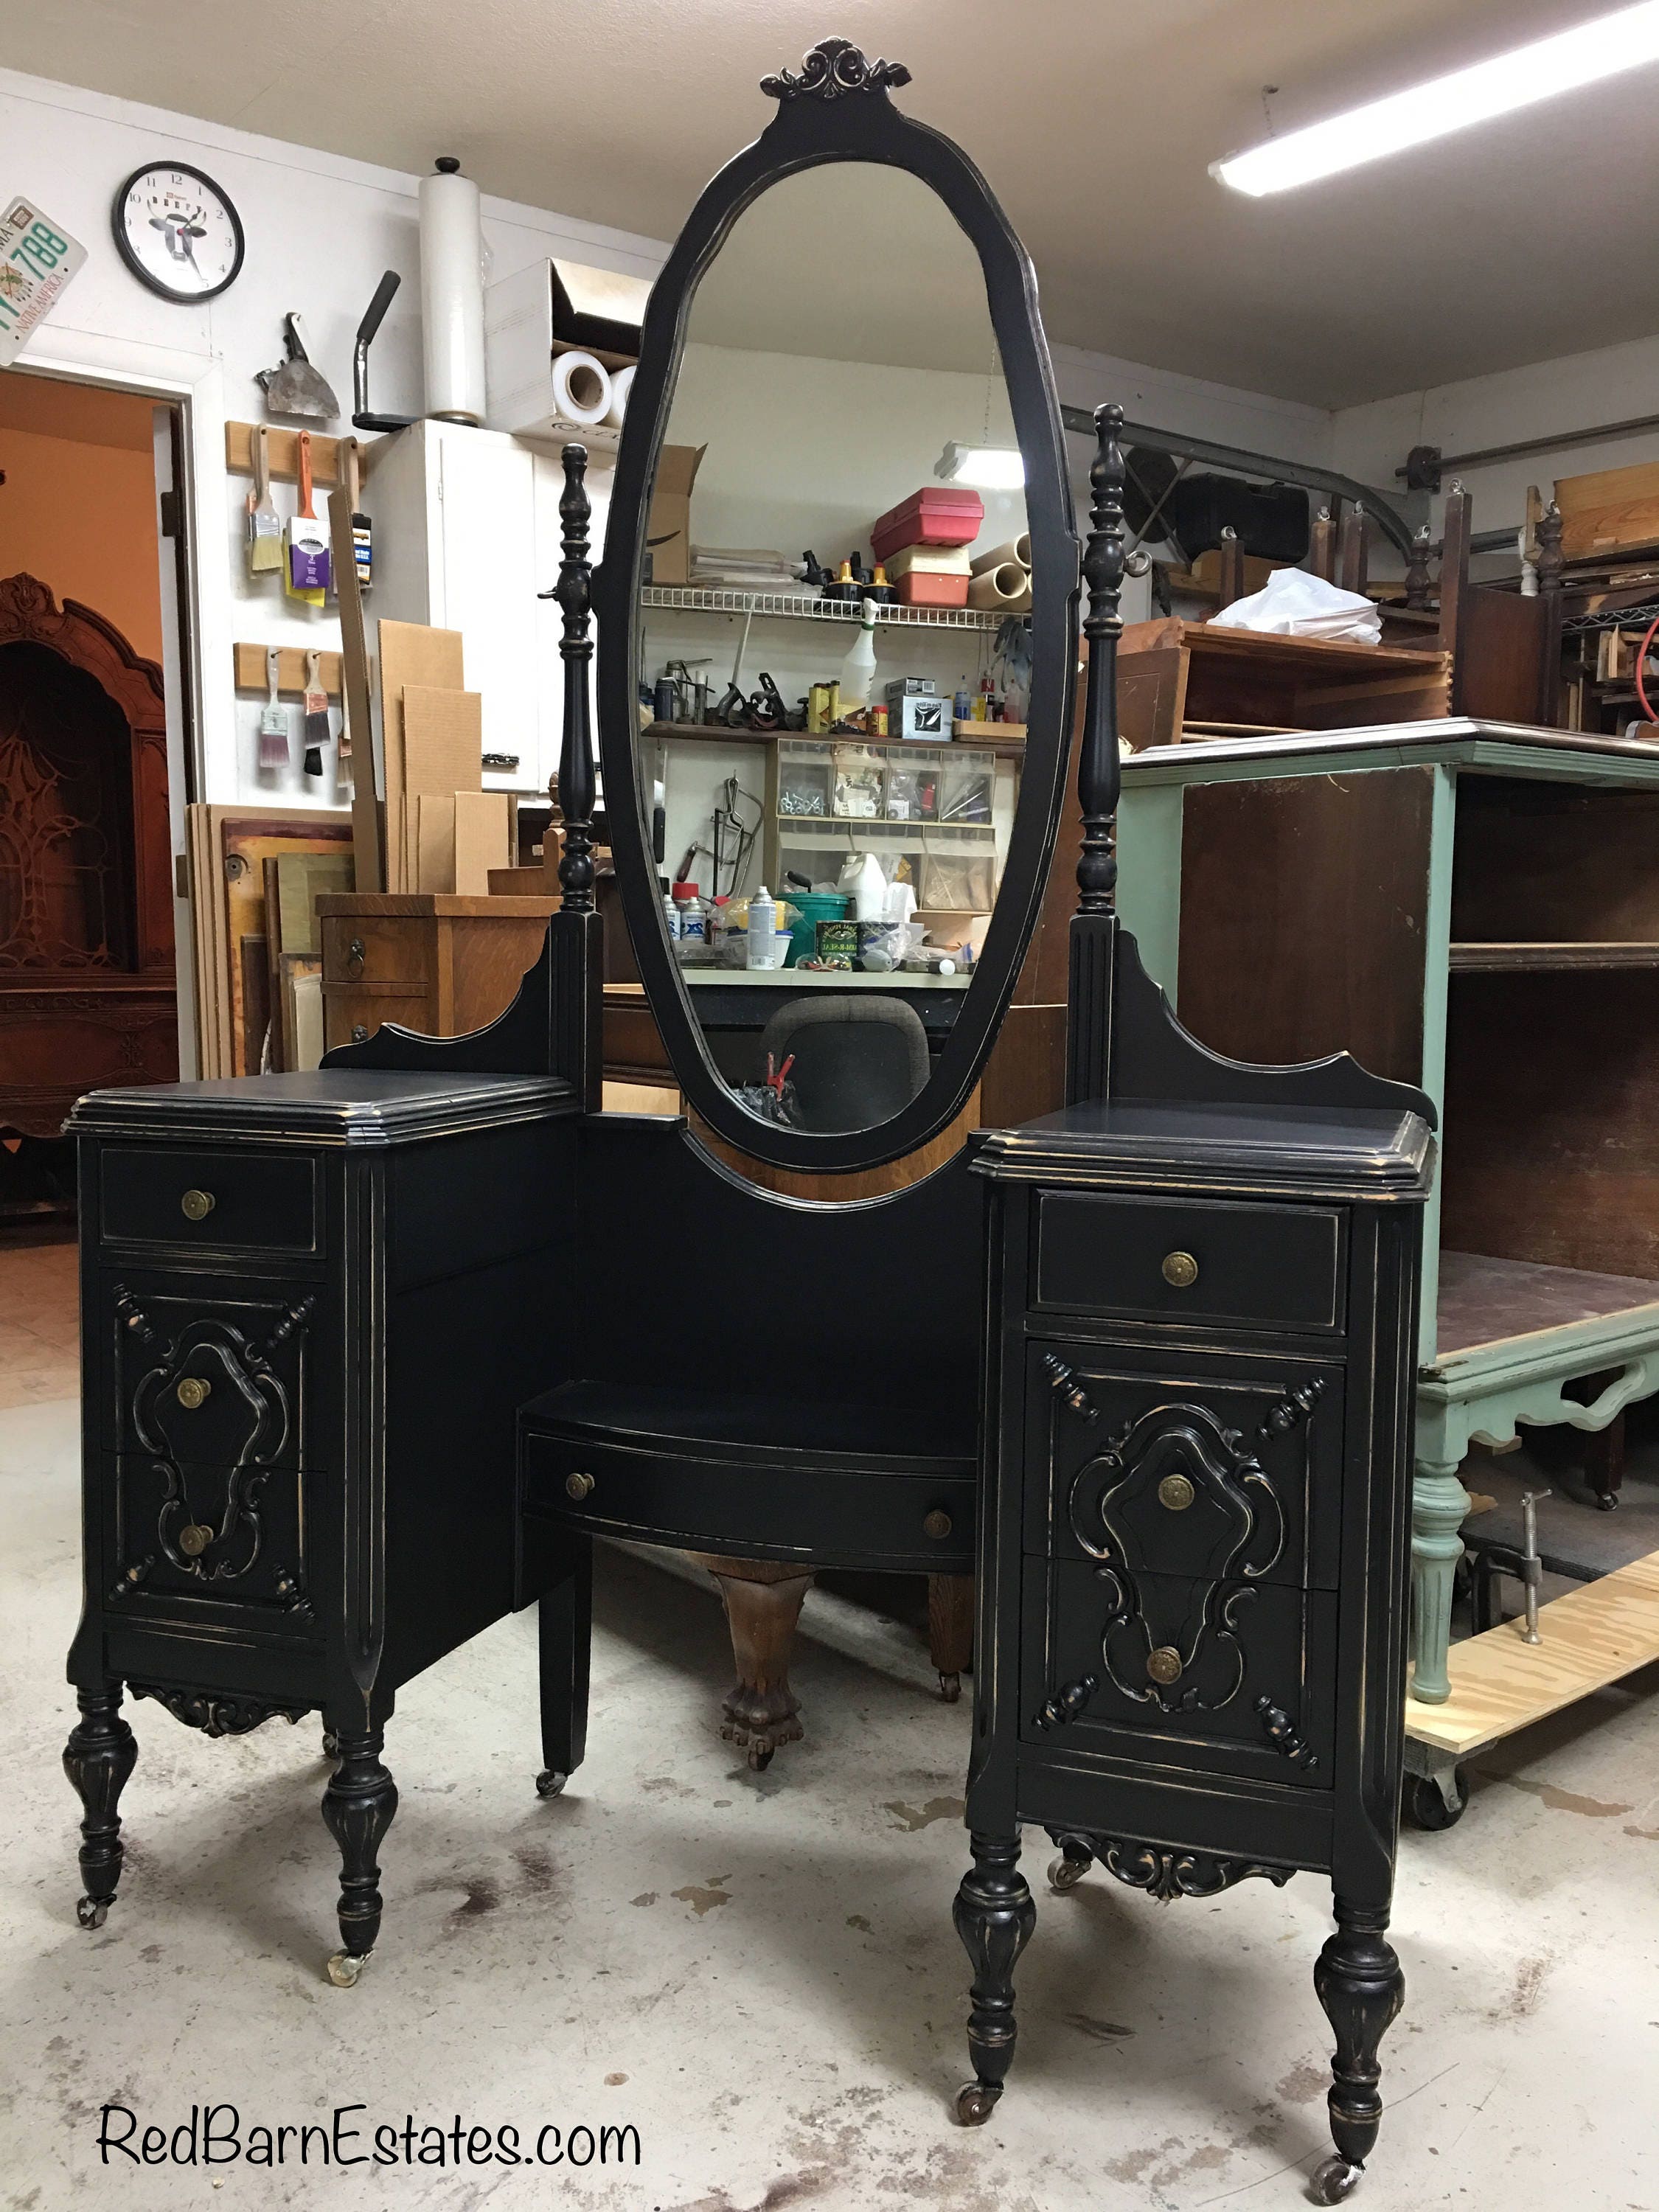
Vintage Charm: Antique Painted Vanity Restoration
Introduction
Antique painted vanities are timeless pieces that add a touch of elegance and character to any space. Their intricate details, charming colors, and unique designs make them highly sought-after by collectors and interior designers alike. Restoring an antique painted vanity is a rewarding project that can breathe new life into a cherished heirloom or create a stunning statement piece for your home.
Assessing the Vanity
Before embarking on the restoration process, it’s crucial to thoroughly assess the condition of the vanity. Inspect the surface for any chips, cracks, or missing paint. Check the hardware for any loose or missing pieces. Examine the drawers and doors to ensure they open and close smoothly. This assessment will help you determine the extent of the restoration required.
Materials and Tools
To restore an antique painted vanity, you will need the following materials and tools:
- Sandpaper (various grits)
- Stripper
- Putty knife
- Wood filler
- Primer
- Paint
- Brushes
- Clear finish
- Hardware (if needed)
- Screwdriver
- Hammer
Step-by-Step Restoration Guide
1. Stripping the Paint
- Apply stripper to a small area of the vanity and let it sit for the recommended time.
- Use a putty knife to gently scrape off the old paint.
- Continue stripping the entire vanity, working in small sections.
- Clean the surface thoroughly with water and let it dry completely.
2. Repairing Damage
- Fill any chips or cracks with wood filler.
- Sand the filled areas smooth.
- If any hardware is loose or missing, replace it with new hardware.
3. Priming the Surface
- Apply a coat of primer to the entire vanity.
- Allow the primer to dry completely.
- Sand the primed surface lightly with fine-grit sandpaper.
4. Painting the Vanity
- Choose a paint color that complements the style and decor of your space.
- Apply two or three thin coats of paint, allowing each coat to dry completely before applying the next.
- Sand the final coat of paint lightly with fine-grit sandpaper to create a smooth finish.
5. Applying a Clear Finish
- Protect the painted surface with a clear finish.
- Apply two or three thin coats of clear finish, allowing each coat to dry completely before applying the next.
- Sand the final coat of clear finish lightly with fine-grit sandpaper to create a durable and glossy finish.
Tips for a Successful Restoration
- Use high-quality materials and tools.
- Work in a well-ventilated area.
- Wear gloves and a mask to protect yourself from fumes.
- Allow ample time for each step of the process.
- Don’t be afraid to ask for help if needed.
Conclusion
Restoring an antique painted vanity is a labor of love that can result in a beautiful and unique piece of furniture. By following the steps outlined in this guide, you can breathe new life into a cherished heirloom or create a stunning statement piece for your home. With patience, care, and attention to detail, you can achieve a professional-quality restoration that will last for years to come.
Post a Comment for "Vintage Charm: Antique Painted Vanity Restoration"