Unleashing Creativity: A Comprehensive Guide to Organizing Art Projects with Finger Paint Trays

Table of Content
- 1 Unleashing Creativity: A Comprehensive Guide to Organizing Art Projects with Finger Paint Trays
- 1.1 Planning Your Finger Painting Adventure: Setting the Stage for Success
- 1.2 Unleashing Creativity: Guiding Your Artists
- 1.3 Cleaning Up: A Smooth Transition from Art to Play
- 1.4 Tips and Tricks for a Seamless Finger Painting Experience
- 1.5 Finger Painting Beyond the Tray: Exploring Creative Possibilities
- 1.6 Finger Painting Safety: Ensuring a Safe and Enjoyable Experience
- 1.7 Conclusion: A Journey of Creativity and Exploration
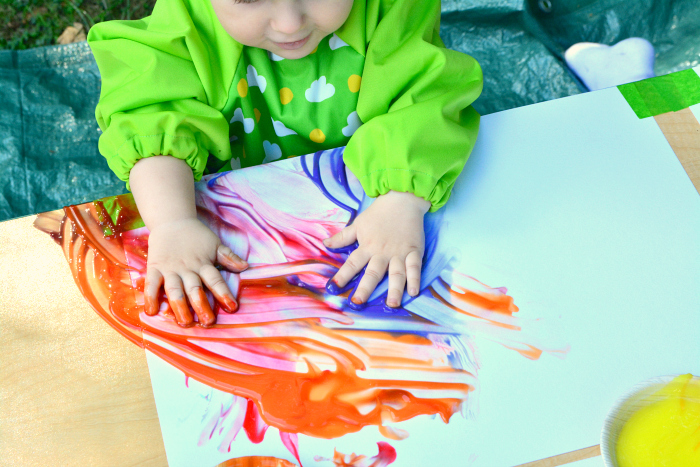
Finger painting is a beloved activity for children of all ages, offering a sensory experience that fosters creativity and exploration. However, organizing a successful finger painting session can be a challenge, especially when dealing with young children and messy materials. This comprehensive guide provides a step-by-step approach to organizing art projects using finger paint trays, covering everything from preparation to cleanup, ensuring a fun and stress-free experience for both you and your little artists.
Planning Your Finger Painting Adventure: Setting the Stage for Success
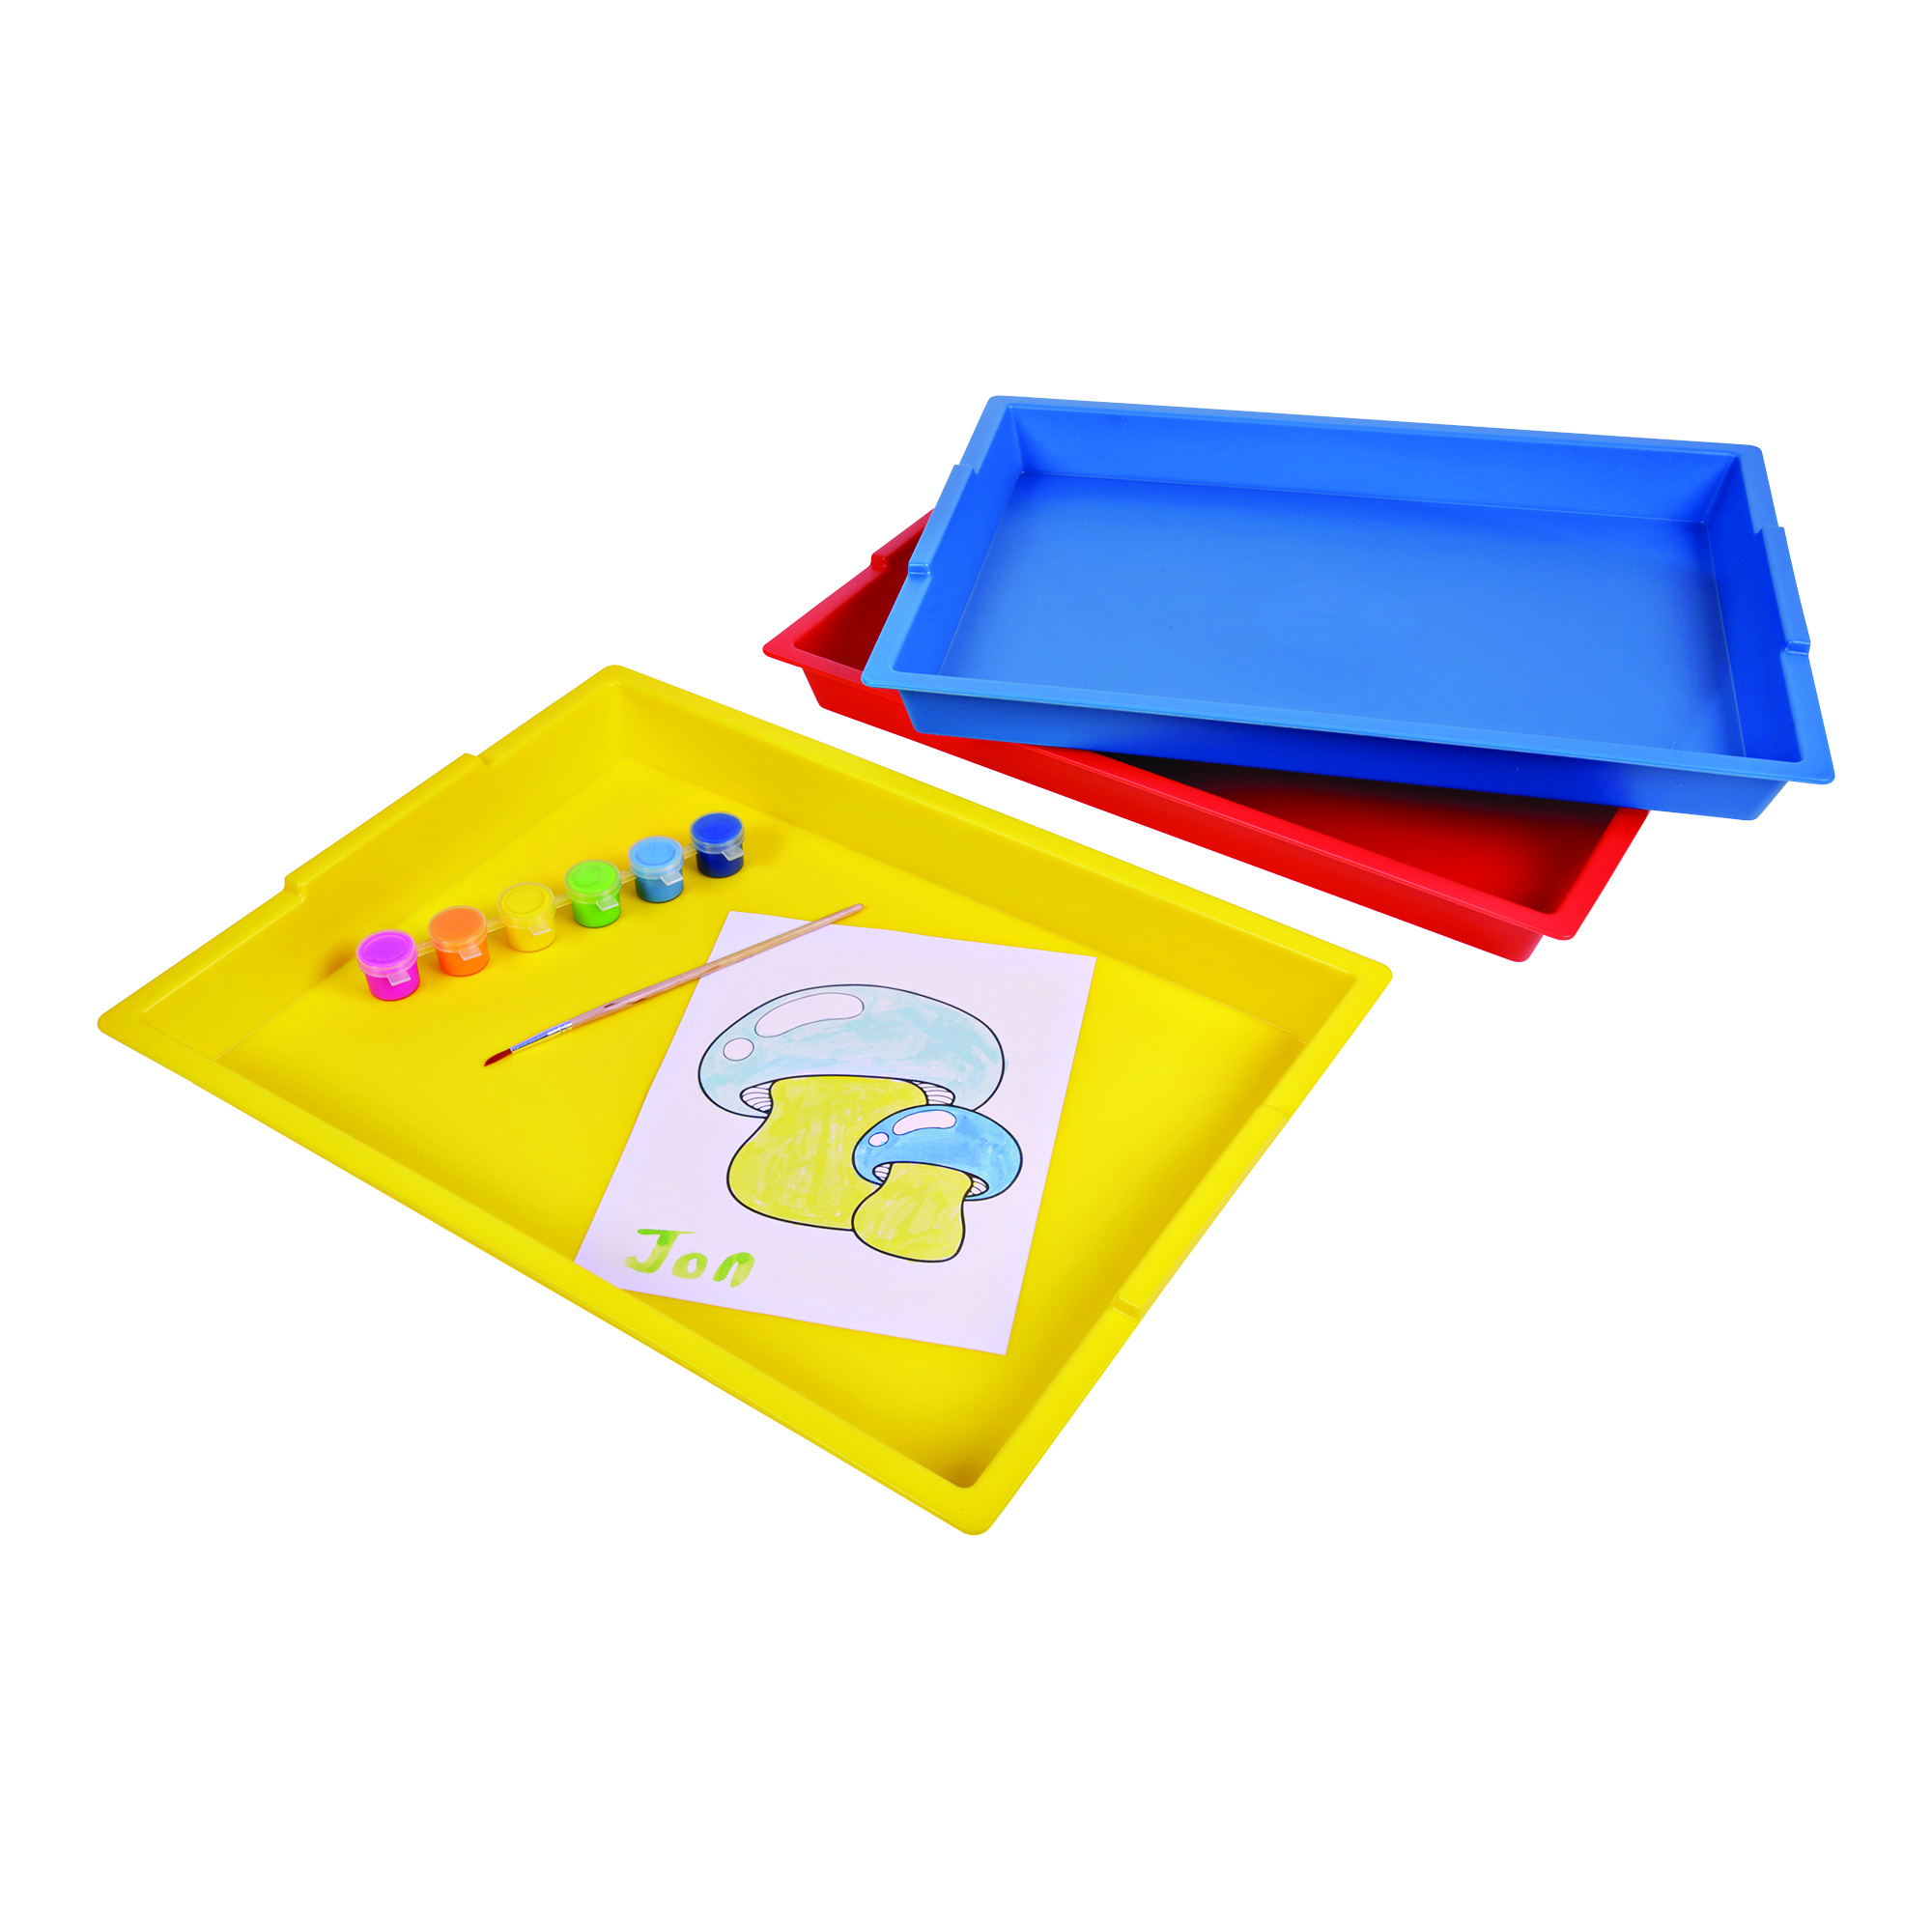
1. Choosing the Right Finger Paint Tray:
- Size and Shape: Consider the age and number of participants. For toddlers, a small, shallow tray is ideal, while older children may benefit from larger trays with defined areas for different colors.
- Material: Plastic trays are durable, easy to clean, and lightweight. Metal trays can be more robust but may require extra care to prevent rust.
- Features: Look for trays with raised edges to prevent spills, non-slip surfaces for stability, and compartments to separate colors.
2. Gathering Your Supplies:
- Finger Paints: Choose non-toxic, washable paints that are safe for children. Consider a variety of colors and textures, including glitter, metallic, or neon paints.
- Paper: Use thick, sturdy paper that can withstand the wetness of finger paints. Construction paper, cardstock, or even large sheets of butcher paper are great options.
- Protective Gear: Provide smocks or old shirts to protect clothing, and prepare a wet wipe station for quick cleanups.
- Tools: Include brushes, sponges, and even small toys like stamps or cookie cutters for added creativity.
- Cleanup Supplies: Have plenty of paper towels, wet wipes, and a bucket of soapy water ready.

3. Creating a Dedicated Art Space:
- Choose a Location: Select a well-ventilated area with a hard floor that can withstand spills. A large table or even the floor itself can serve as your workspace.
- Prepare the Area: Cover the surface with a waterproof tablecloth or plastic sheeting for easy cleanup.
- Set Up the Supplies: Arrange the paint trays, paper, and tools in a convenient and accessible manner.
Unleashing Creativity: Guiding Your Artists
1. Engaging Ideas and Inspiration:
- Theme-Based Projects: Create a specific theme, like animals, nature, or holidays, to inspire creativity.
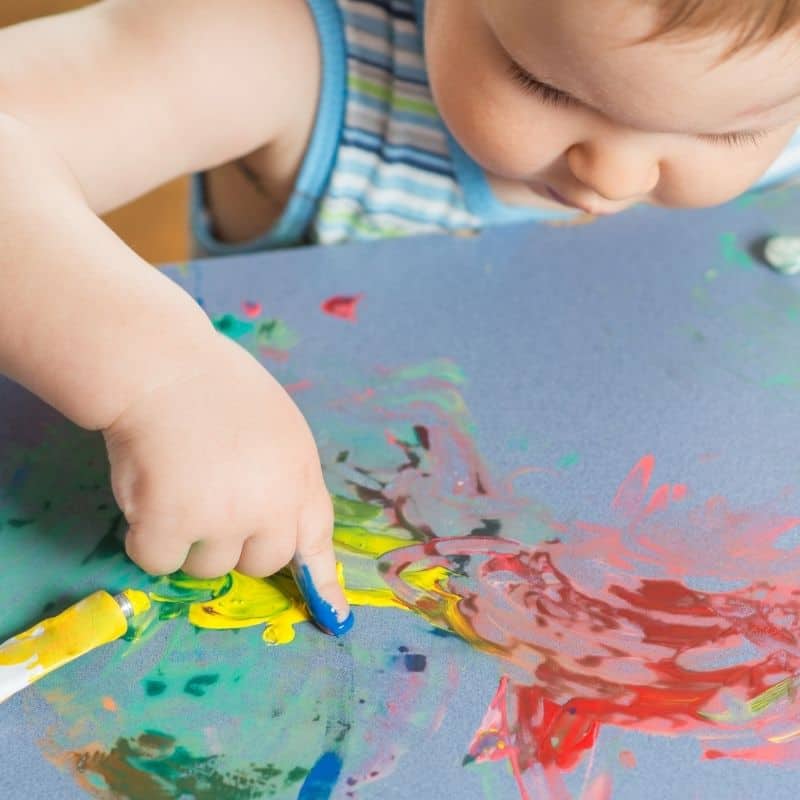
- Free Exploration: Allow children to explore freely, experimenting with colors and textures.
- Guided Instructions: Provide simple instructions or prompts to guide their artistic journey, such as "paint a flower" or "make a rainbow."
2. Encouraging Exploration and Experimentation:
- Color Mixing: Encourage children to mix colors and create new shades.
- Texture Play: Introduce different textures, like glitter or sand, to enhance the sensory experience.
- Tool Exploration: Provide a variety of tools, like brushes, sponges, and stamps, to encourage different painting techniques.
3. Nurturing Creativity and Confidence:
- Positive Reinforcement: Praise their efforts and acknowledge their creativity.
- Open-Ended Activities: Avoid overly structured activities and allow children to express themselves freely.
- Process Over Product: Focus on the enjoyment of the process rather than the final product.
Cleaning Up: A Smooth Transition from Art to Play
1. Pre-Cleanup Routine:
- Hands First: Encourage children to wash their hands before cleaning up.
- Wipe Up Spills: Clean up any spills immediately to prevent them from drying and becoming difficult to remove.
2. Organized Cleanup:
- Designated Cleaning Station: Set up a designated cleaning station with paper towels, wet wipes, and a bucket of soapy water.
- Clear and Concise Instructions: Provide clear instructions for cleaning up, making it a fun and engaging activity.
3. Post-Cleanup Routine:
- Drying and Storage: Allow the paintings to dry completely before storing them.
- Clean the Trays: Wash and dry the finger paint trays thoroughly for future use.
Tips and Tricks for a Seamless Finger Painting Experience
1. Preparation is Key:
- Pre-Measure Paint: Pre-measure the desired amount of paint into each compartment of the tray to avoid messy pouring and spills.
- Protective Clothing: Provide smocks or old shirts to protect clothing, and encourage children to wear them.
- Paper Towels: Have plenty of paper towels readily available for quick cleanups and wiping hands.
2. Managing Messes:
- Waterproof Tablecloth: Cover the workspace with a waterproof tablecloth or plastic sheeting to protect the surface.
- Wet Wipe Station: Set up a wet wipe station for quick and easy hand cleaning.
- Water Basin: Have a basin of soapy water available for rinsing brushes and tools.
3. Enhancing the Finger Painting Experience:
- Theme-Based Activities: Create a specific theme, like animals, nature, or holidays, to inspire creativity.
- Music and Movement: Play music and encourage movement to enhance the sensory experience.
- Collaborative Projects: Encourage children to work together on collaborative projects, fostering teamwork and social interaction.
Finger Painting Beyond the Tray: Exploring Creative Possibilities
1. Finger Painting on Canvas:
- Large Surfaces: Use finger paints on canvases for larger, bolder artworks.
- Textured Surfaces: Explore different textures by applying finger paints to canvases with textured surfaces, like burlap or canvas boards.
2. Finger Painting on Paper:
- Paper Rolls: Use large paper rolls for panoramic finger painting experiences.
- Construction Paper: Experiment with different colors and textures of construction paper to create unique artworks.
3. Finger Painting on Other Surfaces:
- Rocks and Stones: Decorate rocks and stones with finger paints for a unique outdoor art project.
- Glass Jars and Bottles: Use finger paints to decorate glass jars and bottles, creating beautiful and functional art pieces.
Finger Painting Safety: Ensuring a Safe and Enjoyable Experience
1. Non-Toxic Paints: Always use non-toxic, washable finger paints that are safe for children.
- Adult Supervision: Ensure adult supervision at all times, especially with young children.
- Proper Ventilation: Work in a well-ventilated area to avoid any potential fumes.
- Hand Washing: Encourage frequent hand washing before and after finger painting.
- Allergy Awareness: Be aware of any potential allergies to paint ingredients.
Conclusion: A Journey of Creativity and Exploration
Finger painting is more than just a messy activity; it’s a powerful tool for fostering creativity, self-expression, and sensory exploration. By following the tips and tricks outlined in this guide, you can create a fun, engaging, and safe finger painting experience for children of all ages. Embrace the mess, encourage experimentation, and let the creative journey begin!
Unleashing Creativity: A Comprehensive Guide to Organizing Art Projects with Finger Paint Trays
Post a Comment for "Organizing Art Projects With A Finger Paint Tray: Tips And Tricks"