Spray Painting Football Helmets: A Comprehensive Guide

Table of Content
- 1 Spray Painting Football Helmets: A Comprehensive Guide
- 1.1 1. Preparation is Key: Getting Ready to Paint
- 1.2 2. The Art of Spray Painting: Techniques for Success
- 1.3 3. Adding a Protective Finish: The Importance of Clear Coat
- 1.4 4. Creative Design Ideas: Unleash Your Inner Artist
- 1.5 5. Safety First: Protecting Yourself and Your Surroundings
- 1.6 6. Troubleshooting Common Problems: Fixing Mistakes
- 1.7 7. Maintaining Your Custom Paint Job: Keeping It Looking Fresh
- 1.8 8. Beyond the Basics: Advanced Techniques and Tips
- 1.9 9. Inspiration: Showcase Your Creativity
- 1.10 10. The Final Word: Unlock Your Helmet’s Potential
Ready to give your football helmet a fresh, custom look? Spray painting is a popular and affordable way to personalize your gear, but it requires careful preparation and execution to achieve professional results. This guide will walk you through the entire process, from selecting the right materials to applying the final coats of paint.
1. Preparation is Key: Getting Ready to Paint
Before you even touch a spray can, it’s crucial to properly prepare your helmet. This step ensures a smooth, even finish and prevents paint from chipping or peeling.
Gather Your Supplies:
- Sandpaper: Use a variety of grits, starting with 220 and moving to 400 and 800 for a progressively smoother finish.
- Cleaning Supplies: Acetone or rubbing alcohol, microfiber cloths, a bucket, and a sponge.
- Masking Tape: Blue painter’s tape is ideal for precise lines.
- Drop Cloth: Protect your work area from paint splatters.
- Primer: Choose a primer specifically formulated for plastic.
- Spray Paint: Select high-quality, durable paint designed for plastic surfaces.
- Clear Coat: A clear coat protects your paint job and adds a glossy finish.
- Gloves: Protect your hands from paint.
- Respirator Mask: Essential for working with spray paint.
- Safety Glasses: Protect your eyes from paint and dust.
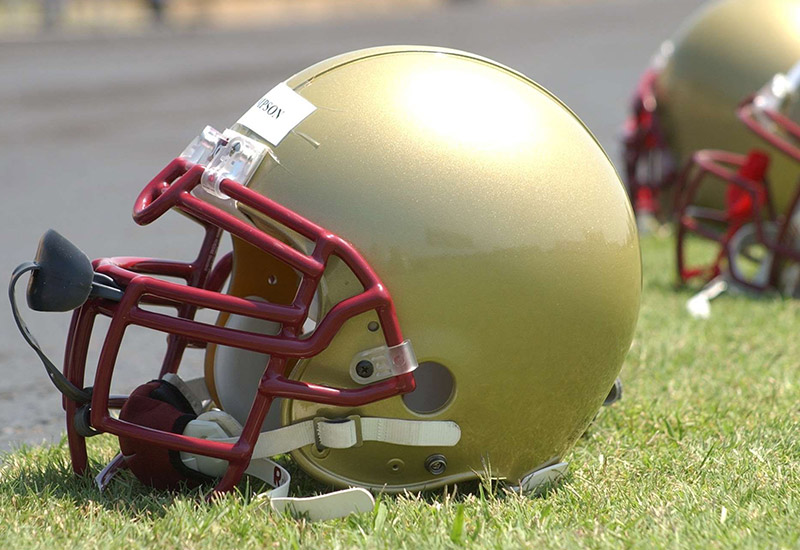

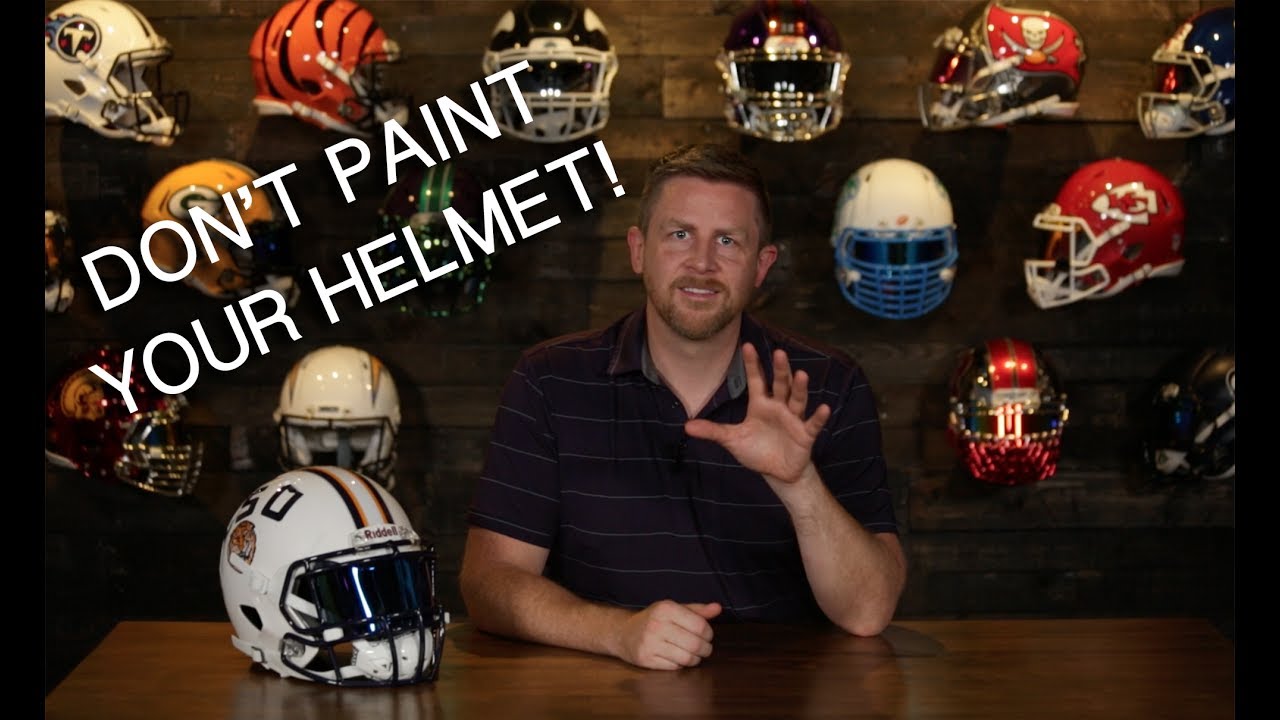
Remove Decals and Stickers: Gently peel off any existing decals or stickers, being careful not to damage the helmet’s surface. Use a hairdryer to soften stubborn adhesive.
Clean the Helmet Thoroughly: Use acetone or rubbing alcohol to remove dirt, grease, and any remaining adhesive. Rinse the helmet with water and dry it completely.
Sand the Surface: Sand the entire helmet with 220-grit sandpaper, focusing on areas with imperfections or rough textures. This creates a smoother surface for the primer to adhere to.
Prime the Helmet: Apply an even coat of primer to the entire helmet, ensuring complete coverage. Let the primer dry completely according to the manufacturer’s instructions.
Sand Again: Lightly sand the primed helmet with 400-grit sandpaper. This helps to smooth out any imperfections and create a better surface for the paint.
Mask Off Areas: Use painter’s tape to mask off areas you don’t want to paint. For example, you might want to mask off the facemask, logos, or other details.
2. The Art of Spray Painting: Techniques for Success
Now that your helmet is prepped, you’re ready to unleash your creativity. Here’s a step-by-step guide to achieving a professional spray paint finish.
- Choose Your Colors: Consider the colors you want to use and how they will complement the overall design.
- Shake the Paint: Shake the spray paint can vigorously for at least one minute to ensure the paint is evenly mixed.
- Practice First: Before spraying your helmet, practice on a scrap piece of plastic to get a feel for the spray pattern and distance.
- Spray Thin Coats: Apply thin, even coats of paint, holding the can about 8-10 inches away from the helmet. Avoid overspraying, which can lead to drips and runs.
- Let Each Coat Dry: Allow each coat of paint to dry completely before applying the next. Drying times vary depending on the paint type and temperature.
- Multiple Coats for Depth: Apply multiple thin coats to achieve the desired color depth and coverage.
- Clean Up: Once the final coat of paint is dry, carefully remove the masking tape. Use a damp cloth to wipe away any paint splatters or overspray.
3. Adding a Protective Finish: The Importance of Clear Coat
A clear coat is essential for protecting your paint job and adding a glossy shine. It creates a durable barrier against scratches, UV rays, and other wear and tear.
- Choose the Right Clear Coat: Select a clear coat specifically designed for plastic surfaces. Consider the level of gloss you want to achieve: high gloss, semi-gloss, or matte.
- Apply the Clear Coat: Follow the same techniques for applying the paint, using thin, even coats. Allow each coat to dry completely before applying the next.
- Multiple Coats for Durability: Apply multiple coats of clear coat for maximum protection and a deeper shine.
4. Creative Design Ideas: Unleash Your Inner Artist
Spray painting your helmet is a blank canvas for your creativity. Here are some popular design ideas to get you started:
- Solid Colors: Choose a single bold color to create a clean, modern look.
- Two-Tone Designs: Combine two contrasting colors for a classic and stylish effect.
- Geometric Patterns: Use masking tape to create intricate geometric patterns.
- Team Logos: Showcase your team pride by painting your favorite team logo.
- Custom Artwork: Let your artistic skills shine by creating unique designs.
5. Safety First: Protecting Yourself and Your Surroundings
Spray painting involves hazardous materials, so it’s essential to prioritize safety. Follow these precautions:
- Wear a Respirator Mask: Protect your lungs from paint fumes.
- Wear Safety Glasses: Protect your eyes from paint splatters.
- Wear Gloves: Protect your hands from paint.
- Work in a Well-Ventilated Area: Ensure proper airflow to dissipate fumes.
- Keep Paint Away from Heat and Open Flames: Avoid potential fire hazards.
- Dispose of Paint Cans Properly: Follow local regulations for disposal.
6. Troubleshooting Common Problems: Fixing Mistakes
Even the most experienced painters can encounter problems. Here’s how to address common issues:
- Drips and Runs: If paint drips or runs, use a sharp knife or razor blade to carefully scrape off the excess paint before it dries. Sand the area smooth once the paint is dry.
- Uneven Coverage: If the paint isn’t evenly distributed, apply another thin coat of paint to the affected areas.
- Paint Chipping: If the paint chips, sand the area smooth and apply a thin coat of primer and paint.
- Bubbles in the Paint: If bubbles appear in the paint, it’s likely due to moisture trapped beneath the surface. Sand the area smooth and apply another thin coat of paint.
7. Maintaining Your Custom Paint Job: Keeping It Looking Fresh
With proper care, your custom paint job will last for years to come. Here are some tips for maintaining your helmet’s appearance:
- Avoid Harsh Chemicals: Don’t use harsh chemicals or cleaners on your helmet, as they can damage the paint.
- Clean Regularly: Wipe your helmet down with a damp cloth to remove dirt and debris.
- Store Properly: Store your helmet in a cool, dry place to prevent damage from moisture or extreme temperatures.
- Touch Up Scratches: If you notice any scratches, use a small brush to apply a thin layer of paint to the affected area.
8. Beyond the Basics: Advanced Techniques and Tips
For those seeking to elevate their spray painting skills, here are some advanced techniques and tips:
- Using Stencils: Create intricate designs by using stencils to mask off specific areas.
- Airbrushing: Achieve incredibly detailed and smooth finishes using an airbrush.
- Layering Colors: Create unique effects by layering different colors and textures.
- Using a Primer Sealer: A primer sealer helps to improve adhesion and create a smoother surface for painting.
- Experimenting with Finishes: Explore different finishes, such as matte, satin, or gloss, to create unique looks.
9. Inspiration: Showcase Your Creativity
The possibilities are endless when it comes to spray painting football helmets. Here are some inspirational examples to ignite your imagination:
- Unique Color Combinations: Explore bold and unexpected color combinations to create a truly eye-catching look.
- Geometric Designs: Experiment with geometric patterns and shapes to add a modern and stylish touch.
- Team-Inspired Art: Showcase your team pride with intricate designs inspired by your favorite team.
- Personal Touches: Add personal details, such as your initials, favorite numbers, or a meaningful quote, to make your helmet truly unique.
10. The Final Word: Unlock Your Helmet’s Potential
Spray painting your football helmet is a fun and rewarding way to express your individuality and personalize your gear. With careful preparation, patience, and a touch of creativity, you can achieve professional results and transform your helmet into a work of art.
Remember, safety is paramount. Always wear protective gear and follow the instructions on the paint cans. With a little practice and dedication, you can unlock the full potential of your helmet and create a masterpiece that reflects your unique style.
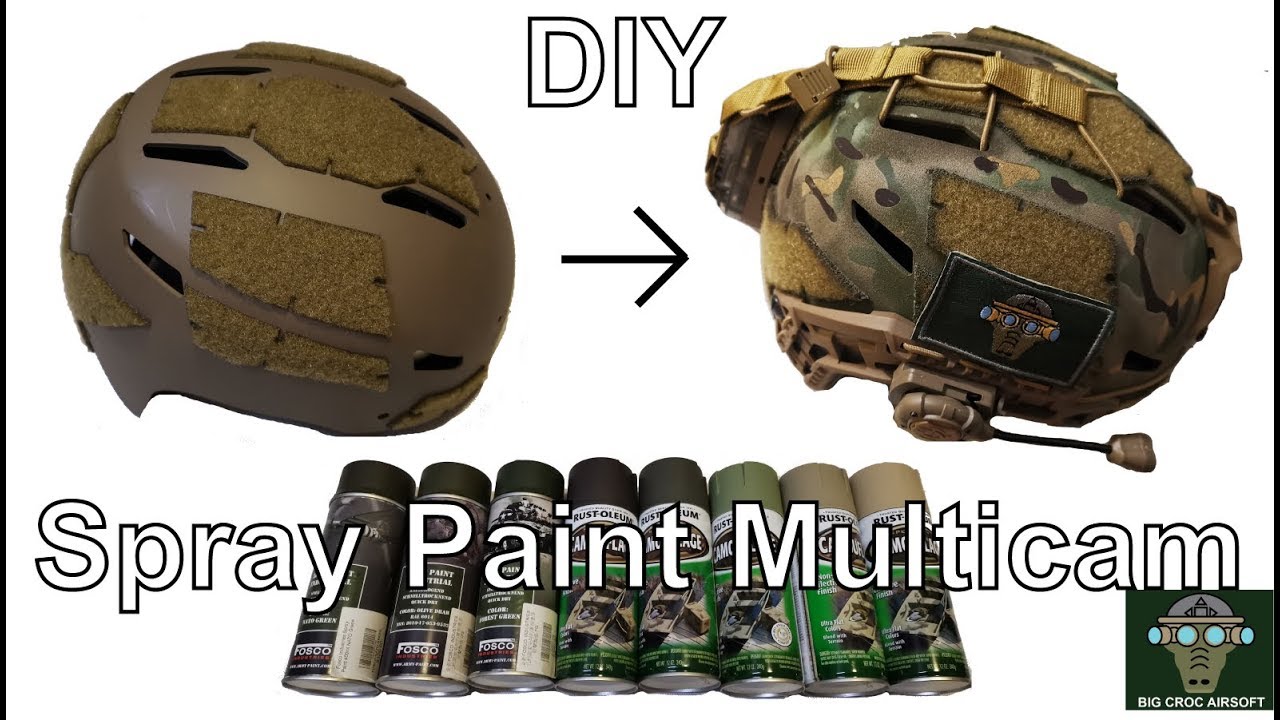
Spray Painting Football Helmets: A Comprehensive Guide
Post a Comment for "Spray Painting Football Helmets: A Step-by-Step Guide"