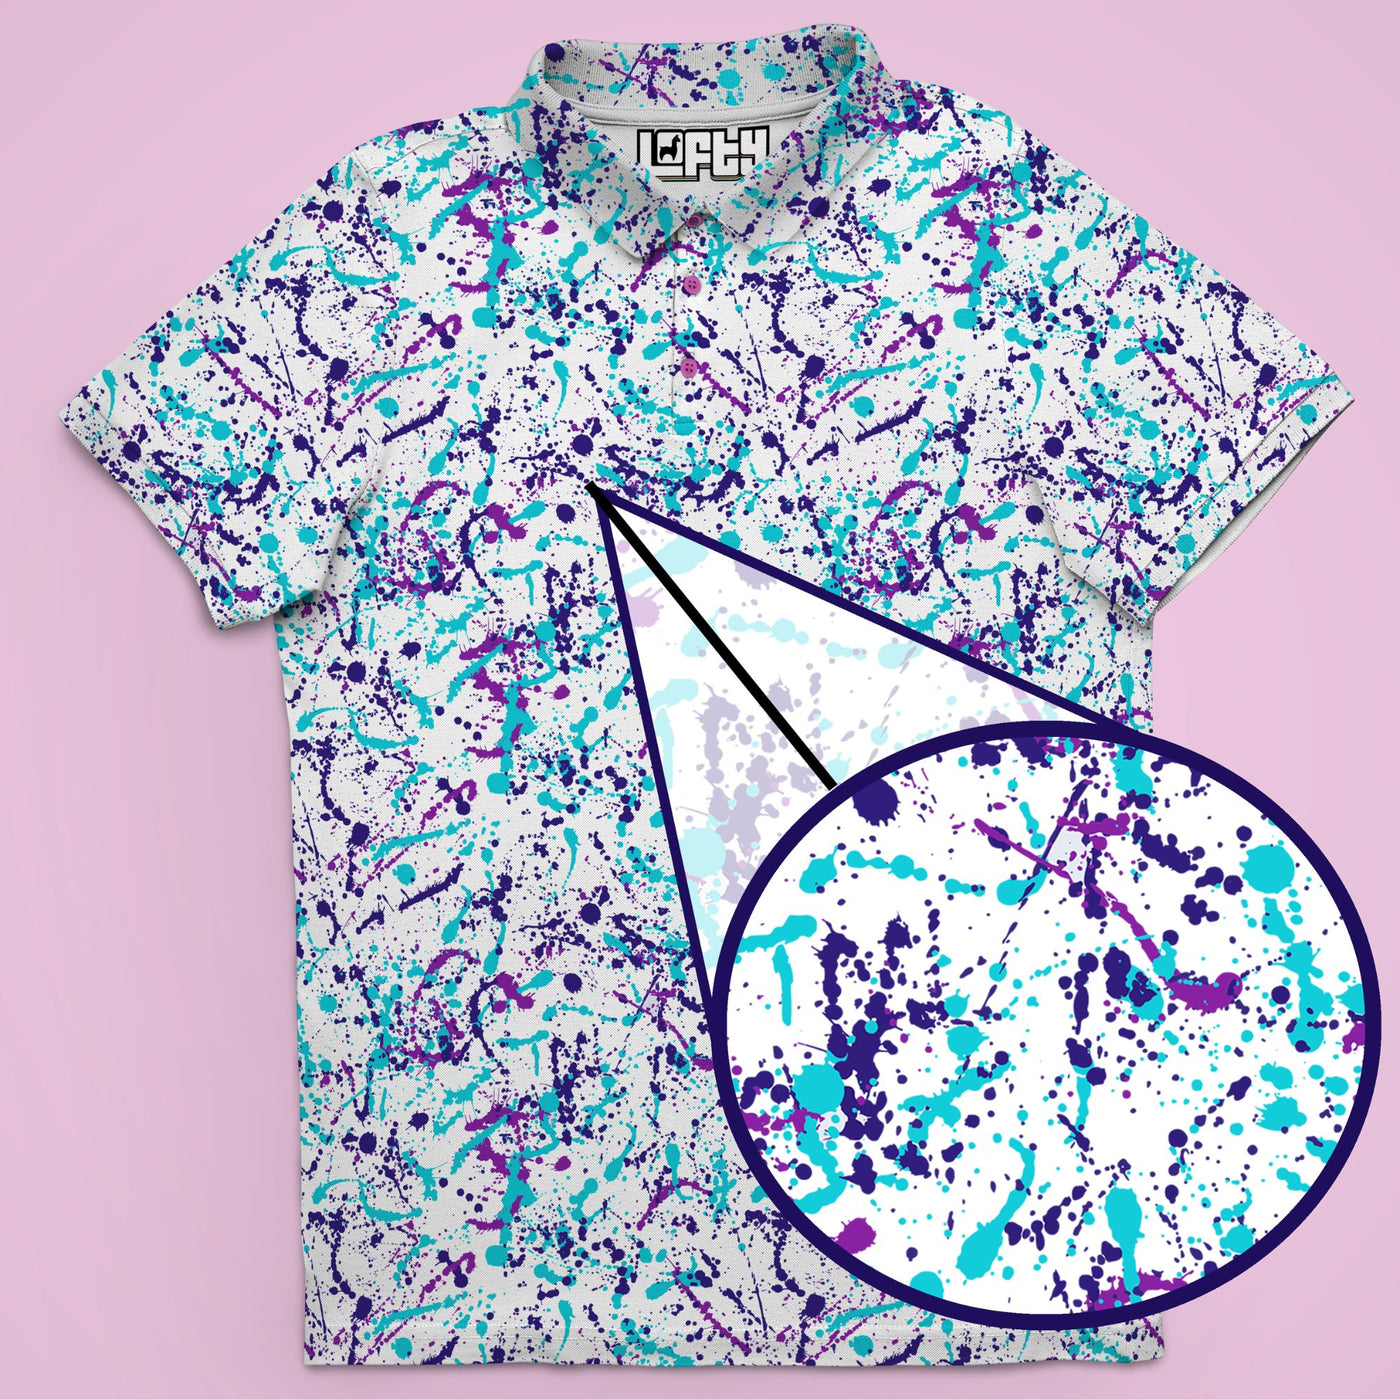
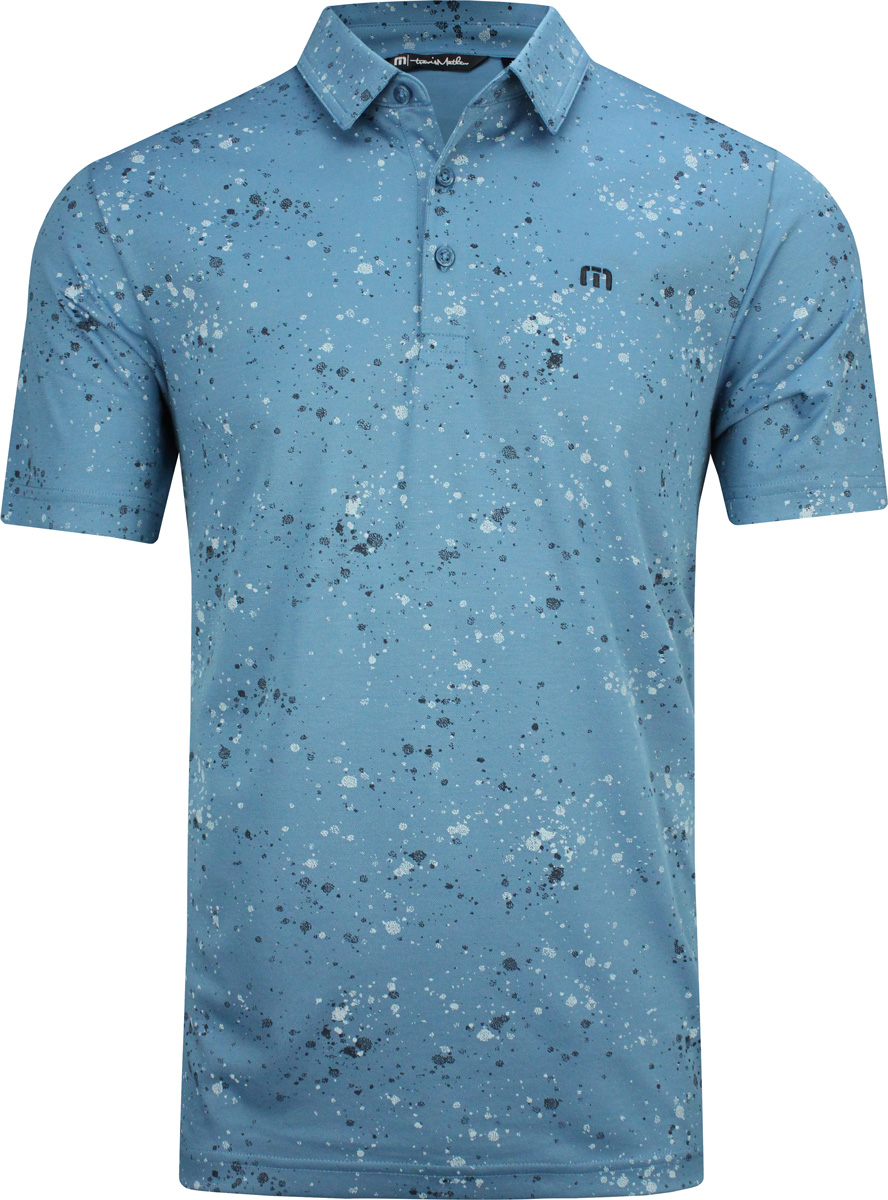
Unleash Your Inner Artist: The Ultimate Guide to DIY Paint Splatter Golf Shirts

Tired of the same old boring golf shirts? Want to express your unique style on the green? Look no further than the exciting world of DIY paint splatter golf shirts. This trend is taking the golf scene by storm, allowing you to transform a simple garment into a bold statement piece that reflects your personality and passion for the game.
Why Paint Splatter Golf Shirts?
Beyond the obvious aesthetic appeal, paint splatter golf shirts offer a multitude of benefits:
- Uniqueness: Stand out from the crowd with a one-of-a-kind design that you created yourself.
- Personalization: Express your individuality by choosing your favorite colors, patterns, and even adding personal touches like your initials or a golf-themed motif.
- Affordability: Transform an inexpensive plain golf shirt into a designer piece without breaking the bank.
- Creativity: Unleash your inner artist and explore your artistic side with this fun and engaging project.
Getting Started: Essential Supplies

Before you dive into the creative process, gather these essential supplies:
- Plain Golf Shirts: Choose a high-quality, 100% cotton or polyester blend shirt for best results.
- Fabric Paint: Opt for high-quality, permanent fabric paint that is specifically designed for textiles. Acrylic paint is a popular choice for its versatility and durability.
- Brushes: Invest in a variety of brush sizes to create different splatter effects.
- Drop Cloth or Plastic Sheeting: Protect your work area from paint splatters.
- Scissors: For trimming any excess fabric or paint.
- Newspaper or Cardboard: To create a barrier between the paint and your work surface.
- Gloves: Protect your hands from the paint.
- Masking Tape: For creating clean lines or protecting areas you don’t want to paint.
- Optional: Stencils, sponges, or other tools to create unique patterns.

Mastering the Splatter Technique:
The beauty of paint splatter lies in its unpredictable nature. Embrace the random patterns and let your creativity flow. Here’s a breakdown of popular techniques:
1. The Classic Splatter:
- Dip your brush into the paint, then flick your wrist to create a splatter effect.
- Experiment with different brush sizes and paint amounts to achieve varying splatter densities.
- Hold the brush at different angles to create unique patterns.
2. The Sponge Splatter:
- Dip a sponge into the paint, then gently dab or press it onto the shirt to create a textured splatter effect.
- Use multiple colors and sponges for a multi-layered design.
3. The Stencil Splatter:
- Place a stencil onto the shirt and secure it with masking tape.
- Apply paint around the stencil, creating a splatter effect that only reveals the stencil’s design.
- Remove the stencil carefully once the paint is dry.
4. The Drip Splatter:
- Pour a small amount of paint onto the shirt, allowing it to drip and create a natural splatter effect.
- Use a straw to blow air onto the paint to create additional splatter patterns.
Pro Tips for Success:
- Test your paint: Always test the paint on a scrap piece of fabric before applying it to your shirt. This will ensure that the paint adheres properly and doesn’t bleed or run.
- Layer your paint: Build up the splatter effect by applying multiple layers of paint. Allow each layer to dry completely before applying the next.
- Protect your shirt: Place a piece of cardboard inside the shirt to prevent the paint from bleeding through to the other side.
- Let it dry: Allow the paint to dry completely before washing your shirt. Follow the manufacturer’s instructions for washing and drying.
Beyond the Basics: Creative Variations
Once you’ve mastered the basics, experiment with these advanced techniques to elevate your paint splatter artistry:
- Ombre Effect: Create a gradual color transition by using multiple shades of the same color.
- Geometric Patterns: Use masking tape to create geometric shapes or lines within your splatter design.
- Textured Effects: Experiment with different paint application techniques, such as stamping or using a sponge to create unique textures.
- Embellishments: Add embellishments like rhinestones, sequins, or embroidery to enhance your design.
Styling Your Paint Splatter Masterpiece:
A well-designed paint splatter golf shirt is a versatile piece that can be styled in numerous ways:
- Casual Chic: Pair your splatter shirt with khakis or jeans for a relaxed yet stylish look.
- Sporty Elegance: Combine your splatter shirt with tailored golf pants for a sophisticated and sporty vibe.
- Statement Piece: Make your paint splatter shirt the focal point of your outfit by pairing it with neutral-colored bottoms and accessories.
Beyond the Golf Course:
Don’t limit your paint splatter creativity to golf shirts alone! This technique can be applied to a wide range of clothing items, including:
- T-shirts: Create unique and eye-catching designs for everyday wear.
- Sneakers: Give your sneakers a personalized touch with bold splatter patterns.
- Bags and Accessories: Add a pop of color and personality to your bags, hats, and other accessories.
Conclusion: Unleash Your Creativity on the Green
Creating your own paint splatter golf shirt is a fun and rewarding experience that allows you to express your individuality and add a touch of artistry to your golfing attire. Experiment with different techniques, colors, and patterns to create truly unique designs that reflect your personal style. With a little creativity and effort, you can transform a plain golf shirt into a statement piece that will turn heads on the green and beyond.
Unleash Your Inner Artist: The Ultimate Guide to DIY Paint Splatter Golf Shirts
Post a Comment for "Paint Splatter Golf Shirt: DIY Fashion Statement"