Unleash Your Inner Artist: The Ultimate Guide to Complete Wood Painting Kits
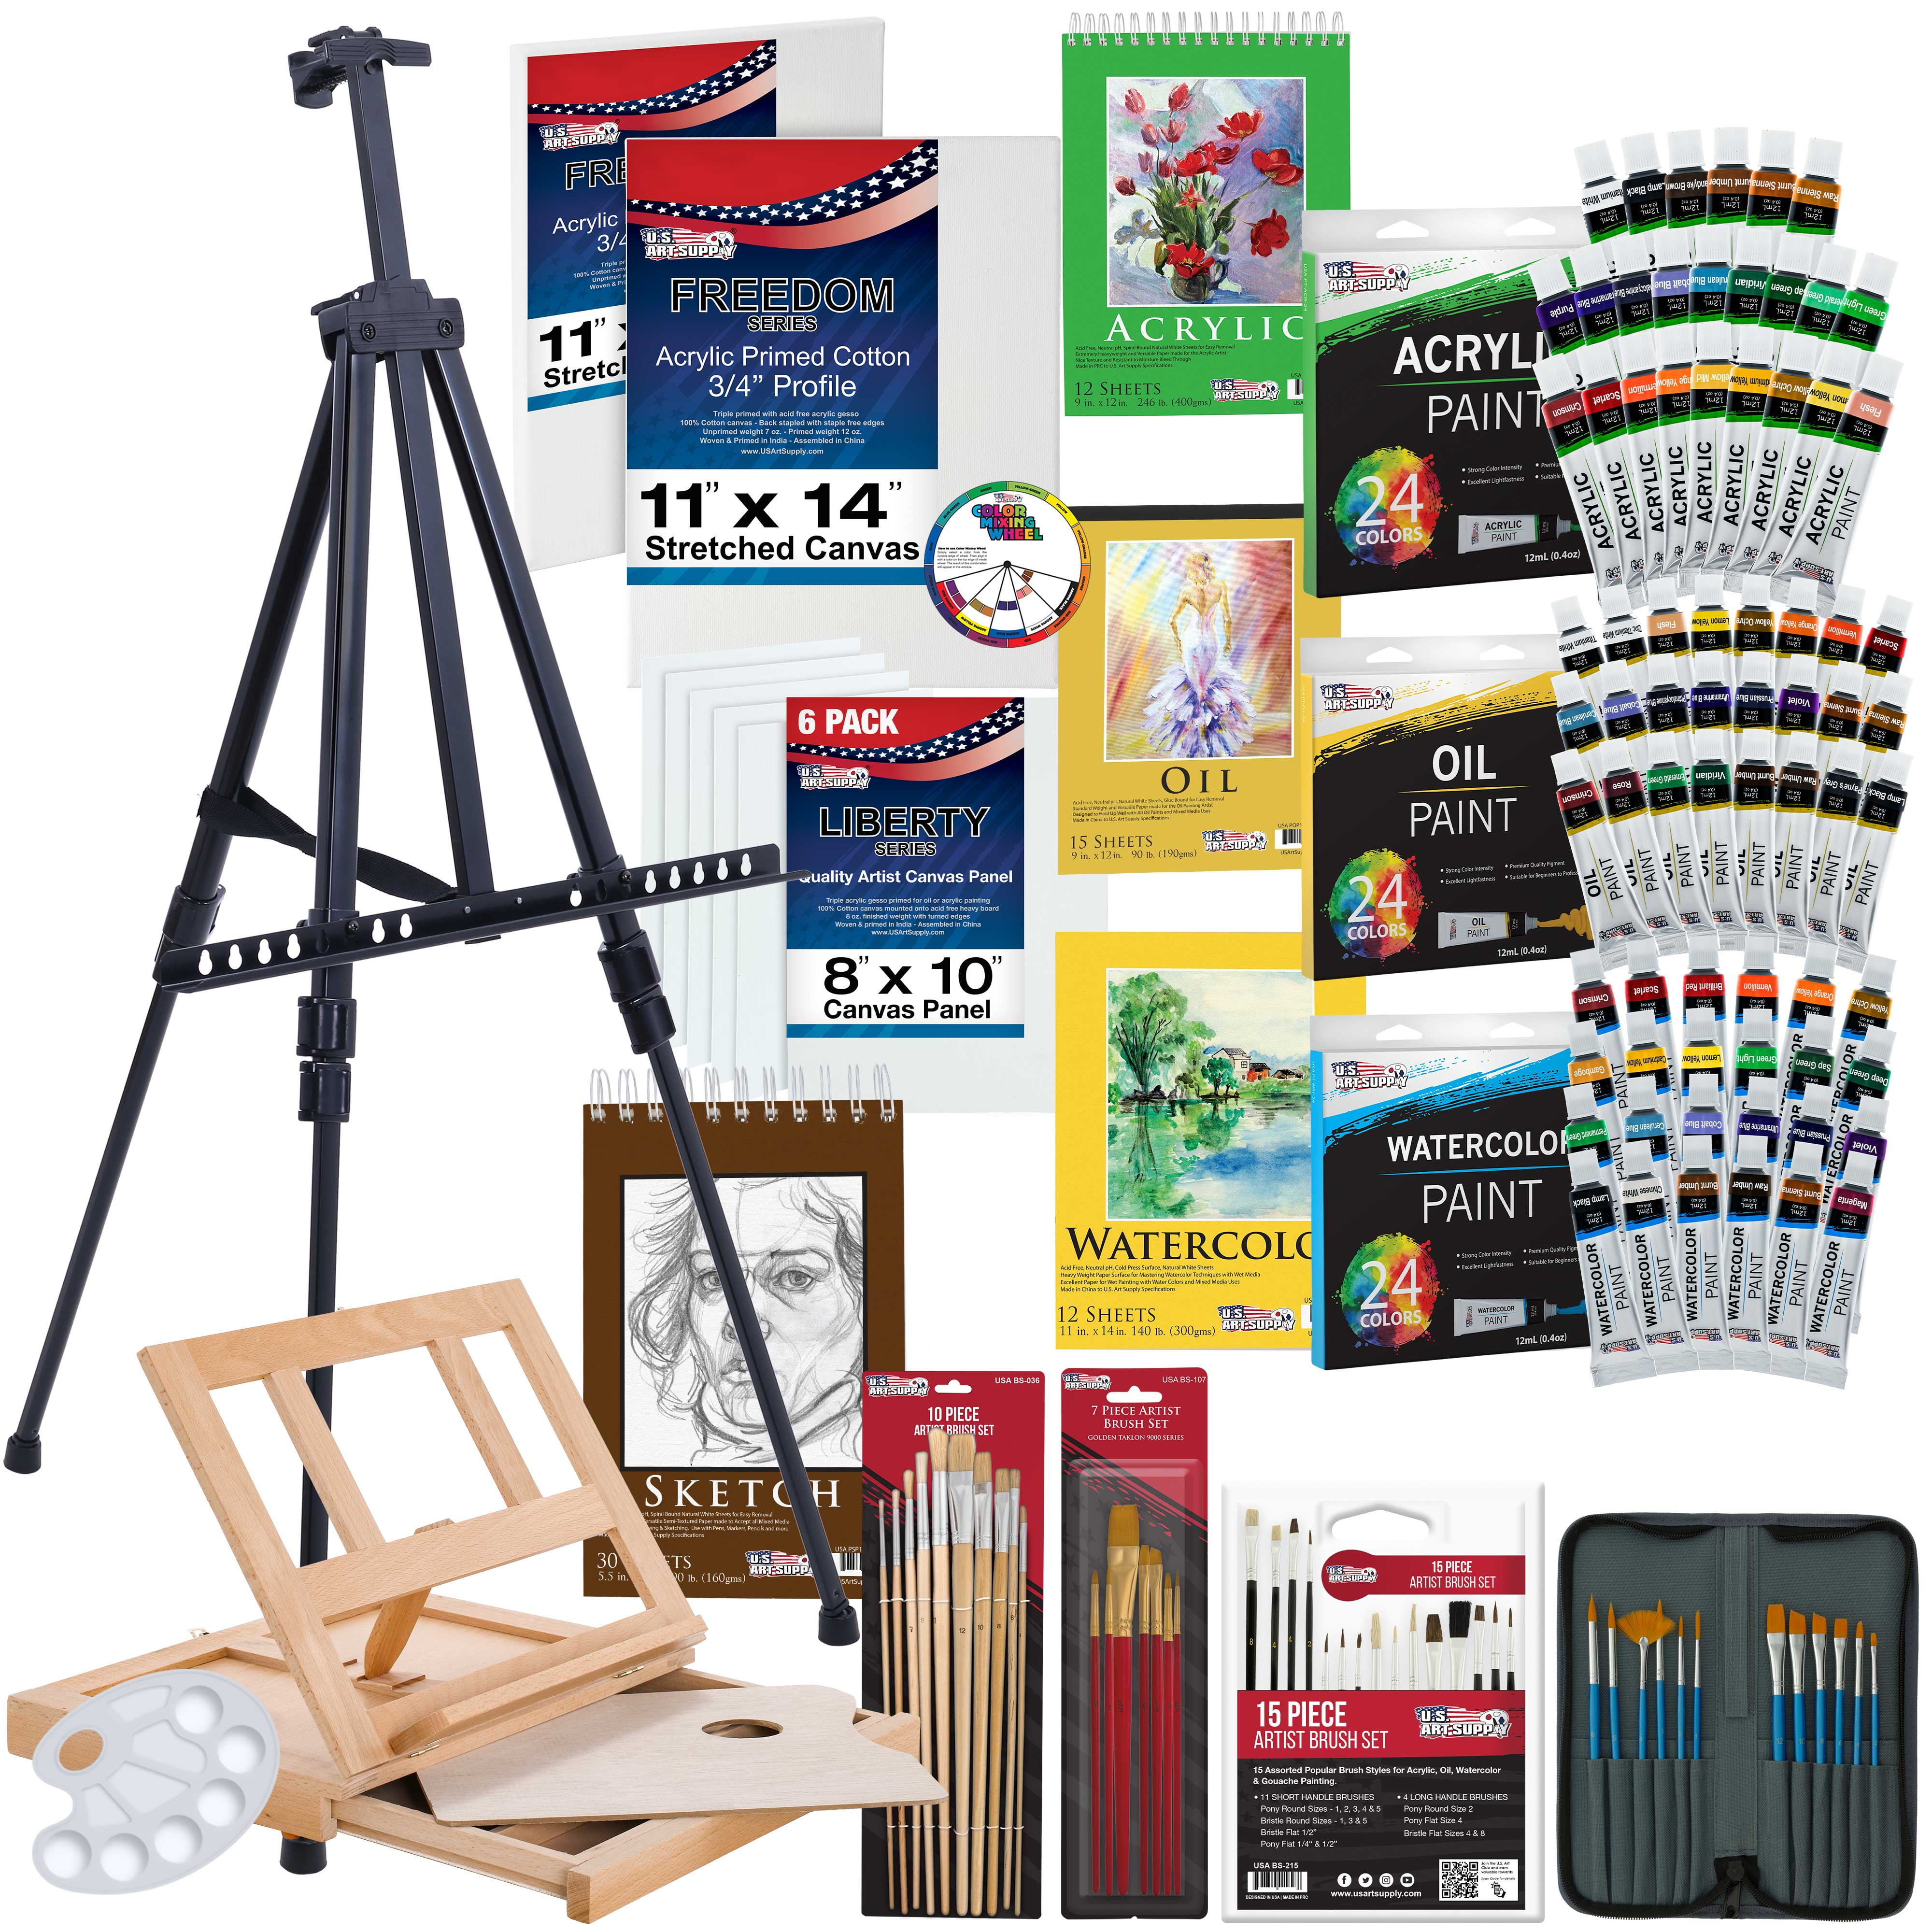
Table of Content
- 1 Unleash Your Inner Artist: The Ultimate Guide to Complete Wood Painting Kits
- 1.1 Deciphering the Essentials: Components of a Complete Wood Painting Kit
- 1.2 Mastering the Art of Wood Painting: Techniques for Success
- 1.3 Choosing the Right Paint and Finishes: A Guide for Every Project
- 1.4 Tips for Achieving a Professional Finish
- 1.5 Common Wood Painting Mistakes and How to Avoid Them
- 1.6 Conclusion: Embark on Your Wood Painting Journey with Confidence
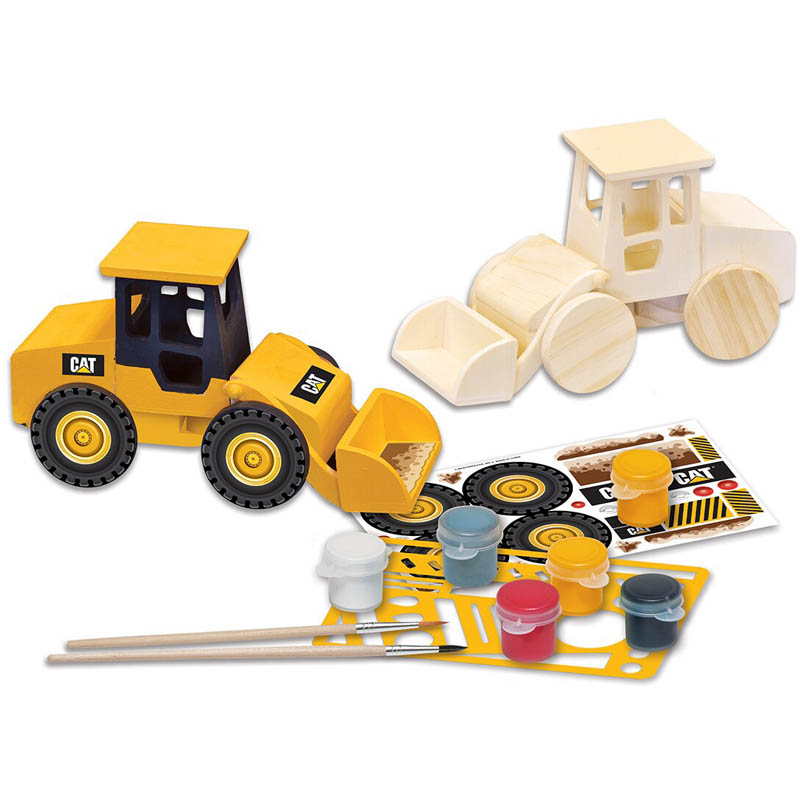
Transforming your wooden surfaces into stunning works of art is easier than you think, especially with the right tools and guidance. A complete wood painting kit provides everything you need to embark on your painting journey, from prepping the surface to achieving a flawless finish. This comprehensive guide will delve into the essential components of a complete wood painting kit, explore various painting techniques, and equip you with the knowledge to tackle any wood painting project with confidence.
Deciphering the Essentials: Components of a Complete Wood Painting Kit
A well-rounded wood painting kit should encompass the following essential tools and materials:
1. Preparation Tools:
- Sandpaper: A variety of grit sandpaper (80, 120, 220) is crucial for smoothing the wood surface, removing imperfections, and creating a uniform base for paint adhesion.
- Sanding Block: This tool provides a comfortable grip and even pressure while sanding, ensuring a consistent finish.
- Dust Mask: Protecting your respiratory system is essential when working with sanding dust.
- Tack Cloth: This lint-free cloth removes dust and debris from the sanded surface, guaranteeing a clean canvas for painting.
- Painter’s Tape: Precisely masking off areas you don’t want to paint is key to achieving clean lines and avoiding accidental spills.
- Drop Cloth: Protecting your workspace from paint splatters and spills is a must.

2. Painting Tools:
- Paintbrushes: Choose a variety of brush sizes (small, medium, large) to suit different painting areas and achieve precise lines or broad strokes. Look for high-quality brushes with synthetic bristles, ideal for both water-based and oil-based paints.
- Paint Roller: For larger surfaces, a paint roller with a suitable nap length (depending on the wood’s texture) provides efficient and even coverage.
- Paint Tray: A paint tray with a built-in liner allows for easy paint application and prevents spills.
- Stir Stick: Thoroughly mixing paint before and during application ensures consistent color and prevents settling.

3. Paint and Finishes:

- Primer: A primer acts as a bonding agent, improving paint adhesion and providing a uniform surface for a smooth, even finish. Choose a primer specifically designed for wood.
- Paint: Select the type of paint based on your project’s needs. Oil-based paints offer durability and a glossy finish, while water-based paints are easier to clean and offer a range of finishes.
- Topcoat: A topcoat, such as varnish, polyurethane, or lacquer, seals and protects the painted surface, enhancing its durability and adding a desired finish.
4. Cleaning Supplies:
- Paint Thinner: For cleaning oil-based paints and brushes, a suitable paint thinner is essential.
- Soap and Water: For water-based paints, soap and water are sufficient for cleaning brushes and tools.
- Rag or Paper Towels: For wiping spills, cleaning tools, and removing excess paint.
Mastering the Art of Wood Painting: Techniques for Success
With your complete wood painting kit assembled, you’re ready to embark on your painting adventure. Here’s a step-by-step guide to achieve a professional-looking finish:
1. Preparation is Key:
- Surface Cleaning: Remove any dirt, grease, or grime from the wood surface using a mild detergent and water. Allow the surface to dry completely.
- Sanding: Start with coarse-grit sandpaper (80) to smooth out any rough areas or imperfections. Gradually move to finer grits (120, 220) for a smoother finish. Sand with the grain of the wood to avoid scratches.
- Dust Removal: Thoroughly remove all sanding dust using a tack cloth.
2. Priming for Perfection:
- Primer Application: Apply a thin, even coat of primer to the entire surface, using a brush, roller, or spray gun. Allow the primer to dry completely according to the manufacturer’s instructions.
- Sanding (Optional): Lightly sand the primed surface with fine-grit sandpaper (220) to smooth out any imperfections and create a perfect base for paint.
3. The Art of Paint Application:
- Paint Mixing: Thoroughly mix the paint before and during application to ensure a consistent color and prevent settling.
- First Coat: Apply a thin, even coat of paint to the entire surface, using a brush, roller, or spray gun. Work with the grain of the wood for a natural finish. Allow the first coat to dry completely.
- Second Coat (Optional): Apply a second coat of paint for greater coverage and a deeper color. Allow the second coat to dry completely.
4. Finishing Touches:
- Topcoat Application: Apply a thin, even coat of topcoat (varnish, polyurethane, or lacquer) to the entire surface, using a brush, roller, or spray gun. Follow the manufacturer’s instructions for drying time and number of coats.
- Cleanup: Clean all brushes, rollers, and other tools thoroughly with appropriate cleaning agents.
Choosing the Right Paint and Finishes: A Guide for Every Project
Selecting the right paint and finishes is crucial for achieving the desired look and durability for your wood painting project. Here’s a breakdown of common options:
1. Paint Types:
- Oil-Based Paint: Offers excellent durability, a glossy finish, and superior resistance to moisture and stains. However, it requires paint thinner for cleaning and can take longer to dry.
- Water-Based Paint: Offers easy cleanup with soap and water, a range of finishes (matte, satin, semi-gloss, gloss), and quick drying time. However, it may not be as durable as oil-based paint.
- Latex Paint: A type of water-based paint that offers good durability, a range of finishes, and easy cleanup.
2. Finishes:
- Varnish: Provides a protective layer that enhances the wood’s natural beauty and offers a glossy finish. Comes in different sheen levels (matte, satin, semi-gloss, gloss).
- Polyurethane: Offers exceptional durability, water resistance, and a clear, protective finish. Available in oil-based or water-based formulations.
- Lacquer: Provides a hard, durable finish with a high gloss. Dries quickly and is available in various sheen levels.
3. Choosing the Right Sheen:
- Matte: Provides a flat, non-reflective finish, ideal for concealing imperfections and creating a subtle look.
- Satin: Offers a soft, low-luster finish with a slight sheen, providing a balance between durability and a subtle look.
- Semi-Gloss: Provides a moderate sheen, offering a balance between durability and reflectivity.
- Gloss: Provides a high-gloss, reflective finish, enhancing the color and depth of the paint and highlighting the wood’s natural beauty.
4. Specialized Paints and Finishes:
- Chalk Paint: Provides a matte finish with a vintage, distressed look, ideal for creating a farmhouse or shabby chic aesthetic.
- Milk Paint: A natural, water-based paint that offers a matte finish with a slightly textured look.
- Epoxy Paint: Offers exceptional durability and resistance to chemicals and stains, making it suitable for high-traffic areas or surfaces exposed to harsh conditions.
Tips for Achieving a Professional Finish
- Thin the Paint: For a smoother finish, thin the paint slightly with water (for water-based paints) or paint thinner (for oil-based paints).
- Use Long, Even Strokes: Avoid short, choppy strokes, as they can create brush marks. Use long, smooth strokes in the direction of the wood grain.
- Overlap Strokes: Overlap each stroke by about 50% to ensure even coverage and prevent visible brush marks.
- Remove Excess Paint: Remove any excess paint from the brush or roller before applying it to the surface.
- Let Each Coat Dry Completely: Allow each coat of paint or finish to dry completely before applying the next coat.
- Sand Between Coats: Lightly sand between coats to smooth out any imperfections and create a smoother finish.
Common Wood Painting Mistakes and How to Avoid Them
Even experienced painters can make mistakes. Here are some common wood painting pitfalls and how to avoid them:
- Not Preparing the Surface Properly: Failing to clean, sand, and prime the surface can lead to poor paint adhesion, uneven coverage, and a less durable finish.
- Using the Wrong Paint or Finish: Choosing the wrong type of paint or finish for your project can result in a disappointing outcome.
- Applying Too Much Paint: Overloading the brush or roller with paint can lead to drips, runs, and an uneven finish.
- Not Letting Coats Dry Completely: Applying a new coat of paint or finish before the previous coat has dried can lead to cracking, peeling, and an uneven finish.
- Not Cleaning Tools Properly: Failing to clean brushes, rollers, and other tools thoroughly can lead to paint buildup, hardening, and unusable tools.
Conclusion: Embark on Your Wood Painting Journey with Confidence
With the right tools, techniques, and a touch of creativity, you can transform your wooden surfaces into stunning works of art. A complete wood painting kit provides everything you need to embark on your painting journey, from prepping the surface to achieving a flawless finish. Follow the tips and techniques outlined in this guide, and you’ll be well on your way to creating beautiful and durable wood painting projects that you’ll cherish for years to come.
Unleash Your Inner Artist: The Ultimate Guide to Complete Wood Painting Kits
Post a Comment for "Complete Wood Painting Kit: Tools And Techniques"