The Ultimate Guide to Choosing the Best Paint for Your Leather Fire Helmet
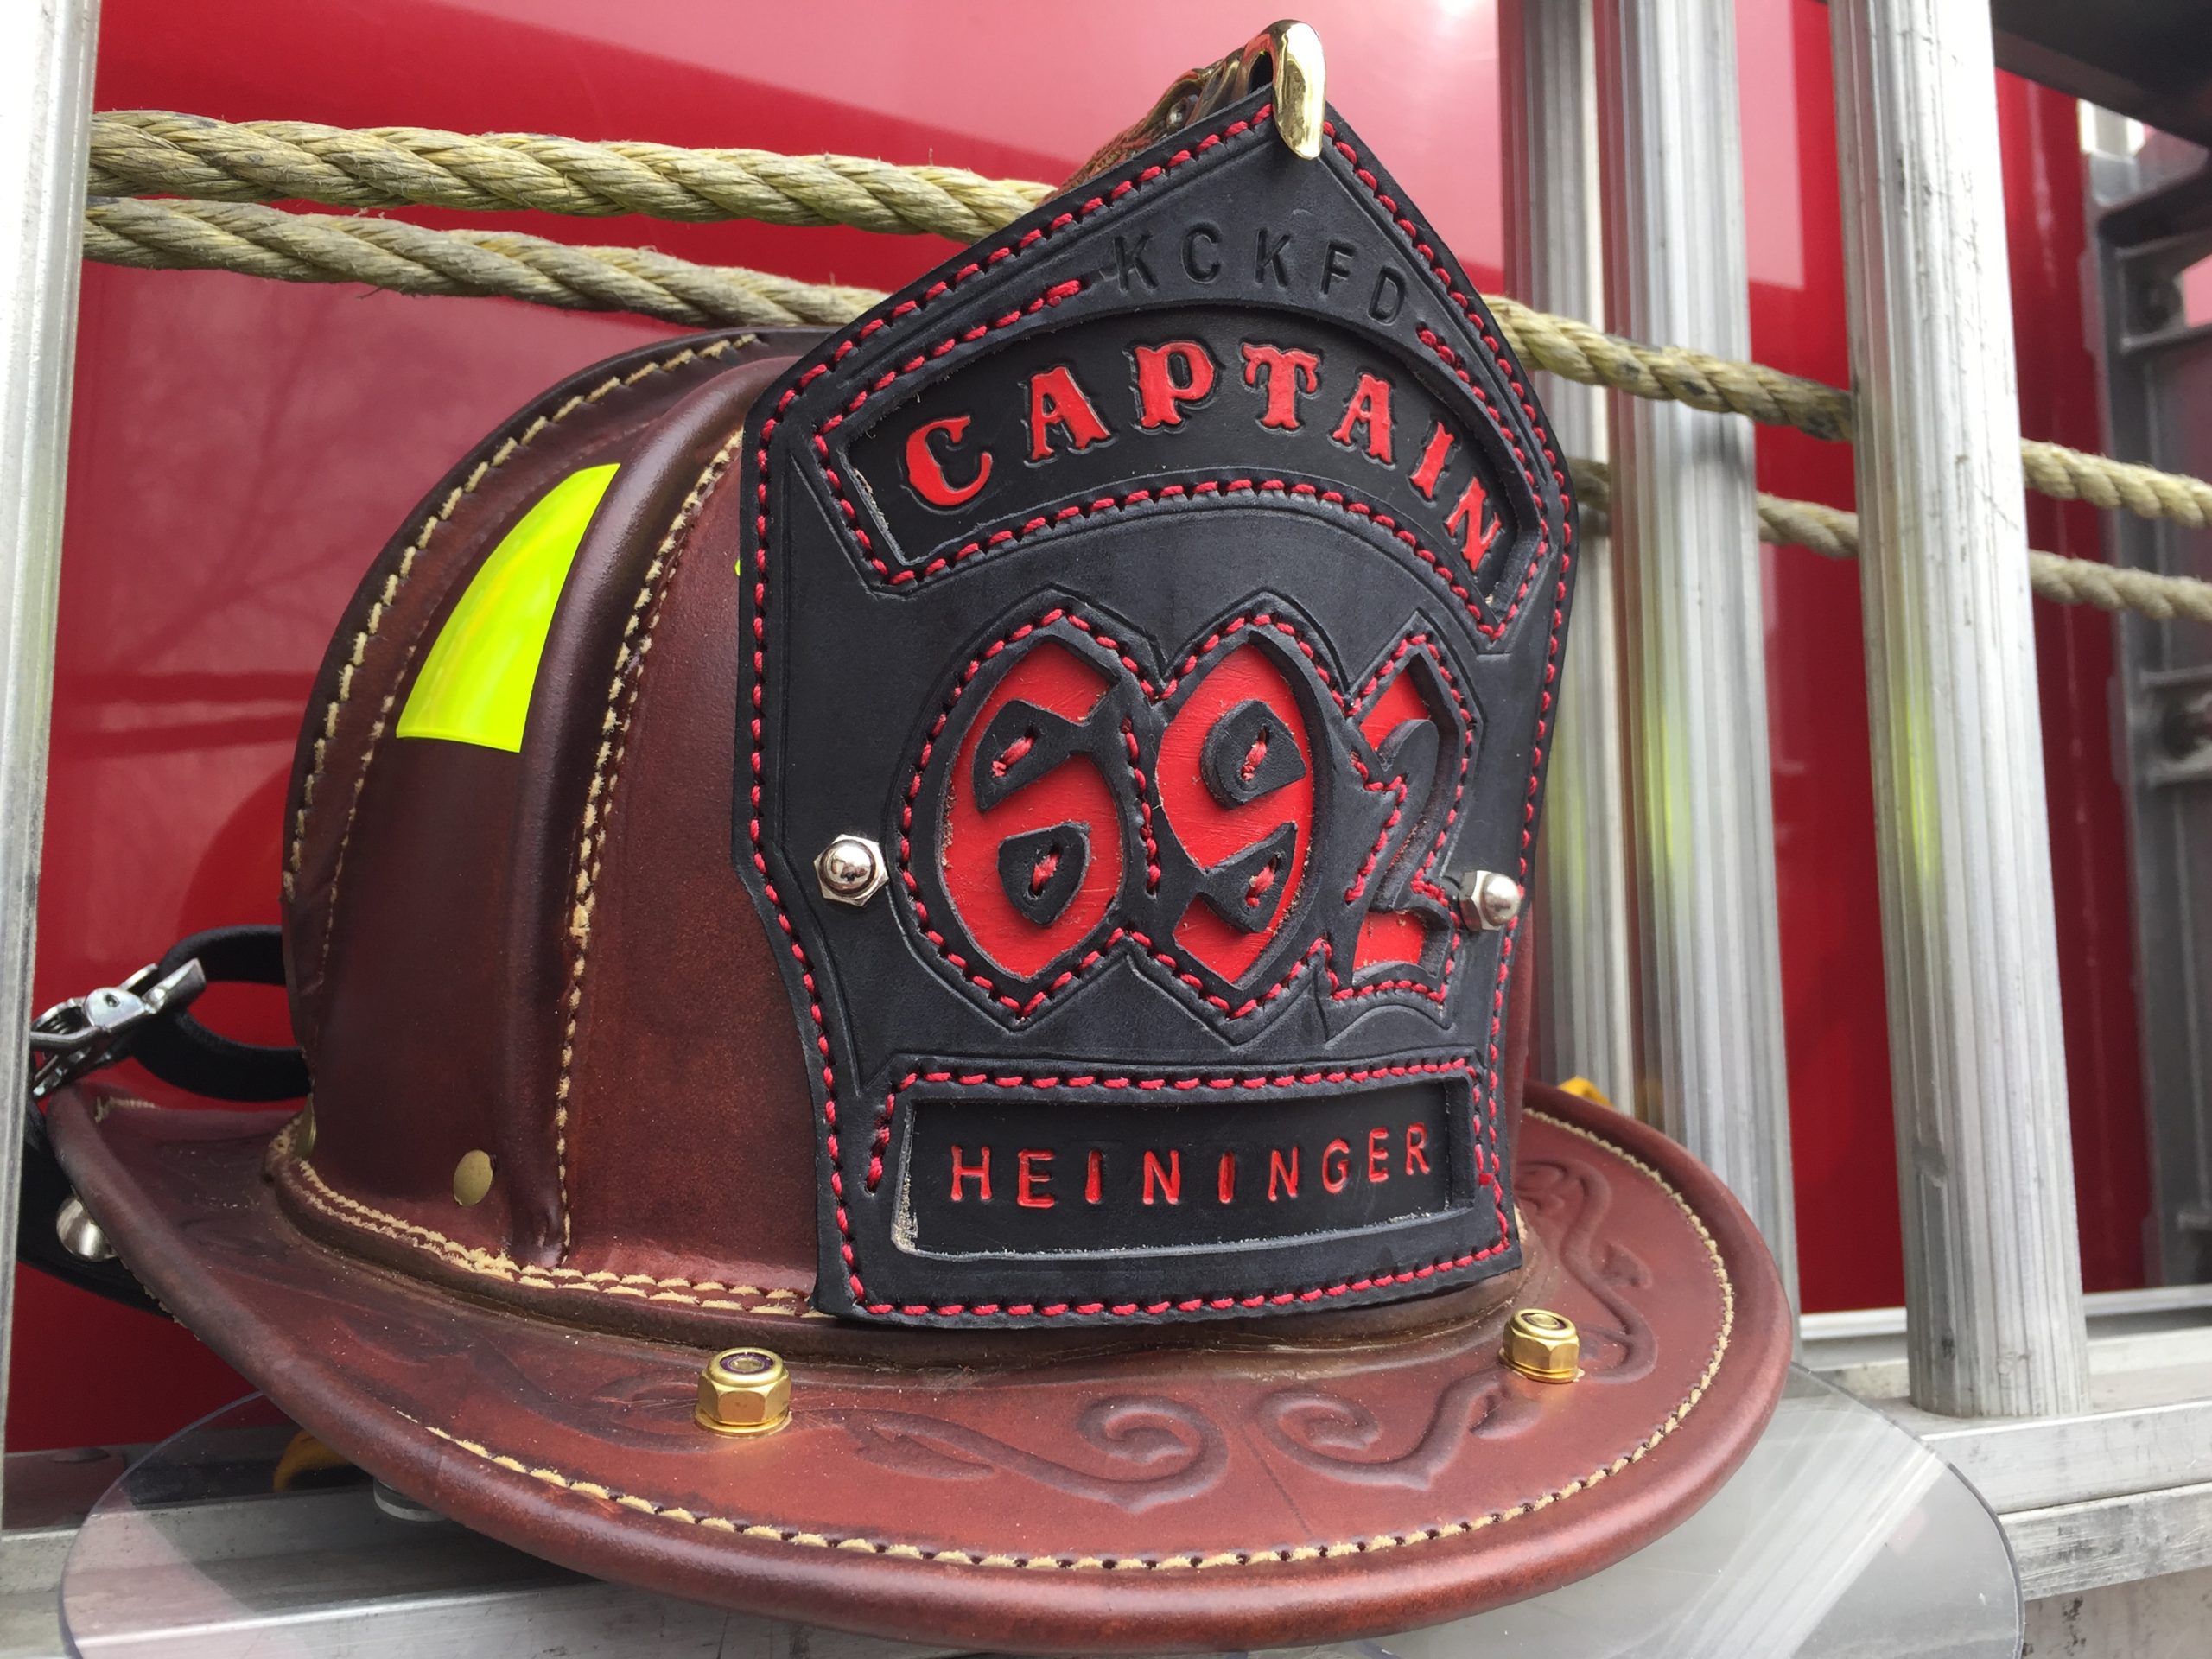
Fire helmets, especially those crafted from leather, are more than just protective gear; they are symbols of valor, tradition, and a firefighter’s unique identity. As such, maintaining their appearance is paramount, and a fresh coat of paint can breathe new life into a worn helmet, restoring its shine and showcasing its proud history. But choosing the right paint for your leather fire helmet is crucial, as the wrong choice can lead to damage, discoloration, and a less-than-ideal finish.
This comprehensive guide explores the world of leather fire helmet paint, equipping you with the knowledge to make an informed decision and achieve a stunning, durable, and historically accurate finish.
Understanding Leather Fire Helmets: A Material Overview
Leather fire helmets, a cornerstone of firefighting heritage, are crafted from various types of leather, each possessing distinct characteristics influencing paint selection:
- Full-Grain Leather: Renowned for its durability and natural beauty, full-grain leather features the top layer of the hide, retaining its natural grain pattern. Its density and resilience make it ideal for fire helmets, offering excellent protection and longevity.
- Top-Grain Leather: A step down from full-grain, top-grain leather is also durable but has a smoother surface due to the removal of the top layer. It offers a more consistent appearance and is often used for fire helmets.
- Corrected-Grain Leather: This type of leather undergoes a process to smooth out imperfections and achieve a consistent texture. While less expensive than full-grain, corrected-grain leather may be less durable and susceptible to cracking.
The Paint Landscape: A Comprehensive Guide
.jpg)
The world of leather paint offers a diverse range of options, each with its own strengths and weaknesses. Understanding these distinctions is essential for selecting the best paint for your fire helmet.
1. Acrylic Paints:
- Pros: Water-based acrylic paints offer a versatile, easy-to-use solution for leather fire helmets. They are readily available, relatively inexpensive, and provide a durable, water-resistant finish. Acrylics are also environmentally friendly, making them a popular choice among conscious users.
- Cons: Acrylic paints can be prone to cracking and peeling on leather surfaces, especially if not applied correctly. They may also require multiple coats to achieve a deep, opaque color.
- Best Use: Acrylic paints are ideal for touch-ups, minor repairs, and achieving a vibrant, contemporary look on leather fire helmets. They are also well-suited for painting newly acquired helmets.

2. Oil-Based Paints:
- Pros: Oil-based paints offer exceptional durability and adhesion to leather surfaces. They penetrate deeper into the leather, providing a long-lasting, weather-resistant finish. Oil-based paints also offer a wider range of colors and a more traditional, aged appearance.
- Cons: Oil-based paints can be messy to work with and require proper ventilation due to their strong odor. They also take longer to dry than acrylic paints and require a solvent, such as mineral spirits, for cleanup.
- Best Use: Oil-based paints are the preferred choice for restoring antique leather fire helmets, achieving a deep, rich color, and ensuring long-lasting protection. They are also suitable for painting helmets that will be exposed to harsh weather conditions.

3. Leather Dye:
- Pros: Leather dye penetrates the leather’s pores, creating a permanent color change that integrates with the material’s texture. It offers a natural, subtle finish and is ideal for achieving a distressed or aged look.
- Cons: Leather dyes can be difficult to apply evenly and require careful preparation. They may also fade over time, especially when exposed to sunlight.
- Best Use: Leather dyes are best suited for subtle color changes, distressing, and achieving a vintage appearance on leather fire helmets. They can be used to enhance the natural beauty of the leather or create a more authentic patina.
4. Enamel Paints:
- Pros: Enamel paints, often used for automotive applications, offer exceptional durability, gloss, and resistance to chipping and scratches. They are ideal for achieving a smooth, high-gloss finish on leather fire helmets.
- Cons: Enamel paints can be difficult to apply, requiring a steady hand and experience. They also require a special thinner for cleanup and can be prone to cracking if not applied correctly.
- Best Use: Enamel paints are best suited for achieving a high-gloss, durable finish on leather fire helmets that will be exposed to frequent wear and tear. They are also ideal for creating a show-stopping, eye-catching appearance.
5. Spray Paints:
- Pros: Spray paints offer a convenient and quick application method, ideal for covering large areas and achieving a consistent finish. They are available in a wide range of colors and finishes, including matte, satin, and gloss.
- Cons: Spray paints can be difficult to control and may require multiple thin coats to avoid drips and runs. They can also be less durable than other paint types and may not adhere as well to leather surfaces.
- Best Use: Spray paints are best suited for quick touch-ups, painting newly acquired helmets, or achieving a consistent, even color on large areas. They are also a convenient option for applying a protective sealant over other paint types.
Choosing the Right Paint: A Step-by-Step Guide
Selecting the ideal paint for your leather fire helmet involves a careful consideration of factors beyond just the paint type itself:
1. Condition of the Helmet:
- New Helmets: Newly acquired helmets offer a clean canvas for applying paint. You have more freedom to choose any paint type, as there is no existing finish to consider.
- Used Helmets: Used helmets require more careful assessment. Consider the existing paint, its condition, and the desired outcome. For faded or chipped paint, you may need a more durable paint type, such as oil-based or enamel.
2. Desired Finish:
- Traditional Look: Oil-based paints, leather dyes, and distressed finishes create a classic, aged appearance, preserving the helmet’s historical character.
- Modern Look: Acrylic paints and enamel paints offer a vibrant, contemporary look, highlighting the helmet’s modern features.
3. Level of Experience:
- Beginner: Acrylic paints are the most forgiving, offering a user-friendly experience. They are easy to apply and clean up, making them ideal for novice painters.
- Experienced: Oil-based paints and enamel paints offer greater control and a professional finish, but require more experience and care.
4. Environmental Considerations:
- Outdoor Use: Oil-based paints and enamel paints offer superior weather resistance, protecting the helmet from rain, sun, and harsh conditions.
- Indoor Use: Acrylic paints and leather dyes are suitable for indoor use, where weather exposure is minimal.
Preparation is Key: A Comprehensive Guide to Surface Preparation
Proper preparation is the cornerstone of any successful paint job, especially when working with leather. It ensures a smooth, even surface for the paint to adhere to, preventing peeling, cracking, and an uneven finish.
1. Cleaning:
- Thorough Cleaning: Begin by cleaning the helmet thoroughly with a mild soap and water solution. Use a soft brush or cloth to remove dirt, grime, and any loose paint.
- Solvent-Based Cleaning: For stubborn stains or residues, use a mild solvent, such as mineral spirits or denatured alcohol. Be sure to test the solvent on an inconspicuous area first to ensure it does not damage the leather.
2. Sanding:
- Light Sanding: Lightly sand the helmet with fine-grit sandpaper to remove any rough spots or imperfections. This creates a smooth surface for the paint to adhere to.
- Sanding Direction: Sand in the direction of the leather’s grain to avoid damaging the material.
3. Degreasing:
- Degreasing Agent: Apply a degreasing agent to remove any remaining oils or residues from the leather surface. This ensures the paint adheres properly and prevents peeling.
- Degreasing Methods: Degreasing agents can be applied with a cloth or sprayed onto the surface. Follow the manufacturer’s instructions for safe and effective use.
4. Priming:
- Priming Benefits: Priming the leather surface provides a barrier between the paint and the leather, enhancing adhesion and preventing the paint from staining the leather.
- Primer Selection: Choose a primer specifically designed for leather surfaces. Acrylic or oil-based primers are commonly used for fire helmets.
Painting Techniques: Achieving a Professional Finish
Applying paint to a leather fire helmet requires patience, precision, and attention to detail. Here are some techniques to help you achieve a professional finish:
1. Brush Application:
- Brush Selection: Use a high-quality brush specifically designed for applying paint to leather surfaces. A natural bristle brush is often preferred for its ability to distribute paint evenly.
- Brush Strokes: Apply the paint in thin, even strokes, following the direction of the leather’s grain. Avoid overloading the brush with paint, as this can lead to drips and runs.
2. Spray Application:
- Spray Gun Selection: Use a high-quality spray gun with adjustable pressure and a fine nozzle. This allows for precise control over the paint flow and prevents overspray.
- Spray Technique: Hold the spray gun at a consistent distance from the helmet and apply the paint in thin, even coats. Move the spray gun back and forth in a smooth, controlled motion.
3. Airbrushing:
- Airbrush Selection: An airbrush offers the ultimate control for applying paint to leather surfaces. It allows for precise detail work and the creation of unique effects.
- Airbrushing Technique: Use an airbrush with a fine nozzle and a low air pressure. Apply the paint in thin, even coats, building up the color gradually.
4. Drying and Curing:
- Drying Time: Allow the paint to dry completely according to the manufacturer’s instructions. Avoid touching or handling the helmet during this time.
- Curing Time: Once the paint is dry, allow it to cure for the recommended time. This ensures the paint hardens and becomes durable.
Finishing Touches: Adding a Professional Touch
Once the paint is dry and cured, you can add finishing touches to enhance the helmet’s appearance and protect the paint from wear and tear.
1. Sealing:
- Sealing Benefits: Sealing the paint with a clear sealant protects it from scratches, UV rays, and moisture. It also enhances the paint’s gloss and durability.
- Sealant Selection: Choose a sealant specifically designed for leather surfaces. Acrylic or polyurethane sealants are commonly used for fire helmets.
2. Polishing:
- Polishing Benefits: Polishing the helmet with a leather conditioner or polish enhances its shine and protects the leather from drying out.
- Polishing Techniques: Apply a small amount of leather conditioner or polish to a clean cloth and rub it into the leather in a circular motion.
3. Distressing:
- Distressing Techniques: Distressing techniques, such as sanding or rubbing, can create a more authentic, aged appearance on leather fire helmets.
- Distressing Considerations: Consider the helmet’s history and the desired effect when distressing.
Maintenance and Care: Preserving Your Helmet’s Beauty
Proper maintenance is essential for preserving the paint and leather of your fire helmet. Here are some tips to keep your helmet looking its best:
1. Regular Cleaning:
- Cleaning Frequency: Clean your helmet regularly to remove dirt, grime, and sweat. Use a mild soap and water solution and a soft cloth or brush.
- Cleaning Precautions: Avoid using harsh chemicals or abrasive cleaners, as they can damage the paint and leather.
2. Protection from Sunlight:
- UV Protection: Direct sunlight can fade paint and damage leather. Store your helmet in a cool, dry place, out of direct sunlight.
- UV-Resistant Sealant: Consider using a UV-resistant sealant to protect the paint from fading.
3. Leather Conditioning:
- Conditioning Benefits: Regular leather conditioning helps keep the leather supple and prevents it from drying out and cracking.
- Conditioning Frequency: Condition your helmet every few months, or more often if it is exposed to harsh conditions.
4. Storage:
- Proper Storage: Store your helmet in a dry, well-ventilated place, away from dust and moisture.
- Storage Considerations: Consider using a helmet bag or stand to protect your helmet from damage.
Conclusion: A Legacy of Protection and Pride
Choosing the right paint for your leather fire helmet is a crucial step in preserving its legacy and enhancing its beauty. By understanding the different paint types, the importance of preparation, and the nuances of application, you can achieve a stunning, durable finish that reflects your pride in your firefighting heritage. Remember, a well-maintained helmet is more than just a piece of protective gear; it is a symbol of your commitment to service and a testament to the enduring spirit of firefighting.

The Ultimate Guide to Choosing the Best Paint for Your Leather Fire Helmet
Post a Comment for "Best Paint For Leather Fire Helmets"