Painting Unfinished Garage Walls: A Complete Guide
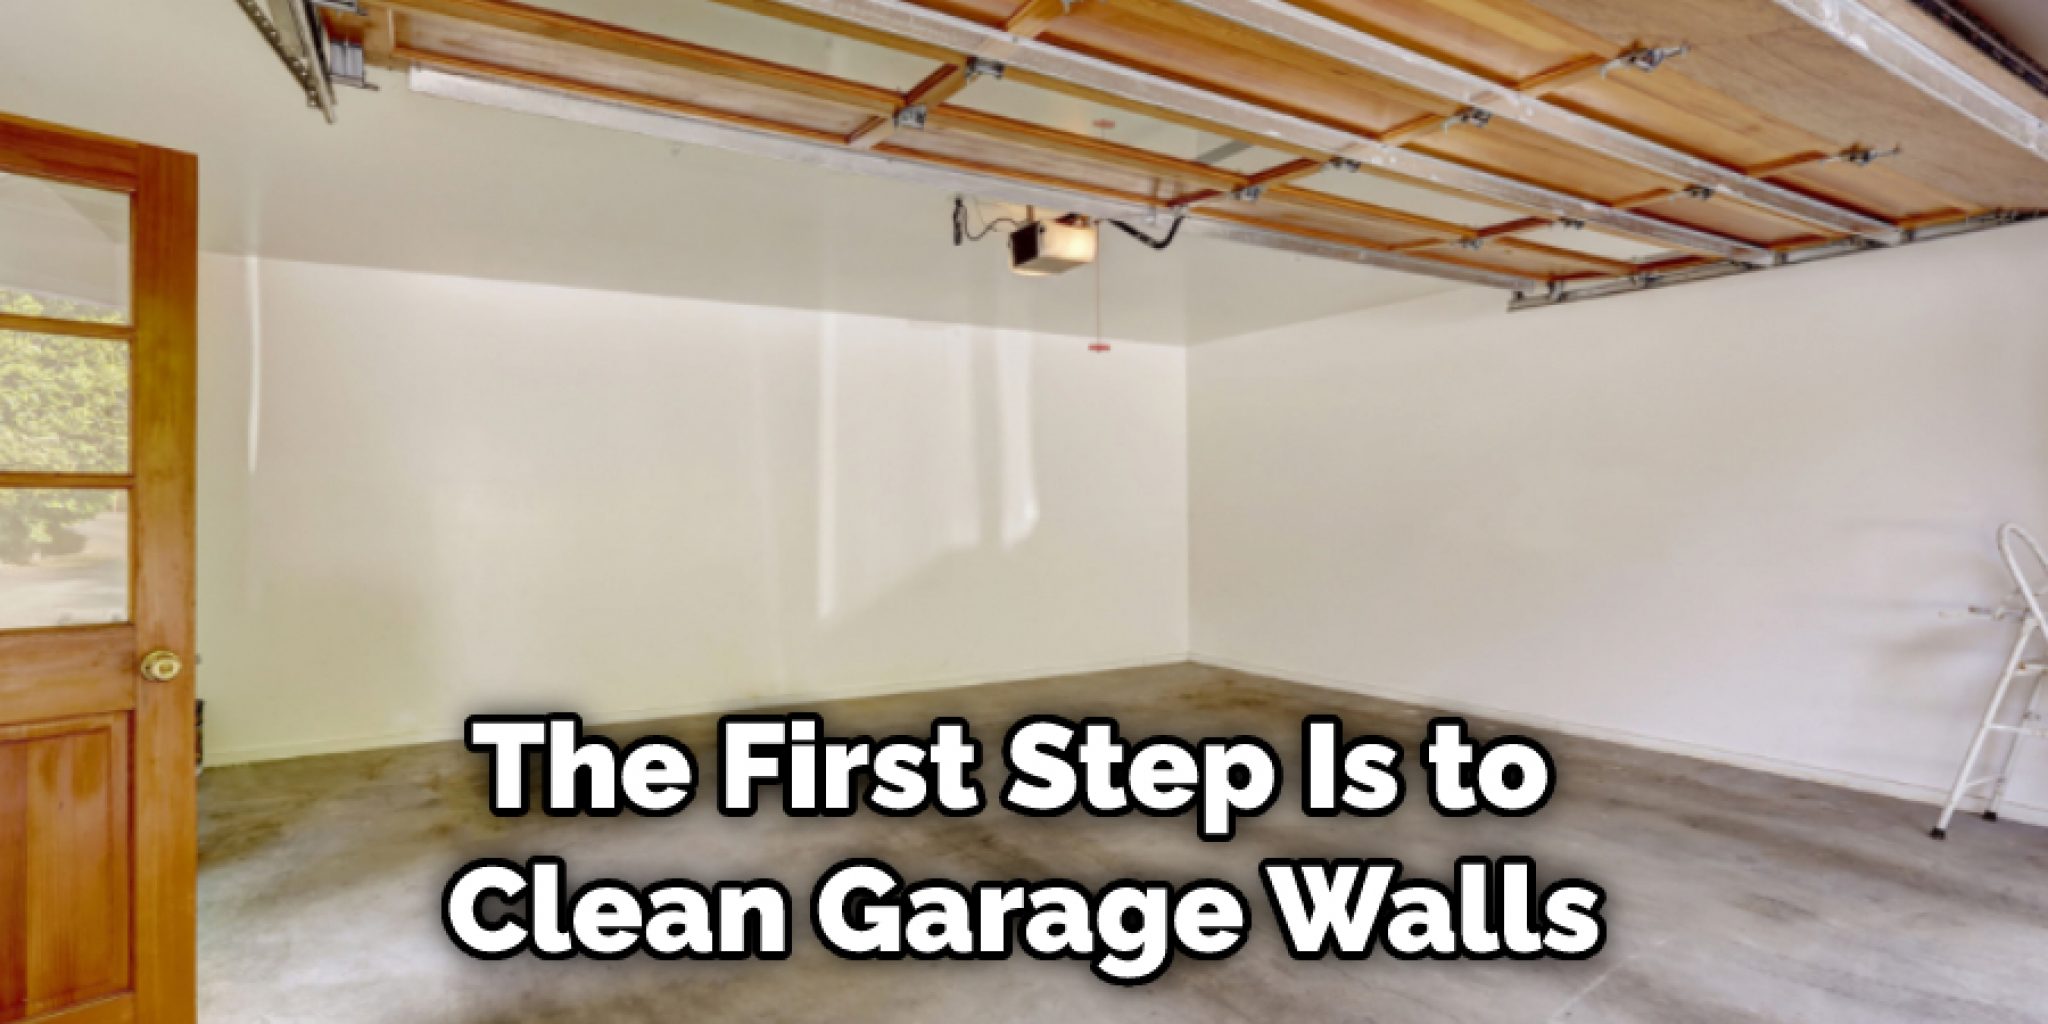
Table of Content
Transforming your unfinished garage into a functional and aesthetically pleasing space is a rewarding project, and painting the walls is a crucial step. This comprehensive guide will equip you with the knowledge and techniques to achieve professional-looking results, even if you’re a novice painter.
Understanding Unfinished Garage Walls
Unfinished garage walls typically consist of concrete blocks, plywood, or drywall. Each material presents unique challenges and requires specific preparation techniques.
- Concrete Blocks: These walls often have a rough, porous surface that requires proper sealing to prevent paint from absorbing unevenly.
- Plywood: While generally smoother than concrete, plywood can have gaps, seams, and knots that need to be addressed before painting.
- Drywall: This material is relatively easy to paint, but it’s essential to ensure it’s properly primed and sealed to prevent moisture damage.
Essential Tools and Materials
Before you begin, gather the necessary tools and materials:

- Paint: Choose a high-quality, durable paint specifically designed for garage walls. Acrylic latex paint is a popular choice for its durability, moisture resistance, and ease of application.
- Primer: A primer is essential for creating a smooth, even surface for the paint to adhere to. Choose a primer suitable for your wall material.
- Paintbrushes and Roller: Select brushes of various sizes for corners, edges, and detail work, and a roller for covering large areas.
- Paint Tray and Liner: A paint tray with a liner makes pouring and cleaning easier.
- Paint Stir Stick: Thoroughly mix the paint before and during application.
- Drop Cloths and Masking Tape: Protect floors and other surfaces from paint splatters.
- Sandpaper: Use sandpaper to smooth rough surfaces and prepare them for painting.
- Putty Knife: Fill gaps and cracks in plywood or drywall with a putty knife and spackling compound.
- Safety Glasses and Gloves: Protect your eyes and hands from paint splashes.
- Ladder or Scaffolding: Reach high areas safely.
- Extension Pole: Apply paint to high ceilings without straining.

Preparing the Garage Walls
Thorough preparation is crucial for a successful paint job. Follow these steps:
- Clean the Walls: Remove dust, dirt, cobwebs, and any loose debris using a broom, vacuum, or pressure washer.
- Patch and Repair: Fill any cracks, gaps, or holes using spackling compound or patching cement. Let the repairs dry completely before sanding.
- Sand the Walls: Sand rough surfaces, including concrete blocks, plywood seams, and patched areas. This creates a smooth surface for the primer to adhere to.
- Prime the Walls: Apply a primer to the entire surface of the walls. This helps the paint adhere better and provides a uniform base coat.
- Mask Off Areas: Use masking tape to protect areas you don’t want to paint, such as windows, doors, and trim.
Painting the Garage Walls
Now you’re ready to paint! Follow these steps for a professional finish:
- Start with Corners and Edges: Use a brush to paint corners, edges, and around trim.
- Roll Large Areas: Use a roller to cover large sections of the walls. Work in sections, applying even coats and avoiding drips.
- Apply Multiple Coats: Apply two or more coats of paint for optimal coverage and durability. Let each coat dry completely before applying the next.
- Clean Up: Remove masking tape once the paint is dry. Clean your brushes and roller thoroughly with soap and water.
Choosing the Right Paint
The type of paint you choose will significantly impact the durability and appearance of your finished garage. Consider these factors:
- Durability: Garage walls are often exposed to moisture, dust, and wear and tear. Choose a paint that is moisture-resistant, washable, and durable.
- Color: Select a color that complements your garage’s overall aesthetic and provides the desired ambiance. Light colors can make the space feel larger and brighter.
- Finish: Consider a semi-gloss or gloss finish for easier cleaning and durability. A matte finish provides a softer, less reflective look.
Additional Tips for Painting Unfinished Garage Walls
- Ventilation: Ensure adequate ventilation during painting to prevent paint fumes from accumulating.
- Temperature: Avoid painting in extreme temperatures, as this can affect the paint’s drying time and adhesion.
- Professional Help: If you’re unsure about any aspect of the painting process, consider hiring a professional painter.
Frequently Asked Questions
Q: Can I paint unfinished concrete block walls directly without primer?
A: It’s not recommended. Priming concrete blocks is crucial for ensuring proper paint adhesion and preventing uneven absorption.
Q: What kind of paint is best for garage walls?
A: Acrylic latex paint is a popular choice for its durability, moisture resistance, and ease of application.
Q: How long should I wait between coats of paint?
A: Allow each coat to dry completely before applying the next. Drying times vary depending on the paint type, temperature, and humidity.
Q: Can I paint a garage ceiling?
A: Yes, you can paint a garage ceiling using the same techniques as for the walls.
Conclusion
Painting unfinished garage walls is a DIY project that can significantly enhance the functionality and aesthetics of your space. By following the steps outlined in this guide, you can achieve professional-looking results and enjoy a transformed garage. Remember to prioritize proper preparation, choose the right paint, and take your time for a successful and rewarding project.

Painting Unfinished Garage Walls: A Complete Guide
Post a Comment for "Painting Unfinished Garage Walls: A Complete Guide"