Antique Elegance: Transforming with Painted Antique Vanity
Introduction
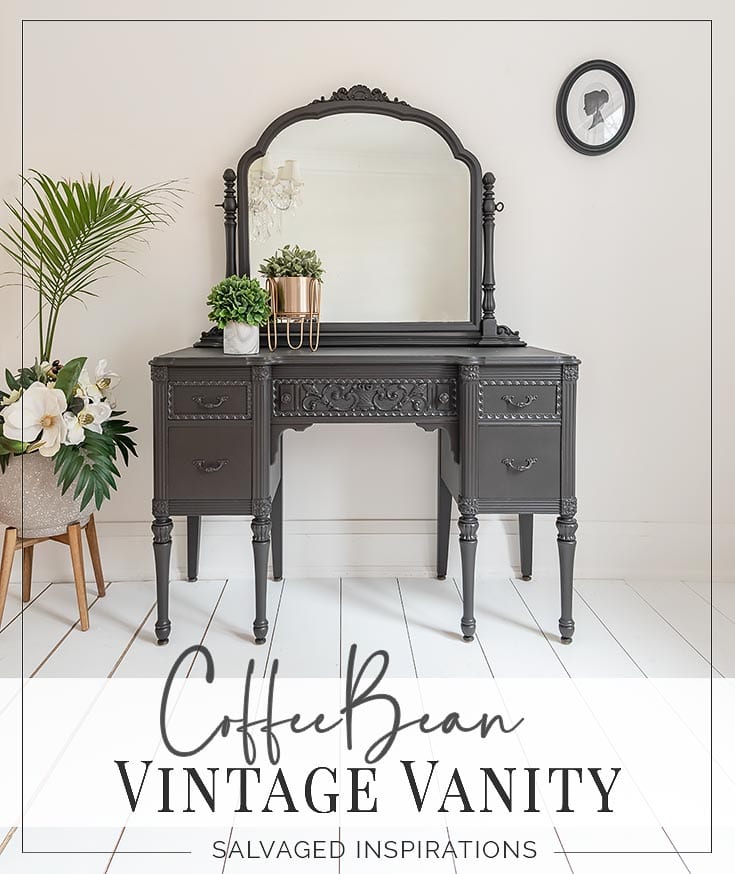
The allure of antique furniture lies in its timeless beauty and intricate craftsmanship. However, incorporating these pieces into modern interiors can pose a challenge. Painted antique vanities offer a brilliant solution, allowing you to embrace the charm of the past while adding a touch of contemporary flair to your space. This comprehensive guide will delve into the art of transforming antique vanities with paint, empowering you to create a captivating focal point that seamlessly blends the old and the new.
Choosing the Right Vanity
The key to a successful transformation lies in selecting the perfect vanity. Consider the overall style of your room and the desired aesthetic. For a classic look, opt for a vanity with intricate carvings and ornate details. If you prefer a more modern approach, choose a vanity with clean lines and a minimalist design.
Preparing the Vanity
Before applying paint, it is crucial to prepare the vanity to ensure a smooth and durable finish. Remove all hardware and drawers. Clean the surface thoroughly with a degreaser to remove any dirt or grime. If necessary, sand the vanity lightly to remove any imperfections.
Choosing the Right Paint
The choice of paint is paramount to achieving the desired look. For a classic finish, opt for a high-quality chalk paint or milk paint. These paints provide excellent coverage and a velvety matte finish. If you prefer a more durable finish, consider using a latex or acrylic paint.
Applying the Paint
Apply the paint in thin, even coats, allowing each coat to dry completely before applying the next. For a smooth finish, use a high-quality brush or roller. If you are using chalk paint or milk paint, you may need to apply multiple coats to achieve the desired opacity.
Distressing the Finish
To create an aged and antiqued look, you can distress the finish after the paint has dried. Use sandpaper or a sanding sponge to lightly sand the edges and corners of the vanity. You can also apply a glaze or antiquing medium to enhance the distressed effect.
Adding Hardware and Details
Once the paint has dried and the desired finish has been achieved, it is time to add the hardware and any other decorative details. Choose hardware that complements the style of the vanity and the overall aesthetic of your room. You can also add decorative elements such as knobs, pulls, or trim to further enhance the look.
Styling the Vanity
The final touch is to style the vanity to create a cohesive and inviting space. Add a mirror that reflects the style of the vanity. Place a few decorative items on the vanity top, such as a vase of flowers, a candle, or a small piece of artwork. You can also add a stool or bench to complete the look.
Conclusion
Transforming an antique vanity with paint is a rewarding project that allows you to create a unique and stylish piece of furniture. By following these steps and choosing the right materials, you can achieve a stunning finish that will add character and charm to your home. Embrace the beauty of the past and the possibilities of the present by incorporating a painted antique vanity into your décor.
Recommended Products
| Product | Description | Price |
|---|---|---|
| Annie Sloan Chalk Paint | High-quality chalk paint available in a wide range of colors | $39.95 per quart |
| General Finishes Milk Paint | Milk paint that provides a velvety matte finish | $19.95 per pint |
| Rust-Oleum Chalked Ultra Matte Paint | Durable latex paint with a chalky finish | $14.99 per quart |
| Howard Products Antiquing Glaze | Glaze that enhances the distressed effect | $12.99 per 8 oz |
| Liberty Hardware Bar Pulls | Decorative hardware that complements a variety of styles | $10.99 per pair |
Post a Comment for "Antique Elegance: Transforming With Painted Antique Vanity"