Paint Chips for Garage Floors: Durable and Stylish Solutions

Table of Content
Transform your garage from a cluttered mess to a functional and stylish space with the help of paint chips. These durable and versatile coatings offer a cost-effective solution for enhancing the appearance and functionality of your garage floor.
Understanding Paint Chips for Garage Floors
Paint chips, also known as epoxy flakes or chips, are small, decorative pieces of material that are mixed into epoxy resin before application. These chips are typically made from various materials, including:
- Vinyl Chips: These are the most common type of paint chips, offering a wide range of colors, sizes, and textures. They are known for their durability, resistance to stains and chemicals, and affordability.
- Metallic Chips: These chips add a touch of luxury and sophistication to your garage floor. They come in various metallic finishes, such as silver, gold, bronze, and copper, creating a shimmering effect.
- Quartz Chips: These chips offer exceptional durability and scratch resistance. They are often used in high-traffic areas and are available in various colors and sizes.
- Other Materials: Depending on your preference, you can also find paint chips made from materials like glass, marble, or granite, adding unique visual appeal to your garage floor.
Benefits of Using Paint Chips for Garage Floors
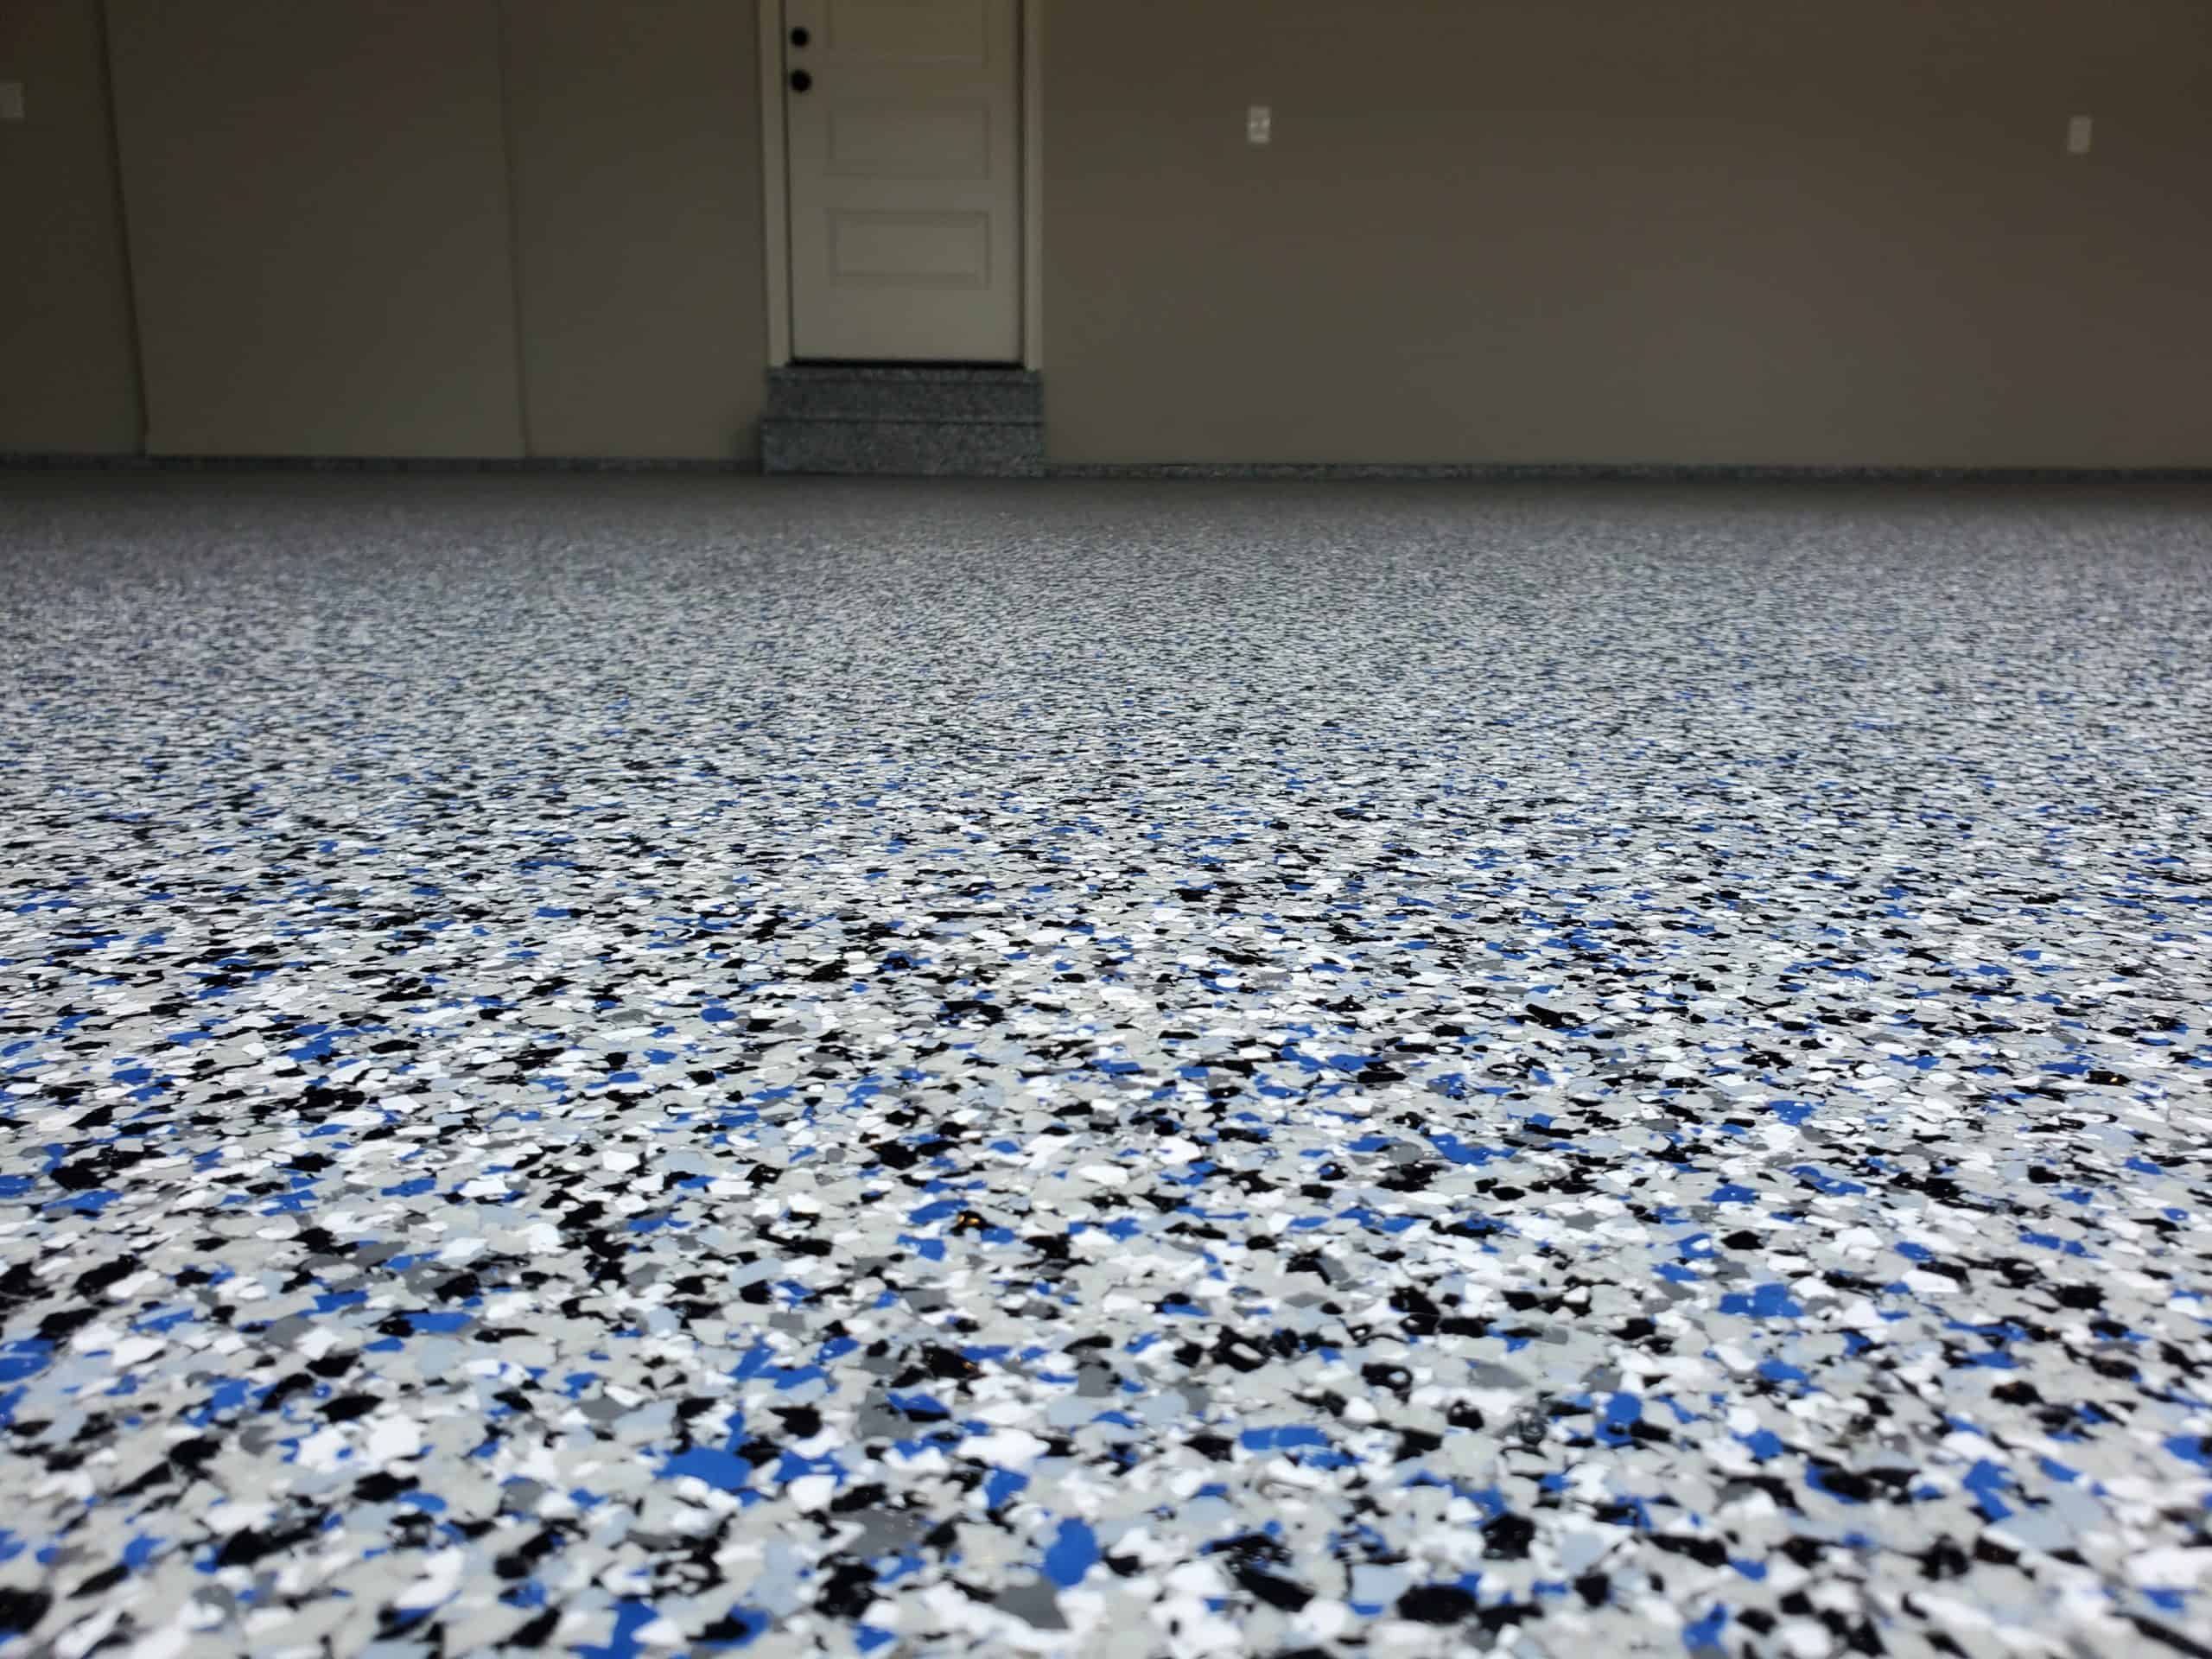
Choosing paint chips for your garage floor offers a multitude of benefits, making them a popular choice for homeowners and businesses alike:
- Durability: Epoxy-based paint chips are incredibly durable, able to withstand heavy foot traffic, vehicle weight, and the wear and tear of everyday use. They resist cracking, chipping, and fading, ensuring a long-lasting finish.
- Chemical Resistance: Paint chips are resistant to various chemicals, including oil, gasoline, and other substances commonly found in garages. This makes them ideal for areas prone to spills and leaks.
- Easy Maintenance: Unlike traditional concrete floors, paint chip floors are easy to clean and maintain. Simply sweep or mop the floor with a mild detergent to keep it looking its best.
- Aesthetic Appeal: Paint chips offer a wide range of colors and textures, allowing you to personalize your garage floor to match your style and preferences. From classic black and white to vibrant hues and unique patterns, the options are endless.
- Cost-Effectiveness: Compared to other flooring options like tile or concrete resurfacing, paint chips offer a cost-effective solution for transforming your garage floor. They are relatively inexpensive to install and require minimal maintenance.

Types of Paint Chip Systems
There are two main types of paint chip systems available:
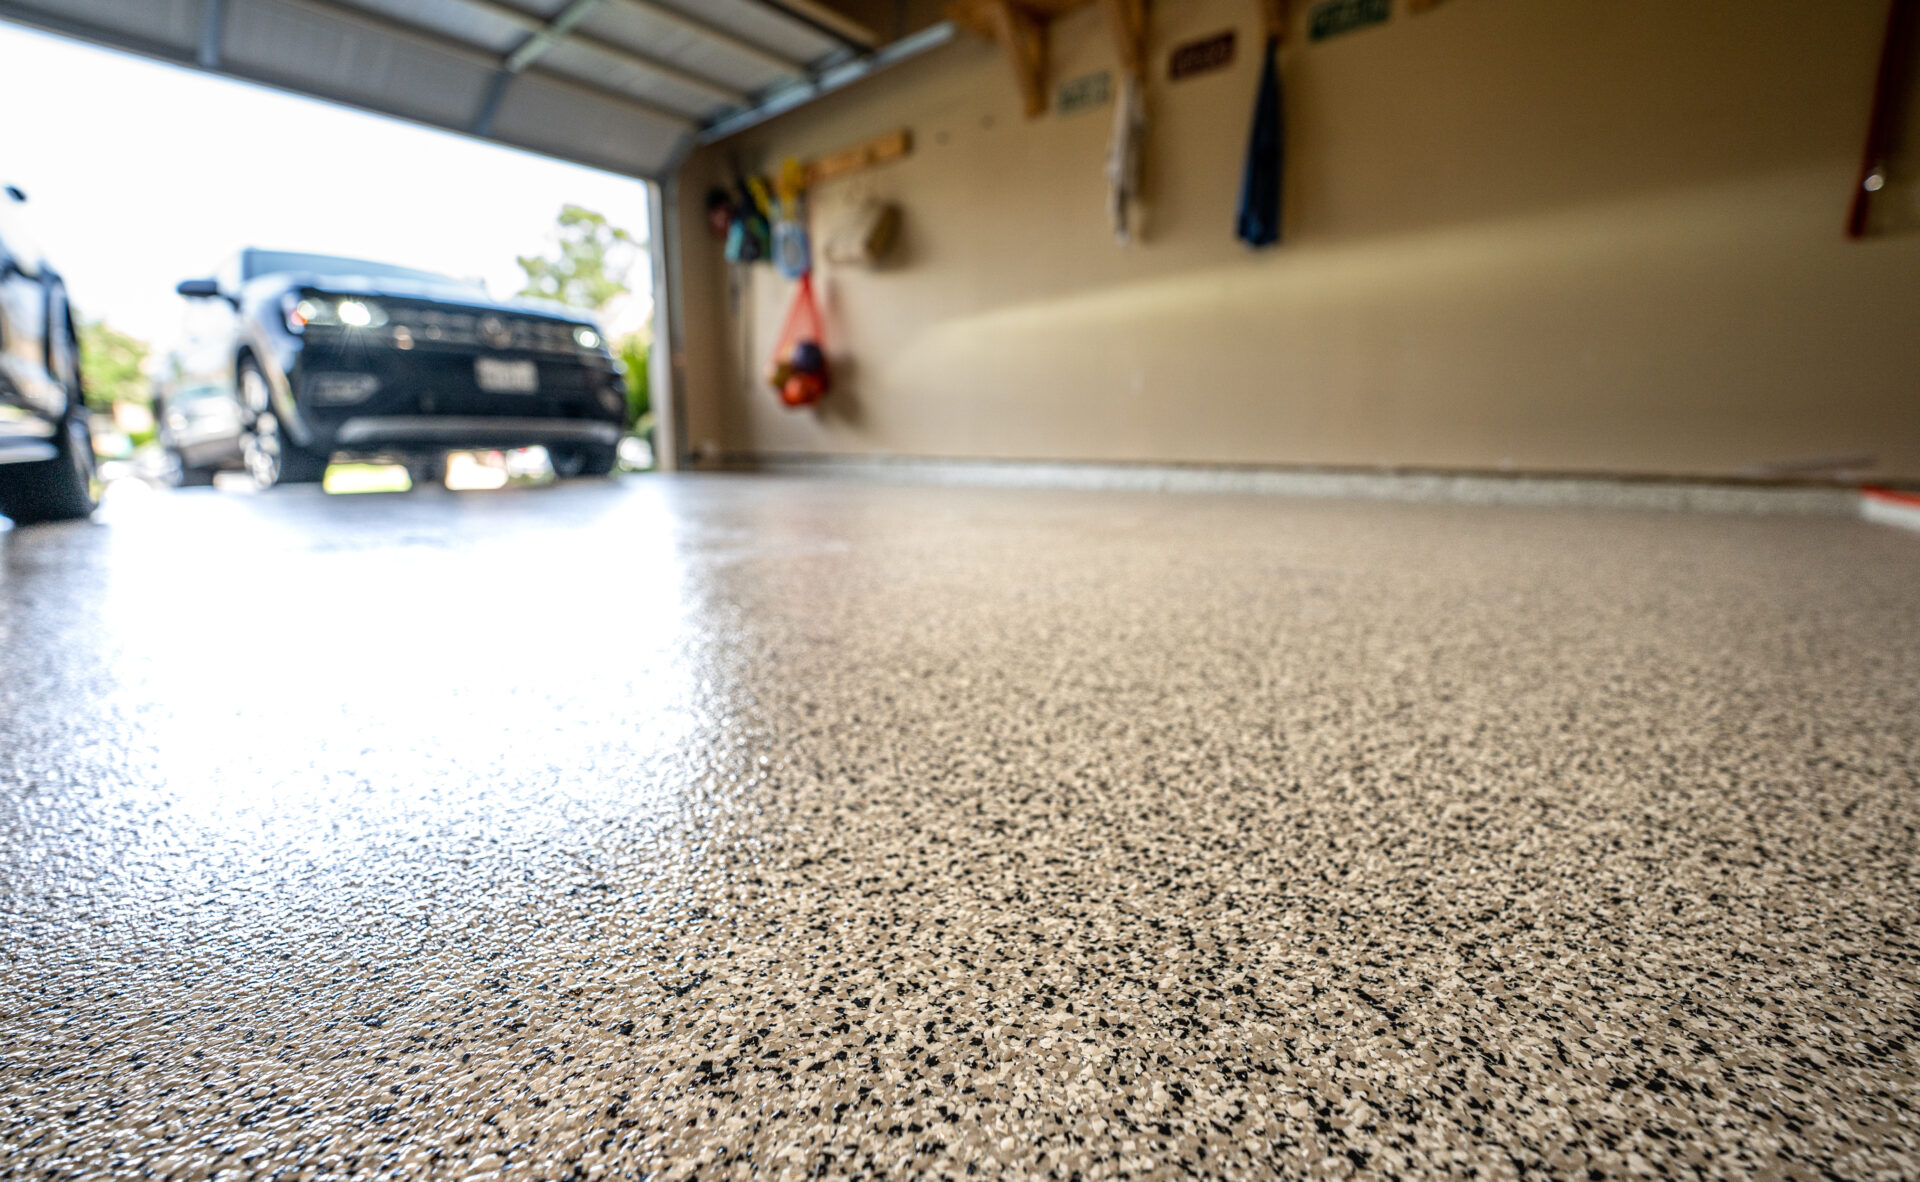
- 1-Part Epoxy Systems: These systems are pre-mixed and ready to use, making them a convenient option for DIY projects. However, they may not be as durable as 2-part systems.
- 2-Part Epoxy Systems: These systems require mixing two components, the epoxy resin and the hardener, before application. They offer superior durability and chemical resistance compared to 1-part systems.
Installation Process
Installing paint chips on your garage floor is a relatively straightforward process that can be completed in a few steps:
- Prepare the Floor: Begin by cleaning the concrete surface thoroughly to remove any dirt, debris, oil, or grease. You may need to use a pressure washer or a concrete cleaner for a deep clean.
- Apply Primer: Apply a primer specifically designed for epoxy flooring to ensure proper adhesion of the epoxy.
- Mix the Epoxy: Follow the manufacturer’s instructions carefully to mix the epoxy resin and hardener.
- Pour the Epoxy: Pour the mixed epoxy onto the prepared floor and spread it evenly using a roller or squeegee.
- Broadcast the Chips: Immediately after pouring the epoxy, broadcast the paint chips evenly over the surface.
- Roll the Chips: Use a roller to press the chips into the epoxy and ensure they are fully embedded.
- Cure Time: Allow the epoxy to cure completely, following the manufacturer’s instructions. This typically takes 24-48 hours.
Choosing the Right Paint Chips for Your Garage
When choosing paint chips for your garage floor, consider the following factors:
- Traffic Level: For high-traffic areas, opt for durable chips like quartz or metallic chips. For low-traffic areas, vinyl chips may be sufficient.
- Color and Style: Choose colors and patterns that complement your garage’s overall aesthetic and match your personal preferences.
- Budget: Paint chips come in a wide range of price points, so choose a system that fits your budget.
- DIY vs. Professional Installation: If you are comfortable with DIY projects, you can install paint chips yourself. However, for larger or more complex projects, consider hiring a professional installer.
Maintenance and Care
Proper maintenance and care can extend the lifespan of your paint chip floor:
- Regular Sweeping: Sweep the floor regularly to remove dirt, debris, and loose chips.
- Occasional Mopping: Mop the floor with a mild detergent solution as needed.
- Avoid Harsh Chemicals: Avoid using harsh chemicals or abrasive cleaners, as they can damage the epoxy finish.
- Protect from Heavy Objects: Avoid dropping heavy objects or dragging sharp items across the floor, as this can cause scratches and damage.
Cost Considerations
The cost of installing paint chips for your garage floor will vary depending on the size of the garage, the type of paint chip system used, and whether you choose DIY or professional installation. However, as a general guideline, you can expect to pay between $2-$5 per square foot for materials and installation.
Conclusion
Paint chips offer a durable, stylish, and cost-effective solution for transforming your garage floor. They provide a seamless and attractive finish, enhancing the functionality and aesthetics of your garage. By carefully considering the factors outlined above, you can choose the right paint chip system for your needs and enjoy a beautiful and long-lasting garage floor for years to come.
Our Form
Garage Floor Transformation: Unleashing the Power of Paint Chips
Embrace the ultimate garage makeover with paint chips, the versatile and durable solution for elevating your concrete floor to new heights of style and functionality. This comprehensive guide will delve into the world of paint chips, exploring their benefits, types, installation, and maintenance, empowering you to make an informed decision for your garage’s transformation.
A World of Possibilities: Unveiling the Paint Chip Spectrum
Paint chips, also known as epoxy flakes or chips, are decorative elements that add a touch of flair and resilience to your garage floor. These small, but mighty, components are available in a diverse array of materials, each offering unique advantages:
1. Vinyl Chips: The ubiquitous choice, vinyl chips offer a plethora of colors, sizes, and textures, making them a versatile option for any garage. They boast impressive durability, stain resistance, and affordability, making them a popular choice for homeowners.
2. Metallic Chips: Elevate your garage to a level of sophistication with metallic chips. These shimmering flakes come in an array of metallic finishes, including silver, gold, bronze, and copper, adding a touch of luxury to your space.
3. Quartz Chips: For ultimate durability and scratch resistance, quartz chips are the ideal choice. These chips, available in various colors and sizes, are perfect for high-traffic areas, ensuring long-lasting beauty and functionality.
4. Beyond the Basics: Expand your design horizons with paint chips crafted from materials like glass, marble, or granite. These unique chips inject a touch of artistic flair into your garage floor, creating a captivating and personalized space.
A Symphony of Benefits: The Advantages of Paint Chips
Choosing paint chips for your garage floor is a decision that reaps numerous benefits, transforming your space into a haven of durability, style, and practicality:
1. Unwavering Durability: Epoxy-based paint chips are renowned for their exceptional durability, capable of withstanding heavy foot traffic, vehicle weight, and the relentless wear and tear of everyday use. They resist cracking, chipping, and fading, ensuring a long-lasting and pristine finish.
2. Chemical Resistance: A Shield Against Spills and Stains
Paint chips stand as a formidable barrier against various chemicals, including oil, gasoline, and other substances commonly encountered in garages. This inherent resistance makes them the ideal choice for areas prone to spills and leaks, safeguarding your floor from damage.
3. Effortless Maintenance: Keeping Your Floor Pristine
Unlike traditional concrete floors, paint chip floors demand minimal maintenance, simplifying your cleaning routine. A simple sweep or mop with a mild detergent solution is all it takes to keep your floor looking its best, saving you time and effort.
4. Aesthetic Versatility: Personalizing Your Garage
Paint chips offer a vast palette of colors and textures, allowing you to personalize your garage floor to reflect your unique style and preferences. From classic black and white to vibrant hues and intricate patterns, the possibilities are limitless, creating a space that truly reflects your personality.
5. Cost-Effective Transformation: Value for Your Investment
Compared to other flooring options, such as tile or concrete resurfacing, paint chips offer a cost-effective solution for transforming your garage floor. Their relatively low installation costs and minimal maintenance requirements make them a wise investment for enhancing your space.
The Paint Chip Systems: Choosing the Right Fit
Navigating the world of paint chip systems requires understanding the two main types available:
1. 1-Part Epoxy Systems: These systems come pre-mixed and ready to use, making them a convenient option for DIY projects. However, they may not offer the same level of durability as 2-part systems.
2. 2-Part Epoxy Systems: These systems require mixing two components, the epoxy resin and the hardener, before application. This process yields superior durability and chemical resistance compared to 1-part systems, making them ideal for high-traffic areas and demanding environments.
Unveiling the Installation Process: A Step-by-Step Guide
Installing paint chips on your garage floor is a relatively straightforward process that can be accomplished in a few steps:
1. The Foundation of Success: Preparing the Floor
Begin by thoroughly cleaning the concrete surface to remove any dirt, debris, oil, or grease. A pressure washer or a concrete cleaner may be necessary for a deep clean, ensuring a smooth and receptive surface for the paint chips.
2. Primer: Ensuring a Strong Bond
Apply a primer specifically designed for epoxy flooring to create a strong bond between the epoxy and the concrete. This crucial step ensures the paint chips adhere properly and create a long-lasting finish.
3. Mixing the Epoxy: Precision is Key
Follow the manufacturer’s instructions carefully to mix the epoxy resin and hardener. The precise mixing ratio is crucial for achieving the desired level of durability and performance.
4. Pouring the Epoxy: A Smooth and Even Application
Pour the mixed epoxy onto the prepared floor and spread it evenly using a roller or squeegee. Ensure a consistent layer for a uniform and aesthetically pleasing finish.
5. Broadcasting the Chips: A Shower of Color and Texture
Immediately after pouring the epoxy, broadcast the paint chips evenly over the surface. Aim for a consistent distribution of chips to create a visually appealing and durable floor.
6. Rolling the Chips: Securing the Bond
Use a roller to press the chips into the epoxy, ensuring they are fully embedded and securely bonded to the surface. This step is crucial for creating a seamless and durable finish.
7. Curing Time: Patience is a Virtue
Allow the epoxy to cure completely, following the manufacturer’s instructions. This typically takes 24-48 hours, during which time it is crucial to avoid any disturbances or traffic on the floor.
Choosing the Perfect Paint Chips: A Decision-Making Guide
When selecting paint chips for your garage floor, several factors come into play:
1. Traffic Level: Durability for Every Need
For high-traffic areas, opt for durable chips like quartz or metallic chips, which can withstand the constant pressure of foot traffic and vehicles. For low-traffic areas, vinyl chips may be sufficient, offering a cost-effective and stylish solution.
2. Color and Style: Reflecting Your Vision
Choose colors and patterns that complement your garage’s overall aesthetic and match your personal preferences. From classic black and white to vibrant hues and unique patterns, the options are endless, allowing you to create a space that truly reflects your personality.
3. Budget: Finding the Right Balance
Paint chips come in a wide range of price points, so choose a system that fits your budget. Consider the factors mentioned above, such as traffic level and desired aesthetics, to determine the best value for your investment.
4. DIY vs. Professional Installation: A Matter of Expertise
If you are comfortable with DIY projects, you can install paint chips yourself. However, for larger or more complex projects, consider hiring a professional installer, who can ensure a flawless and long-lasting installation.
Maintenance and Care: Preserving Your Investment
Proper maintenance and care are essential for extending the lifespan of your paint chip floor:
1. Regular Sweeping: Keeping the Floor Clean
Sweep the floor regularly to remove dirt, debris, and loose chips, maintaining a clean and inviting space.
2. Occasional Mopping: Maintaining a Pristine Shine
Mop the floor with a mild detergent solution as needed, keeping the surface clean and free from stains.
3. Avoiding Harsh Chemicals: Protecting the Finish
Avoid using harsh chemicals or abrasive cleaners, as they can damage the epoxy finish and compromise the durability of the floor.
4. Protecting from Heavy Objects: Preventing Damage
Avoid dropping heavy objects or dragging sharp items across the floor, as this can cause scratches and damage the surface, compromising the aesthetics and functionality of your floor.
Cost Considerations: A Budget-Friendly Solution
The cost of installing paint chips for your garage floor will vary depending on the size of the garage, the type of paint chip system used, and whether you choose DIY or professional installation. However, as a general guideline, you can expect to pay between $2-$5 per square foot for materials and installation, offering a cost-effective solution compared to other flooring options.
Conclusion: A Garage Floor Transformed
Paint chips offer a durable, stylish, and cost-effective solution for transforming your garage floor. They provide a seamless and attractive finish, enhancing the functionality and aesthetics of your garage, creating a space that is both functional and visually appealing. By carefully considering the factors outlined above, you can choose the right paint chip system for your needs and enjoy a beautiful and long-lasting garage floor for years to come.
Pricing Table:
| Paint Chip System | Price per Square Foot | Durability | Maintenance |
|---|---|---|---|
| 1-Part Epoxy System | $2-$3 | Moderate | Easy |
| 2-Part Epoxy System | $3-$5 | High | Easy |
| Vinyl Chips | $2-$3 | Moderate | Easy |
| Metallic Chips | $3-$5 | High | Easy |
| Quartz Chips | $4-$6 | Very High | Easy |
Diagram:
[Diagram of a garage floor with paint chips]Keywords:
- paint chips
- garage floor
- epoxy flakes
- epoxy chips
- vinyl chips
- metallic chips
- quartz chips
- durability
- chemical resistance
- easy maintenance
- aesthetic appeal
- cost-effective
- installation process
- maintenance and care
- pricing table
- diagram

Paint Chips for Garage Floors: Durable and Stylish Solutions
Post a Comment for "Paint Chips For Garage Floors: Durable And Stylish Solutions"