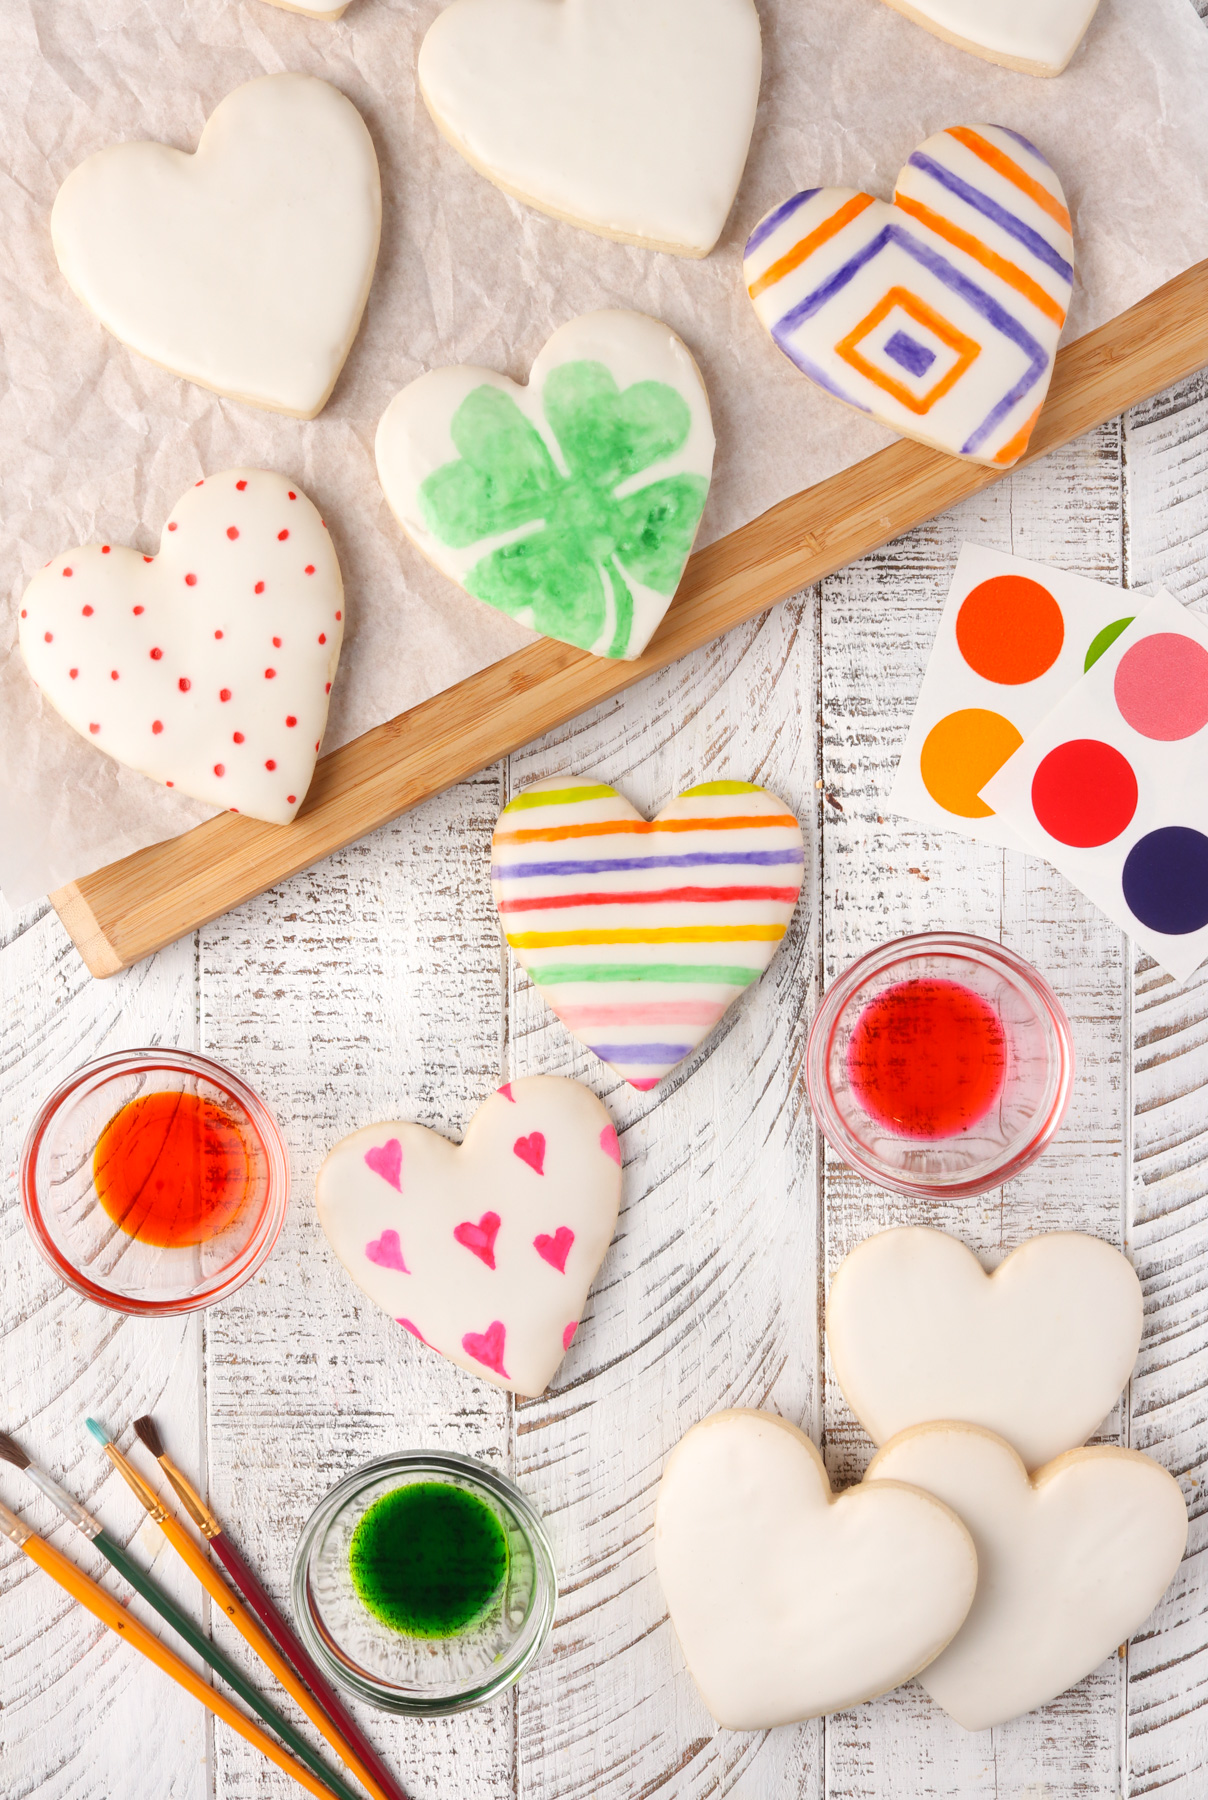
Whimsical Touch: Painting Your Own Cookies for Fun
Introduction
The art of cookie painting has become increasingly popular in recent years, offering a delightful and creative outlet for individuals of all ages. Whether you’re a seasoned baker or a novice artist, painting your own cookies can be an incredibly rewarding and enjoyable experience. This comprehensive guide will provide you with all the essential knowledge and techniques you need to create your own whimsical cookie masterpieces.
Choosing the Right Cookies
The foundation of any successful cookie painting project lies in selecting the right cookies. Sugar cookies are the most popular choice due to their smooth surface and ability to hold intricate designs. Look for cookies that are about 1/4-inch thick and have a slightly rounded edge. Avoid cookies that are too thin or have sharp edges, as these can be difficult to paint and may break easily.
Preparing Your Cookies
Before you begin painting, it’s crucial to prepare your cookies properly. Start by baking the cookies according to the recipe instructions. Once the cookies have cooled completely, use a sharp knife to trim any uneven edges. If desired, you can also use a cookie cutter to create specific shapes.
Selecting the Right Paints
The choice of paints you use will significantly impact the outcome of your cookie paintings. Food-grade paints are essential for ensuring the safety of your creations. There are various types of food-grade paints available, including:
- Gel Food Colors: These concentrated colors are highly pigmented and provide vibrant, opaque results. They are ideal for creating bold designs and details.
- Liquid Food Colors: These colors are less concentrated than gel colors and produce more transparent results. They are well-suited for creating subtle washes and blending colors.
- Candy Melts: Melted candy melts can be used to create a smooth, glossy finish. They are available in a wide range of colors and can be thinned with vegetable oil to achieve different consistencies.
Essential Tools and Techniques
In addition to paints, you will need a few essential tools to complete your cookie paintings:
- Fine-Tipped Brushes: A variety of fine-tipped brushes, such as round, flat, and detail brushes, will allow you to create intricate designs and details.
- Toothpicks: Toothpicks are useful for creating dots, lines, and other small details.
- Piping Bags: Piping bags fitted with small tips can be used to create precise lines and borders.
- Edible Glue: Edible glue can be used to attach edible decorations, such as sprinkles or candy pieces, to your cookies.
Step-by-Step Painting Instructions
- Sketch Your Design: Use a toothpick or a fine-tipped brush to lightly sketch your design onto the cookie. This will help you visualize the final product and avoid mistakes.
- Fill in the Base Colors: Start by filling in the base colors of your design using gel food colors or liquid food colors. Allow each layer to dry completely before applying the next.
- Add Details: Once the base colors are dry, you can begin adding details using fine-tipped brushes and toothpicks. Use a variety of brush strokes and techniques to create different textures and effects.
- Create Highlights and Shadows: To add depth and dimension to your paintings, use a lighter shade of the base color to create highlights and a darker shade to create shadows.
- Finish with a Clear Glaze: Once your painting is complete, you can apply a clear glaze to protect the design and give it a glossy finish. Allow the glaze to dry completely before handling the cookies.
Tips for Success
- Practice on Parchment Paper: Before painting on actual cookies, practice your designs on parchment paper to get a feel for the brushes and paints.
- Use a Steady Hand: Hold the brush or toothpick with a steady hand to avoid smudging or blurring your designs.
- Let Each Layer Dry Completely: Allow each layer of paint to dry completely before applying the next. This will prevent the colors from bleeding together and ensure a clean, crisp finish.
- Don’t Be Afraid to Experiment: There are no rules when it comes to cookie painting. Experiment with different colors, techniques, and designs to create your own unique masterpieces.
Conclusion
Painting your own cookies is a delightful and rewarding activity that can bring joy to people of all ages. With a little practice and creativity, you can create whimsical and delicious cookie masterpieces that will impress your family and friends. So gather your supplies, let your imagination run wild, and embark on a journey of culinary artistry.
Post a Comment for "Whimsical Touch: Painting Your Own Cookies For Fun"