Feathered Art: A Comprehensive Guide to Painting a Chicken
Introduction
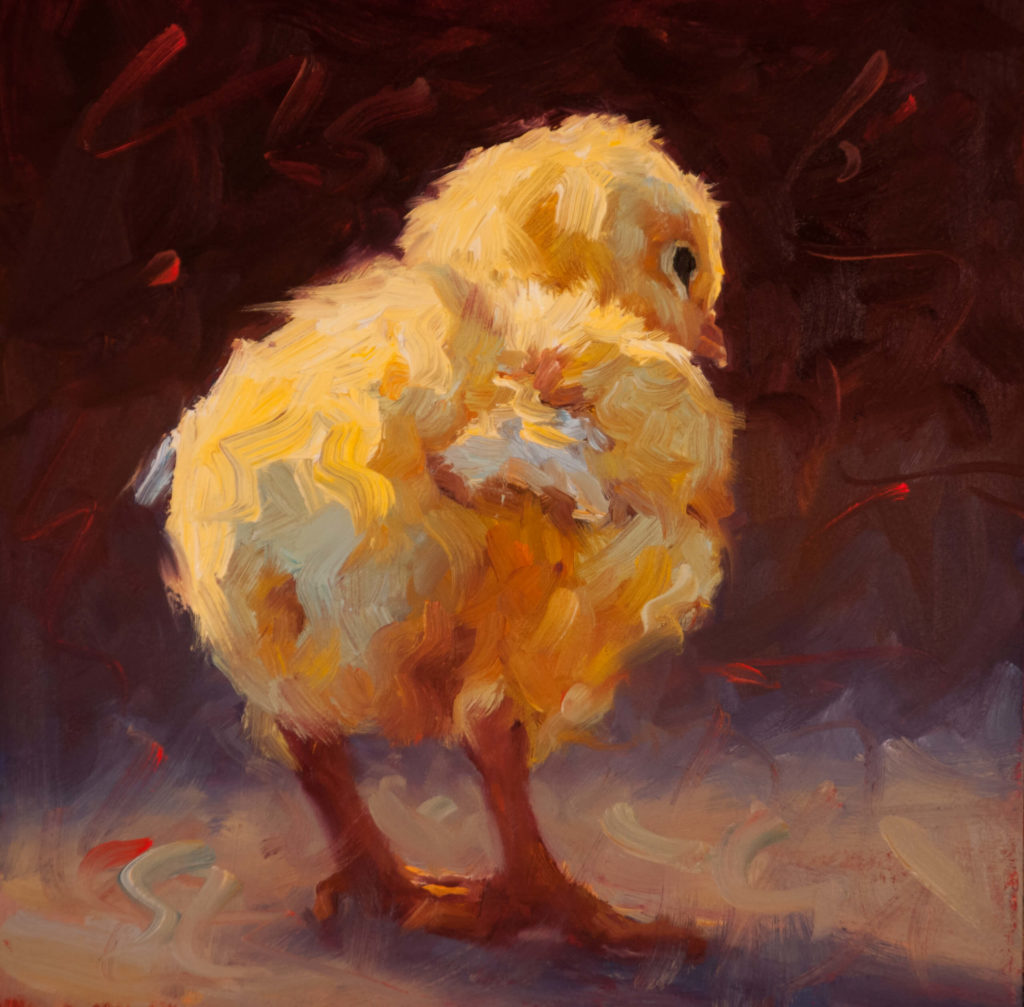
The humble chicken, an iconic symbol of rural life, has captivated artists for centuries. Its distinctive plumage, graceful posture, and expressive eyes present a compelling subject for painting. Whether you’re a seasoned artist or just starting your artistic journey, capturing the essence of a chicken on canvas can be a rewarding experience. This comprehensive guide will provide you with all the essential techniques and insights you need to paint a chicken that will bring life to your artwork.
Materials
- Canvas or painting surface
- Acrylic or oil paints
- Brushes (various sizes and shapes)
- Palette
- Water container
- Rags or paper towels
- Reference photo or live model
Step-by-Step Instructions
1. Sketching the Outline
Begin by sketching the basic outline of the chicken. Use light, confident strokes to define the shape of the body, head, and tail. Pay attention to the proportions and overall posture of the chicken.
2. Blocking in the Base Colors
Once the outline is complete, start blocking in the base colors of the chicken’s plumage. Use a large brush to apply thin layers of paint, gradually building up the desired opacity. For a realistic effect, mix different shades of the same color to create variations in tone.
3. Defining the Feathers
To capture the intricate details of the chicken’s feathers, use a smaller brush to paint individual strokes that follow the direction of the feather growth. Vary the pressure and thickness of your brushstrokes to create a sense of texture and depth.
4. Adding Highlights and Shadows
To enhance the three-dimensionality of your painting, add highlights and shadows to the chicken’s plumage. Use lighter shades of the base colors for highlights and darker shades for shadows. Pay attention to the way light interacts with the feathers, creating areas of brightness and darkness.
5. Painting the Eyes
The eyes are a crucial element in capturing the lifelike expression of the chicken. Use a fine brush to paint the iris and pupil, paying attention to the shape and color. Add a small highlight to the iris to create a sense of depth and realism.
6. Refining the Details
Once the main features are complete, take time to refine the details. Paint in the beak, legs, and any other distinctive markings. Use a small brush to add subtle variations in color and texture, bringing the chicken to life.
7. Creating a Background
If desired, you can add a background to your painting. Choose a color or scene that complements the chicken and enhances the overall composition. Use light, airy brushstrokes to create a sense of depth and atmosphere.
Tips for Success
- Use reference photos or live models to ensure accuracy in your painting.
- Pay attention to the direction of the feather growth and the way light interacts with the plumage.
- Don’t be afraid to experiment with different colors and techniques to create a unique and expressive painting.
- Practice regularly to improve your brushwork and develop your artistic skills.
Conclusion
Painting a chicken can be a challenging but rewarding endeavor. By following the techniques outlined in this guide, you can create a lifelike and captivating artwork that captures the beauty and character of these fascinating creatures. Remember to practice regularly, experiment with different approaches, and let your creativity shine through.
Post a Comment for "Feathered Art: How To Paint A Chicken"