Unleashing Creativity: Transforming Toy Boxes into Works of Art

Table of Content
- 1 Unleashing Creativity: Transforming Toy Boxes into Works of Art
- 1.1 The Power of Paint: More Than Just Color
- 1.2 Unleashing Your Inner Artist: Choosing the Right Paint
- 1.3 Design Inspiration: Ideas for Every Imagination
- 1.4 Painting Techniques: Bringing Your Vision to Life
- 1.5 Transforming Your Toy Box: Step-by-Step Guide
- 1.6 Beyond Paint: Embracing Other Creative Options
- 1.7 Toy Box Paint Ideas for Every Age and Interest
- 1.8 Conclusion: A Legacy of Creativity
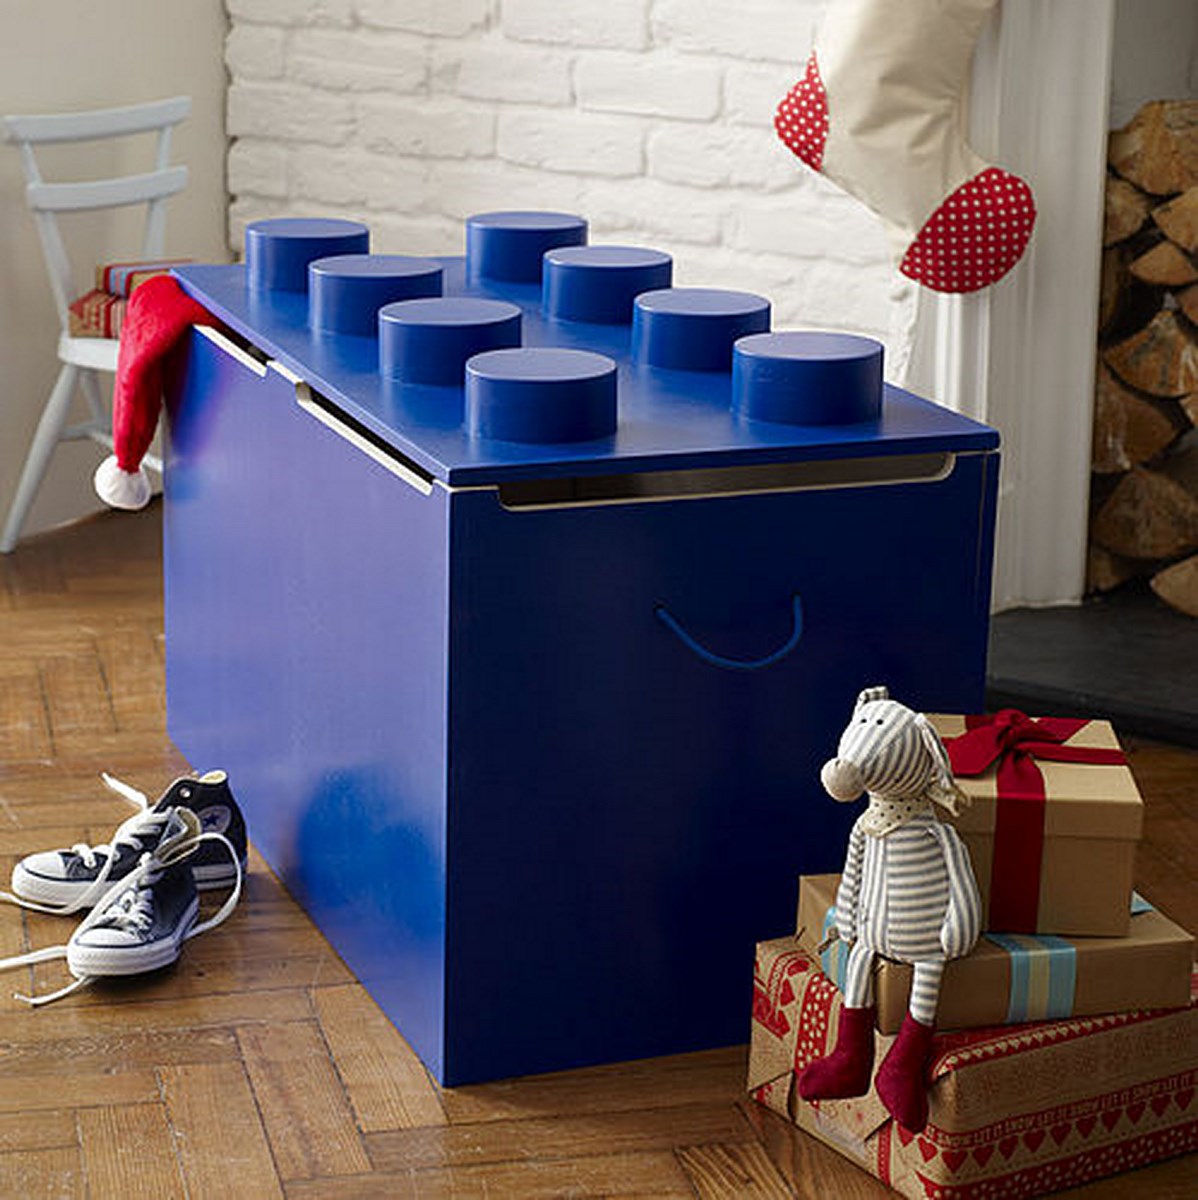
A child’s room is a canvas for imagination, a space where dreams take flight. The toy box, a central fixture in this magical realm, shouldn’t be just a storage unit, but a vibrant reflection of their personality and interests. This article delves into the world of creative toy box paint ideas, offering inspiration and practical guidance to turn a simple box into a captivating focal point.
The Power of Paint: More Than Just Color
Painting a toy box is more than just adding a splash of color. It’s an opportunity to create a unique piece of furniture that resonates with your child’s interests and fosters their creativity.
Here’s why painting your toy box is a fantastic idea:
- Personalization: A painted toy box becomes a unique expression of your child’s personality, showcasing their favorite characters, themes, or colors.
- Engagement: The process of painting itself can be a fun and engaging activity for children, allowing them to contribute to the design and express their artistic flair.
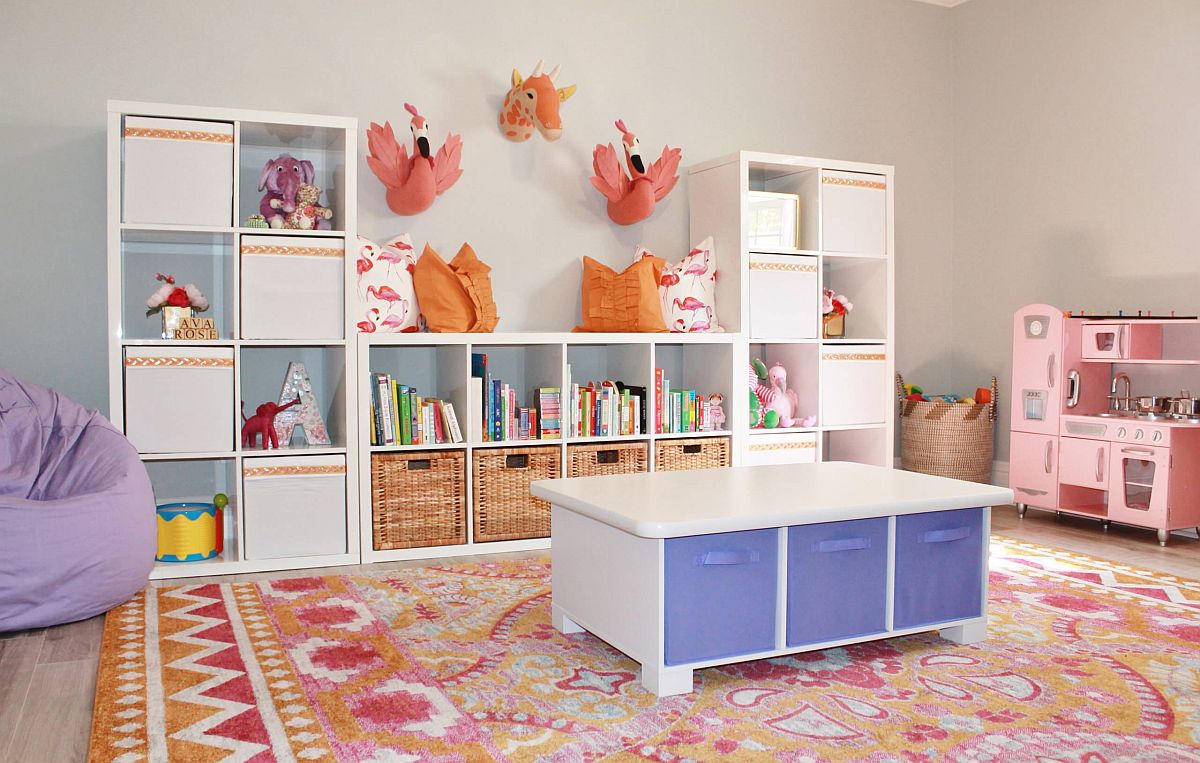
- Room Decor: A beautifully painted toy box instantly elevates the aesthetics of a child’s room, adding a touch of whimsy and personality.
- Durability: A good quality paint provides a protective layer, ensuring the toy box remains durable and withstands the wear and tear of playtime.

Unleashing Your Inner Artist: Choosing the Right Paint
The first step in transforming your toy box is selecting the right paint. Consider these factors:
- Type of Paint: Opt for water-based acrylic paint for its ease of use, quick drying time, and non-toxic nature. Acrylic paint is readily available in a wide range of colors and finishes, including matte, satin, and gloss.
- Primer: A primer is essential for creating a smooth, even surface for the paint to adhere to. Use a primer specifically designed for wood or plastic, depending on the material of your toy box.
- Finish: Choose a finish that complements the overall design. A matte finish provides a subtle, understated look, while a satin or gloss finish adds shine and a touch of vibrancy.
Design Inspiration: Ideas for Every Imagination
The possibilities for decorating a toy box are endless, limited only by your creativity. Here are some ideas to spark your inspiration:
1. Themed Wonders:
- Under the Sea: Transform your toy box into a magical underwater world with shades of blue, green, and turquoise, adorned with whimsical sea creatures, coral reefs, and playful bubbles.
- Fairy Tale Forest: Create a whimsical forest scene with lush green hues, playful woodland creatures, and sparkling fairy dust.
- Outer Space Adventure: Embark on a cosmic journey with vibrant shades of purple, blue, and black, featuring planets, stars, and rocket ships.
- Superhero Squad: Bring your child’s favorite superheroes to life with bold colors and iconic symbols, creating a dynamic and inspiring backdrop.
- Animal Kingdom: Celebrate the beauty of the animal kingdom with a vibrant jungle scene, featuring colorful animals, lush foliage, and a touch of playful whimsy.
2. Character Magic:
- Favorite Characters: Bring your child’s favorite characters to life on the toy box, using their signature colors and iconic features.
- Storybook Scenes: Recreate beloved storybook scenes, capturing the essence of the characters and their adventures.
3. Abstract Expressions:
- Geometric Patterns: Create a modern and stylish look with geometric shapes, bold lines, and contrasting colors.
- Abstract Art: Embrace the beauty of abstract art, using flowing lines, vibrant colors, and unique textures.
4. Personalized Touches:
- Name and Initials: Add a personal touch by painting your child’s name or initials on the toy box, creating a unique and cherished piece.
- Handprints and Footprints: Preserve precious memories by adding your child’s handprints or footprints to the toy box.
Painting Techniques: Bringing Your Vision to Life
Now that you’ve chosen your design, it’s time to bring it to life with the right painting techniques:
1. Preparation is Key:
- Clean and Sand: Thoroughly clean the toy box with soap and water, ensuring it’s free from dust and debris. Sand the surface lightly to create a smooth base for the paint.
- Tape Off: Use painter’s tape to protect areas you don’t want to paint, such as hinges, handles, and any decorative elements.
2. Priming for Success:
- Apply Primer: Use a brush or roller to apply a thin, even coat of primer to the entire surface of the toy box. Allow the primer to dry completely before proceeding.
3. Painting with Precision:
- Choose Your Tools: Use a brush, roller, or sponge depending on the desired effect and the size of the toy box.
- Thin the Paint: If using acrylic paint, thin it slightly with water for a smoother application.
- Apply in Thin Coats: Apply multiple thin coats of paint, allowing each coat to dry completely before applying the next. This ensures a smooth, even finish.
4. Adding Details and Accents:
- Stencils: Use stencils to create intricate patterns, letters, or images.
- Freehand Painting: For a more free-flowing look, use a brush to paint designs, characters, or patterns freehand.
- Markers and Crayons: Add details, highlights, and accents with permanent markers or crayons.
5. Finishing Touches:
- Sealing for Protection: Apply a clear sealant to protect the painted surface and prevent fading or chipping.
- Remove Tape: Carefully remove the painter’s tape once the paint and sealant are completely dry.
Transforming Your Toy Box: Step-by-Step Guide
Here’s a step-by-step guide to painting your toy box:
1. Gather Your Supplies:
- Toy box
- Sandpaper (fine grit)
- Primer (wood or plastic)
- Acrylic paint (in desired colors)
- Paintbrushes (various sizes)
- Roller (optional)
- Sponge (optional)
- Painter’s tape
- Clear sealant
- Drop cloth
- Work gloves
- Paint thinner (optional)
2. Prepare the Toy Box:
- Clean the toy box thoroughly with soap and water.
- Sand the surface lightly to create a smooth base.
- Use painter’s tape to protect areas you don’t want to paint.
3. Apply Primer:
- Use a brush or roller to apply a thin, even coat of primer to the entire surface.
- Allow the primer to dry completely before proceeding.
4. Paint the Toy Box:
- Choose your desired colors and apply thin coats of paint, allowing each coat to dry completely before applying the next.
- Use stencils, freehand painting, or markers to add details and accents.
5. Apply Sealant:
- Once the paint is dry, apply a clear sealant to protect the surface.
- Allow the sealant to dry completely.
6. Remove Tape and Enjoy:
- Carefully remove the painter’s tape.
- Your beautifully painted toy box is ready to be enjoyed!
Beyond Paint: Embracing Other Creative Options
While painting is a popular choice for toy box transformation, other creative options can add a unique and personal touch:
- Decoupage: Use paper, fabric, or other materials to create a collage effect on the toy box.
- Washi Tape: Add a touch of whimsy and color with patterned washi tape, creating stripes, geometric patterns, or borders.
- Iron-On Transfers: Apply iron-on transfers featuring your child’s favorite characters or designs.
- Fabric Remnants: Cover the toy box with fabric remnants, creating a soft and textured surface.
Toy Box Paint Ideas for Every Age and Interest
Here are some specific ideas tailored to different age groups and interests:
For Toddlers and Preschoolers:
- Bright Colors and Simple Shapes: Use bright, bold colors and simple geometric shapes to create a visually stimulating and engaging toy box.
- Animal Friends: Paint a toy box with friendly animals, such as dogs, cats, or farm animals.
- Favorite Colors: Let your child choose their favorite colors and create a toy box that reflects their personality.
For Elementary School Children:
- Superheroes and Princesses: Create a toy box featuring popular superhero or princess themes.
- Sports Teams: Show your child’s team spirit by painting the toy box with their favorite sports team logo and colors.
- Favorite Hobbies: Reflect your child’s hobbies, such as music, art, or sports, by incorporating related images or designs.
For Teenagers:
- Modern Designs: Use geometric patterns, abstract designs, or bold colors to create a modern and stylish toy box.
- Inspirational Quotes: Paint inspirational quotes or lyrics that resonate with your teenager.
- Personalized Touches: Add a personal touch by painting their name, initials, or favorite symbols.
Conclusion: A Legacy of Creativity
Painting a toy box is not just about creating a functional storage solution, but about nurturing your child’s creativity and creating a lasting memory. With the right inspiration, techniques, and a touch of imagination, you can transform a simple toy box into a cherished piece of furniture that will bring joy and wonder for years to come. So, grab your paintbrushes, unleash your creativity, and let the magic begin!
Unleashing Creativity: Transforming Toy Boxes into Works of Art
Post a Comment for "Creative Toy Box Paint Ideas For Kids' Rooms"